There is something special and almost magical about snow globes. My girls love them. I have a few around the house that they are only allowed to play with when I’m present. The globes are all made of glass and very fragile.
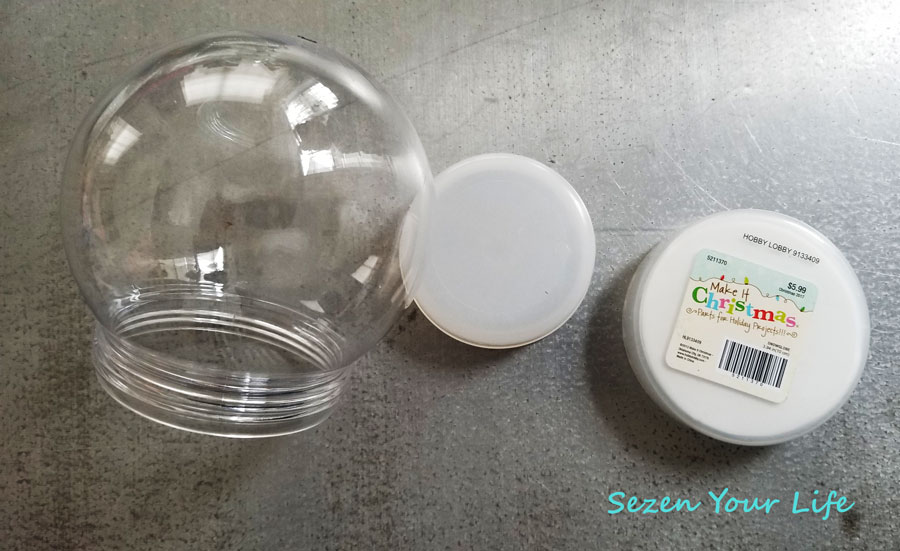
When I was wandering through the hobby store I came across plastic, DIY snow globes! I had seen ideas on Pinterest to make your own from glass jars, etc. But these were 50% off, making them only $3, for a kid-friendly snow globe that they could decorate themselves.
This is the perfect activity for a cold winter day for anyone from toddlers to grown-ups alike.
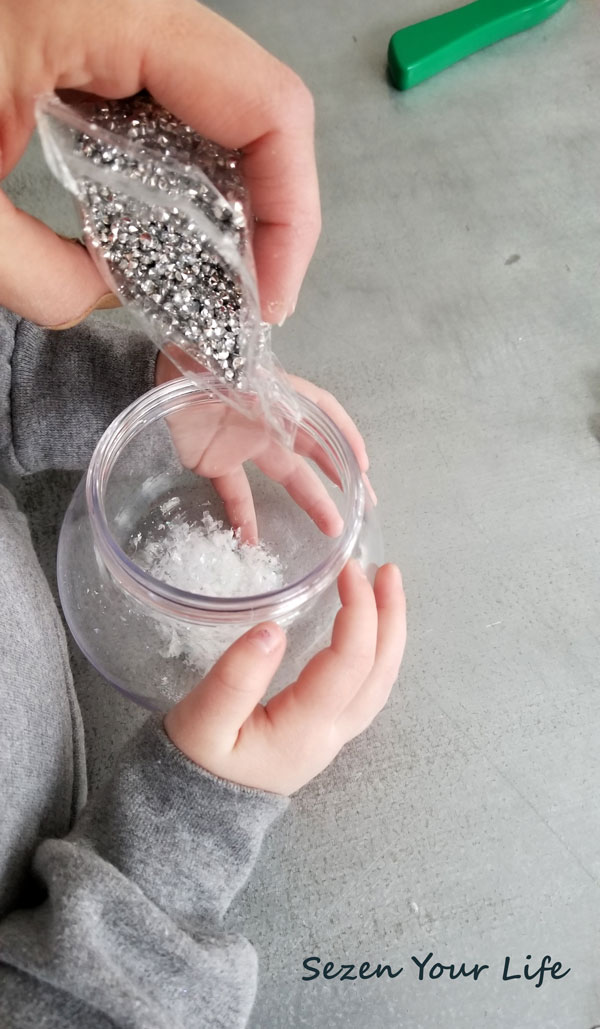
The supplies are pretty straight forward: one snow globe per artist; artificial snow (we used the little styrofoam-type snow balls, tiny little crystals, and large glitter); whatever miniature items you’d like for your snowy scene (we used little pine trees, hand-made clay figurines, and Legos); and then your adhesive of choice (we used hot glue). 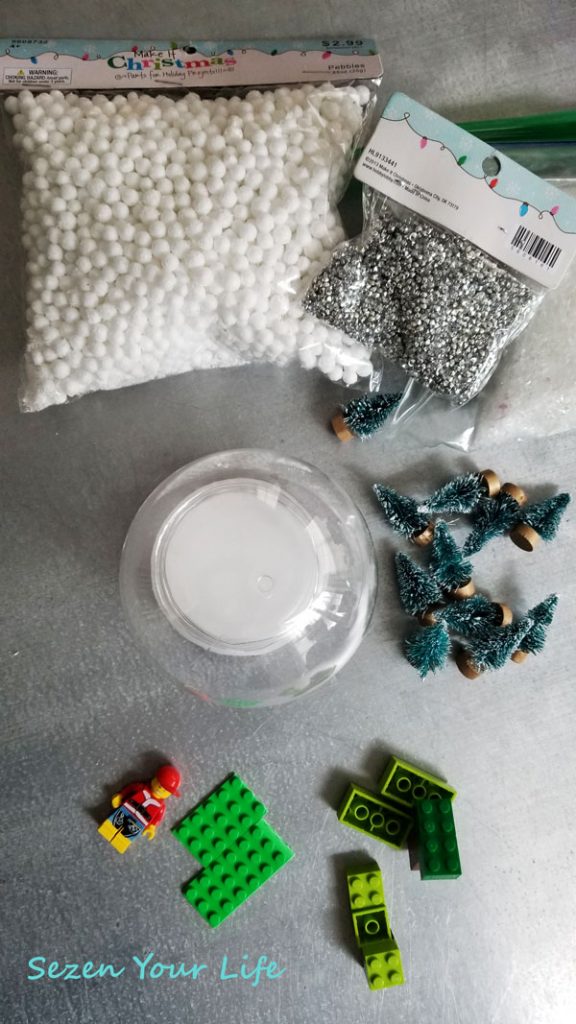
We did not add any liquid to the globes because of the type of snow and figurines that the girls chose to use. If you would like to go that route, the snow globe is able to handle it. It has an inner stopper and then a secondary threaded cap. But you will need to use non-porous materials and an adhesive that is not water soluble.
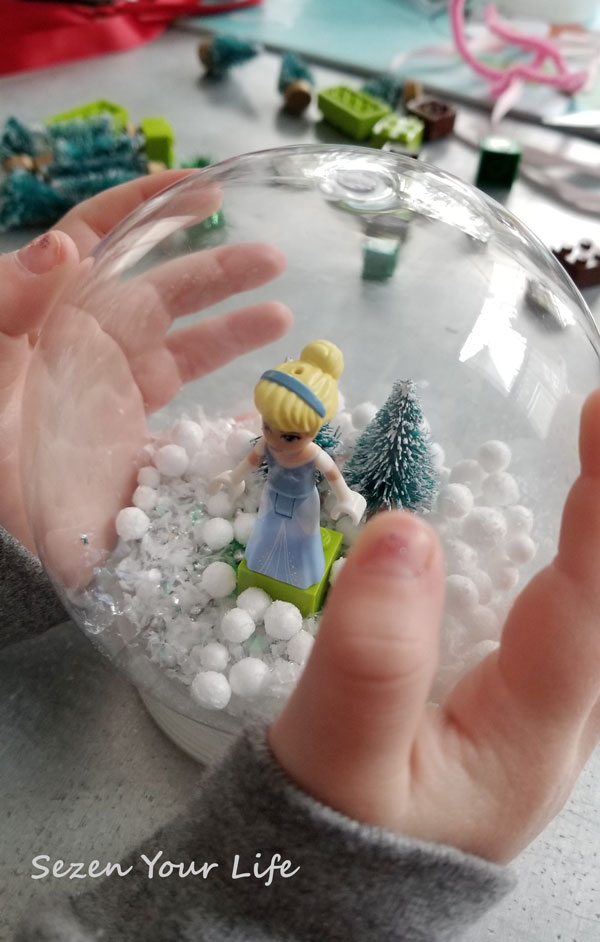
C wanted to put Lego Cinderella in her globe. So we glued down a Lego base that would allow her to swap out the figure at a whim. This worked out well, because about 5 minutes after we had it assembled, she wanted Cinderella out to play with and added a Lego tree in her place.
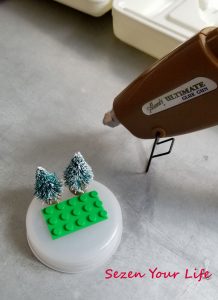
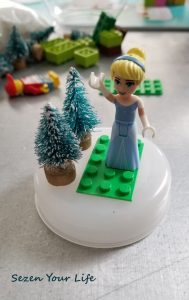 We glued down the base and 2 trees. Then added Cinderella once it was dry. C held the globe while I filled it with “snow”.
Still upside down, we put the bottom back together; stopper with scene first, then the outer lid. 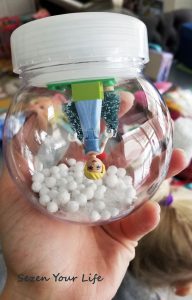
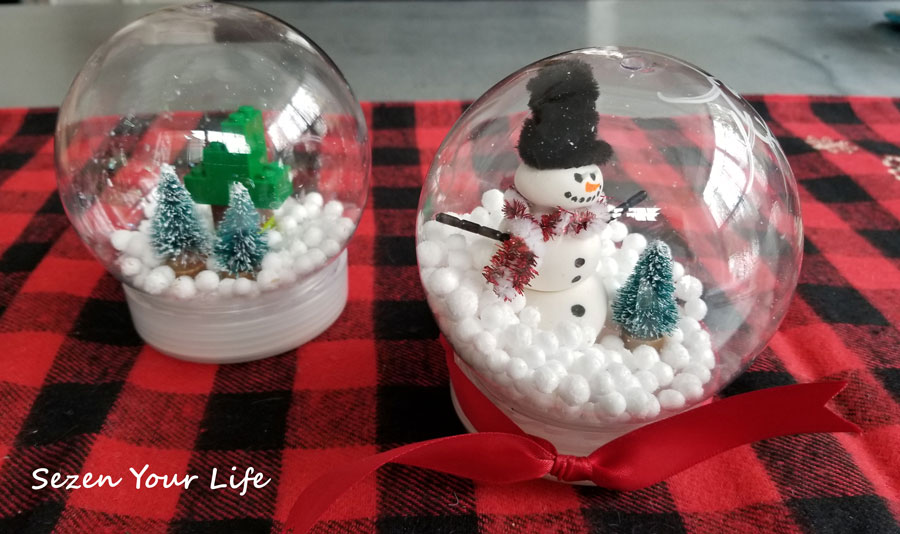
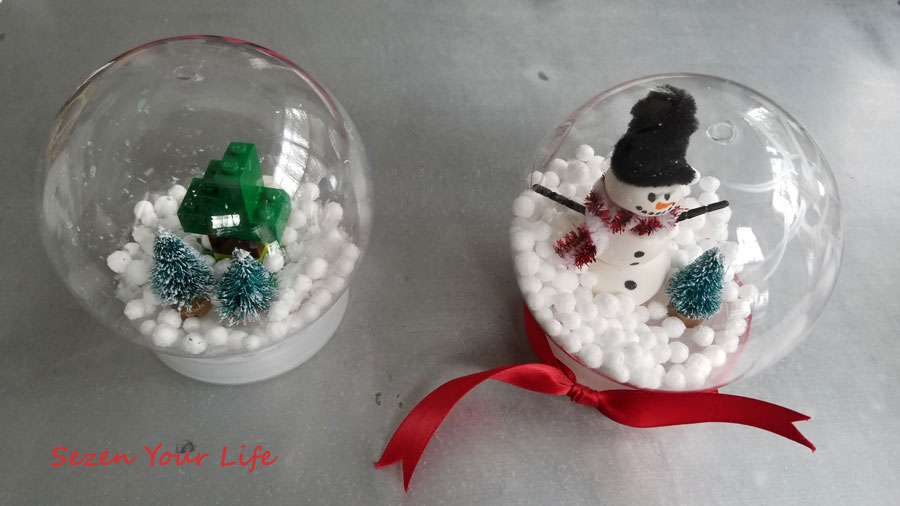
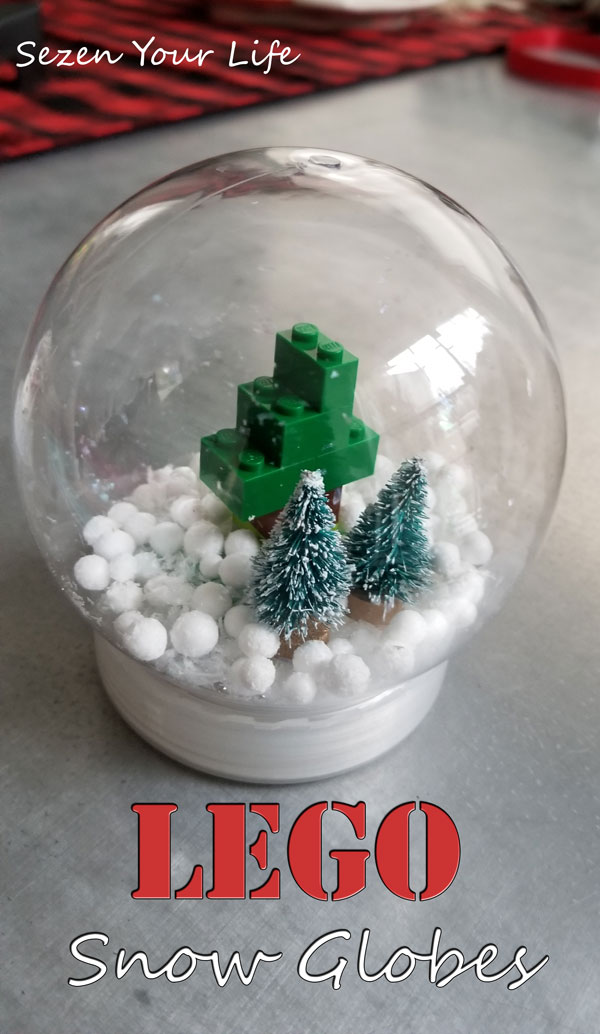
C was thrilled, but as mentioned, shortly thereafter she wanted Cinderella out, so we made a little Lego tree to replace her.
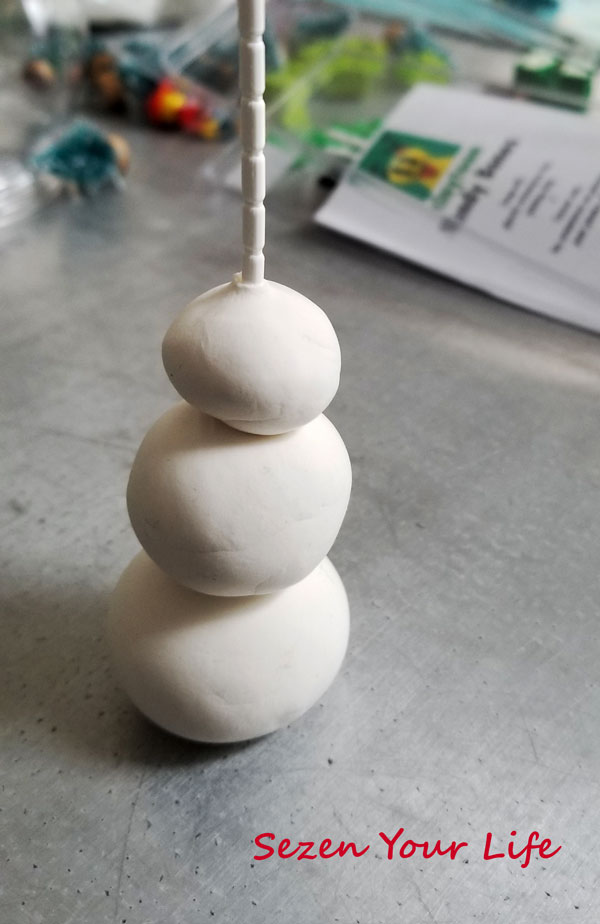
L wanted to make a snowman. So we used white clay and Bendy Bones to hold it together. They sell the Bendy Bones on Amazon, but they are much cheaper from your local craft store.
We simply added 2 additional black Bendy Bones for arms, an “old silk hat” made from a pipe cleaner, a scarf also from pipe cleaners, and drew on his face and buttons with markers. Once it was dry, we glued it directly to the insert piece of the snow globe kit along with a little tree. L decided to draw a sun on the outside of the globe using a sliver paint pen. With a red ribbon to dress it up, the snow globes were complete.
The girls didn’t miss the water inside since they like the idea of being able to change out the figures. They still have fun shaking them up and creating their own little snow storms.
If you try this project and come up with a great scene for inside, let me know. I love hearing from readers. It’s always fun to share ideas and suggestions! Happy crafting and Merry Christmas!
You Might Also Like:


Sensory Blanket for Alzheimer’s and Dementia Patient Care