
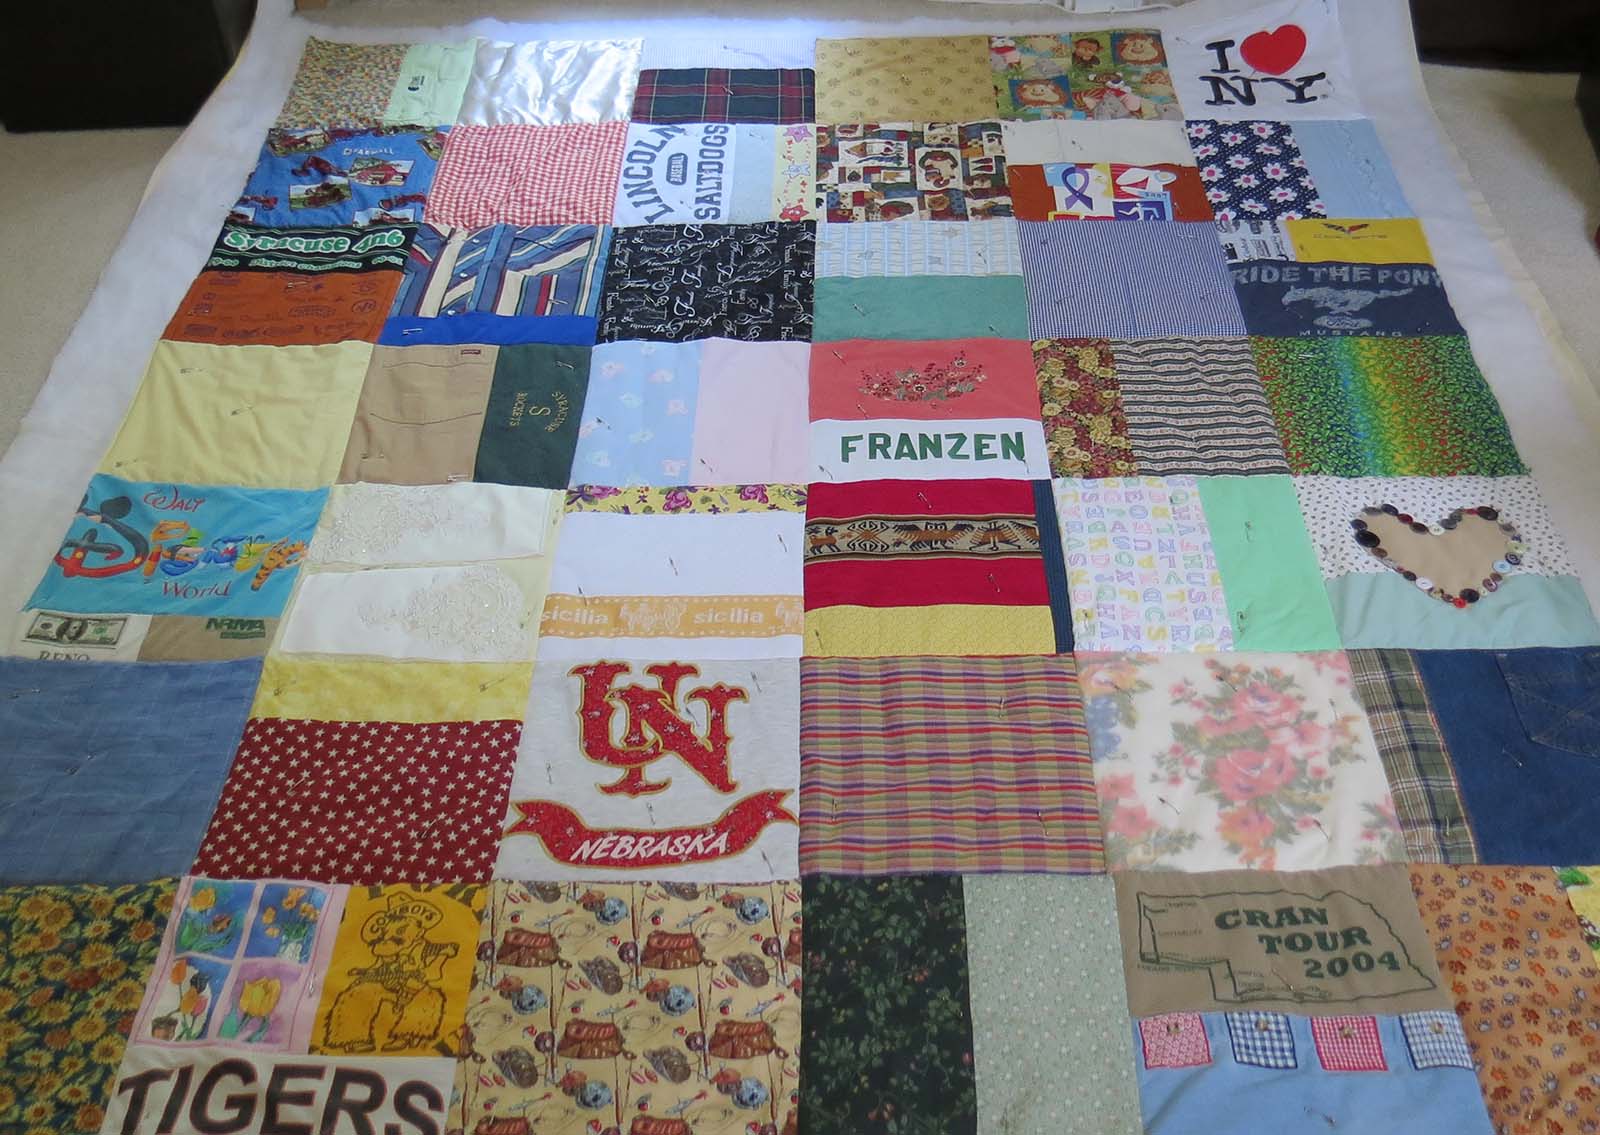
Welcome to the final post in the Blessings Blanket series. Over the last month and a half, I have been working through the process of creating an heirloom quilt composed of material sent in from friends and family members. This has been a lot of fun and a great learning opportunity. And now I’m happy to say, the quilt is officially finished!
The Final Leg
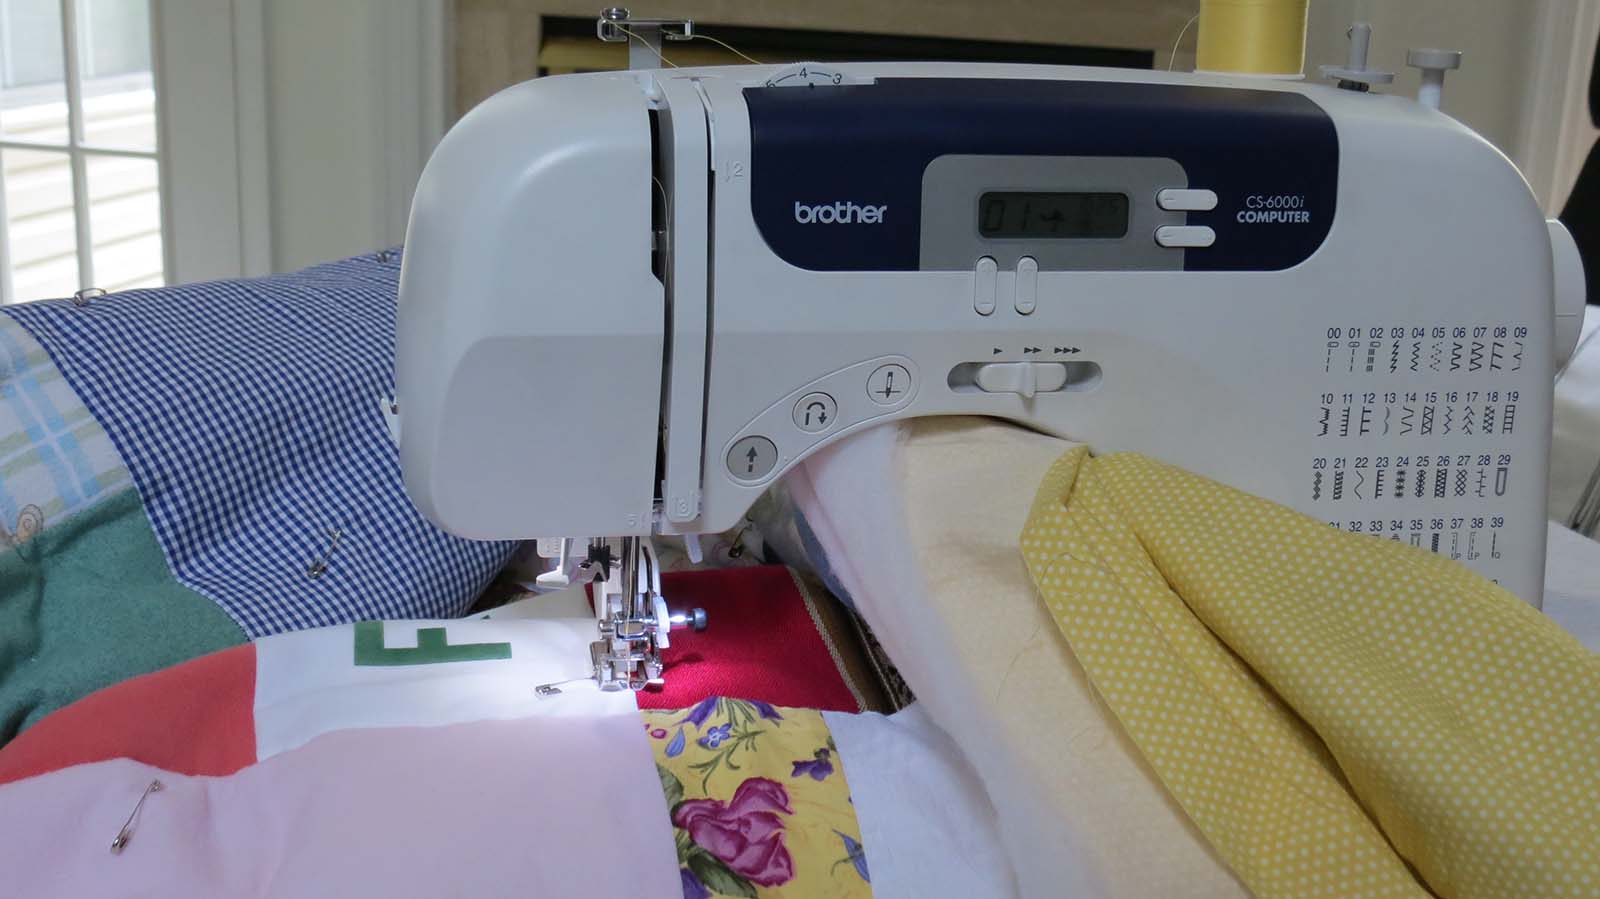
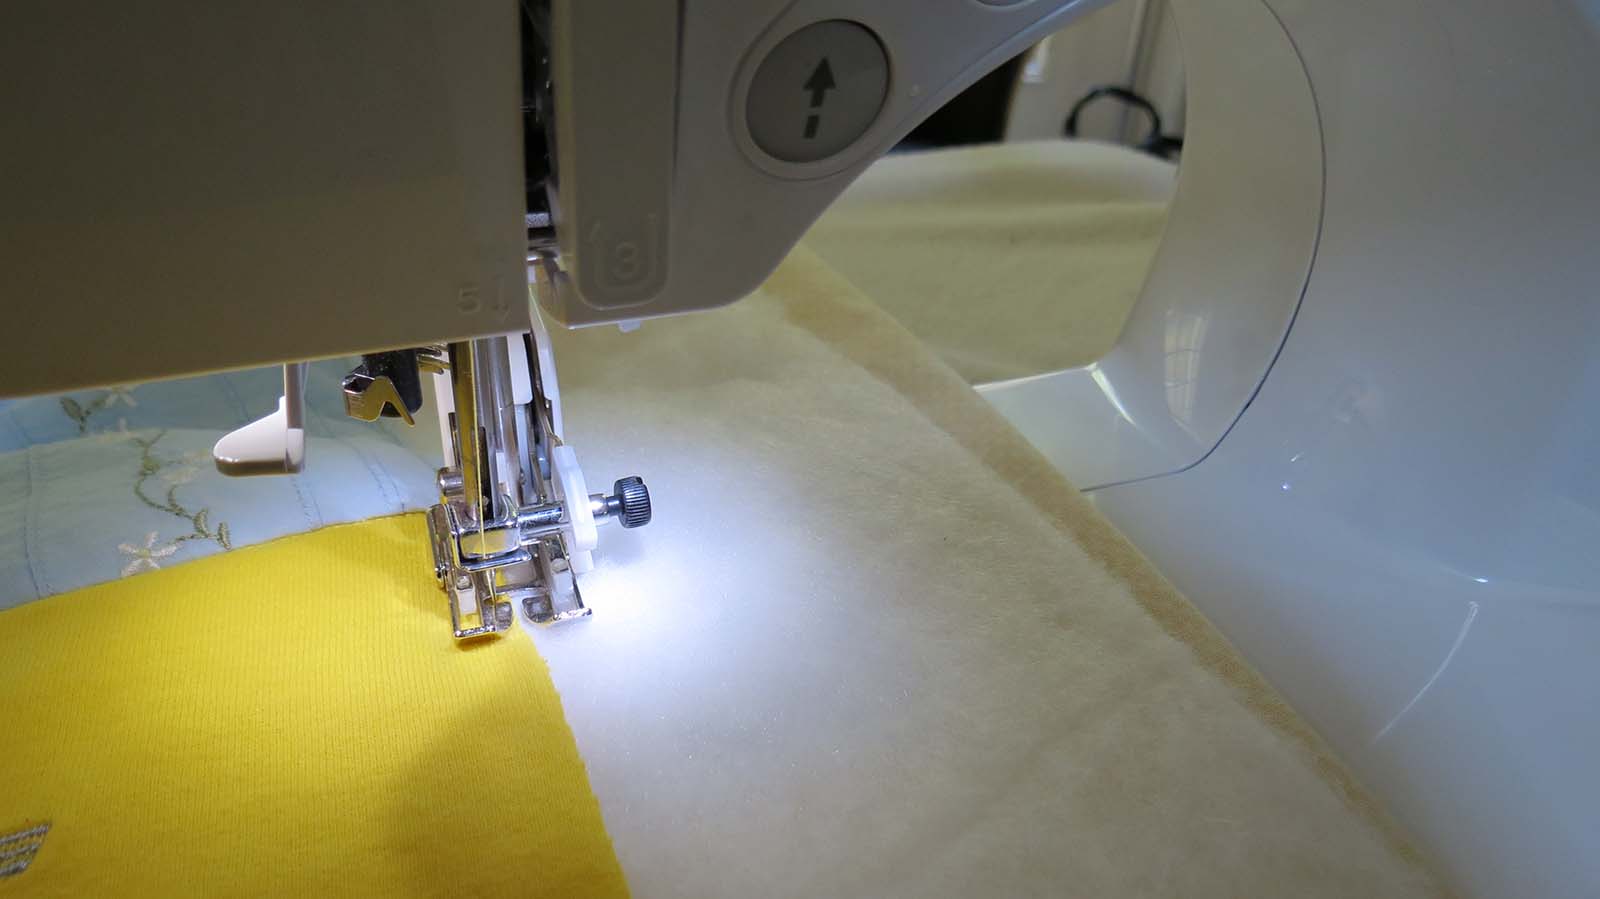
In Part III we left off with the top, bottom, and batting lined up and pinned, ready for quilting. Before moving your quilt to the machine, make sure you change out the thread and fill your bobbin with a color that matches your backing fabric (light yellow, in my case). Also ensure you have a walking foot on your machine. When sewing through multiple layers, the walking foot will help feed the fabric through and keep it from bunching. Trust me, after all of the work and time you have already invested at this point, if you do not own a walking foot it is worth your sanity to get one purchased and read up on how to properly attach it to your machine. Most are reasonably priced and easy to install, just check your machine’s manual or their website for specific details.
When all is ready, it’s time to wrangle your quilt into the machine. As you have seen from the photos and previous posts, I do not have a fancy machine with an extra-long arm specifically designed for quilting, maybe someday in the future. But for now, I use my basic Brother CS-6000i for all of my sewing. Yes, this can make working with a full-sized project a little more challenging, but it’s not impossible.
Finally Quilting After All These Weeks
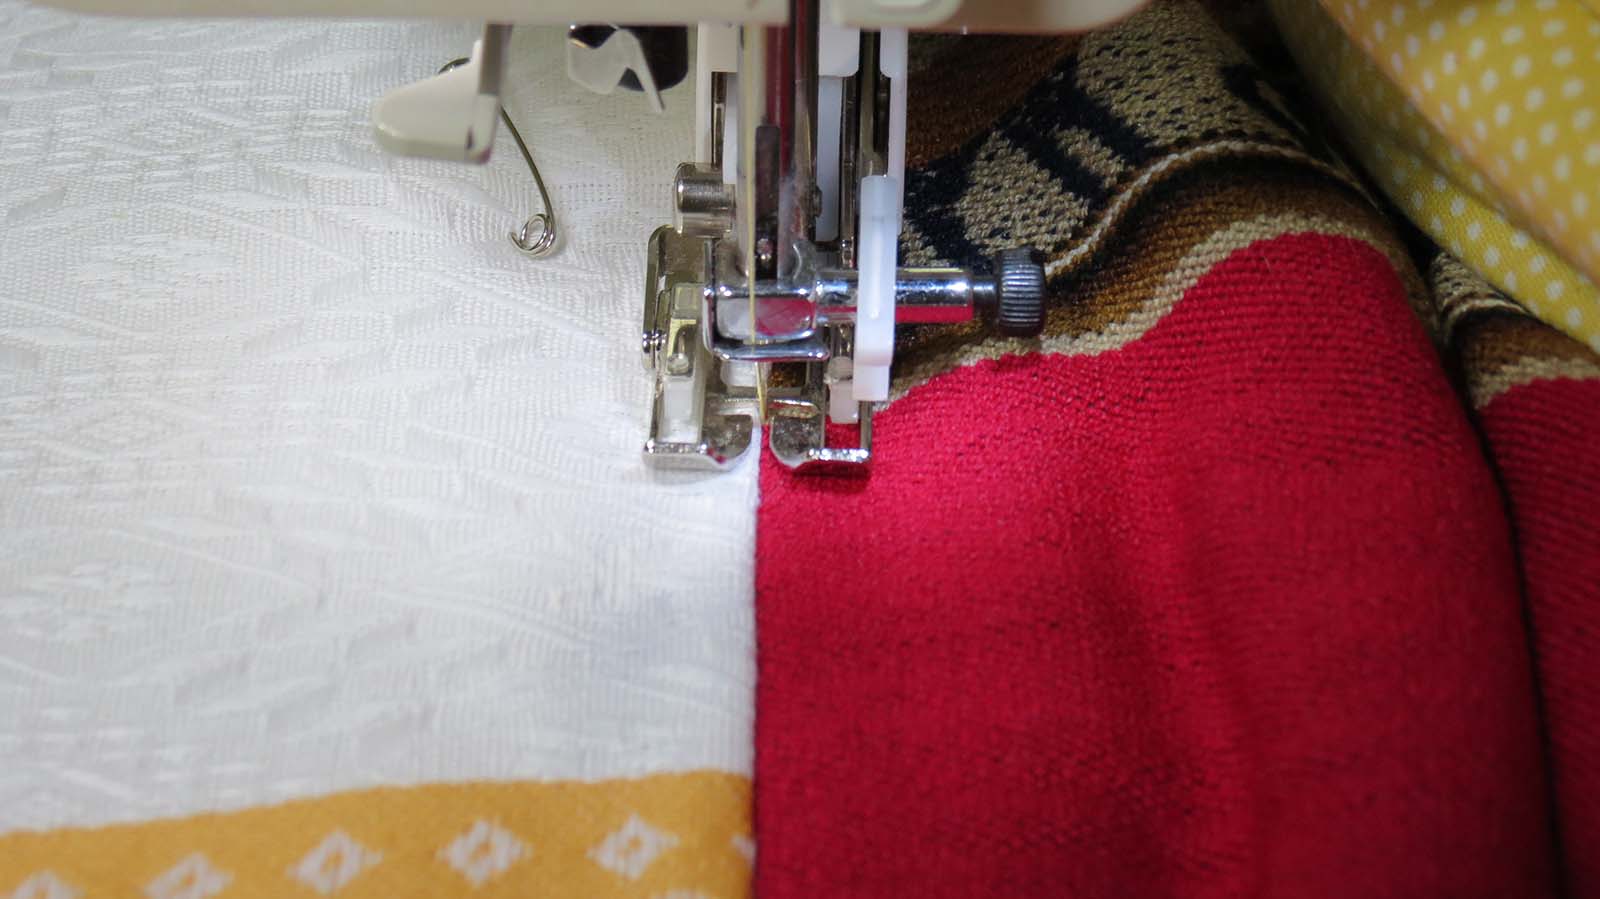
Even though by this point you should have pinned the entire blanket, it is best to start quilting from the middle and work out towards the edges. Maneuver the quilt under the walking foot of your machine till you come to the center. I find it helpful to roll the bulk of the side material for easier handling.
Since you are not able to perform reverse stitches when using a walking foot, start sewing a little before the exact center mark to ensure you have a bit of overlap when sewing the rest from the opposite direction. This will help prevent unraveling and gaps in your quilting. Carefully, lower the needle directly between the blocks into the seam, this is what we call “stitching in the ditch”.
If you prefer to quilt a pattern across the entire project, that is a wonderful technique as well, and will most likely have you employ a free motion quilting foot. For this quilt, however, I have stuck to the grid and will be elaborating on this particular style.
Starting just before center, sew down one seam to the end. Then reverse the quilt, place the needle overlapping your starting point, and stitch on that same seam to the opposite end until the entire length of the seam is quilted. Rotate the blanket 90 degrees to sew horizontally across the middle; again starting in the center and working out in opposite directions. You will be left with a cross sewn through the middle of your project, securing all 3 layers.
I continued this process of stitching in the seams, starting in the middle and working out for 2 more rows in either direction horizontally and vertically. For the final few rows, however, I started at one end and sewed the entire length in one direction. Since the layers were now fully secure, I did not have to worry about things shifting as much. Additionally, this eliminated the hassle of trying to cram several feet of bulk material through the side of the machine under the arm. I could simply feed the quilt through with the shortest side under the needle and have the rest move along to my left across the table.
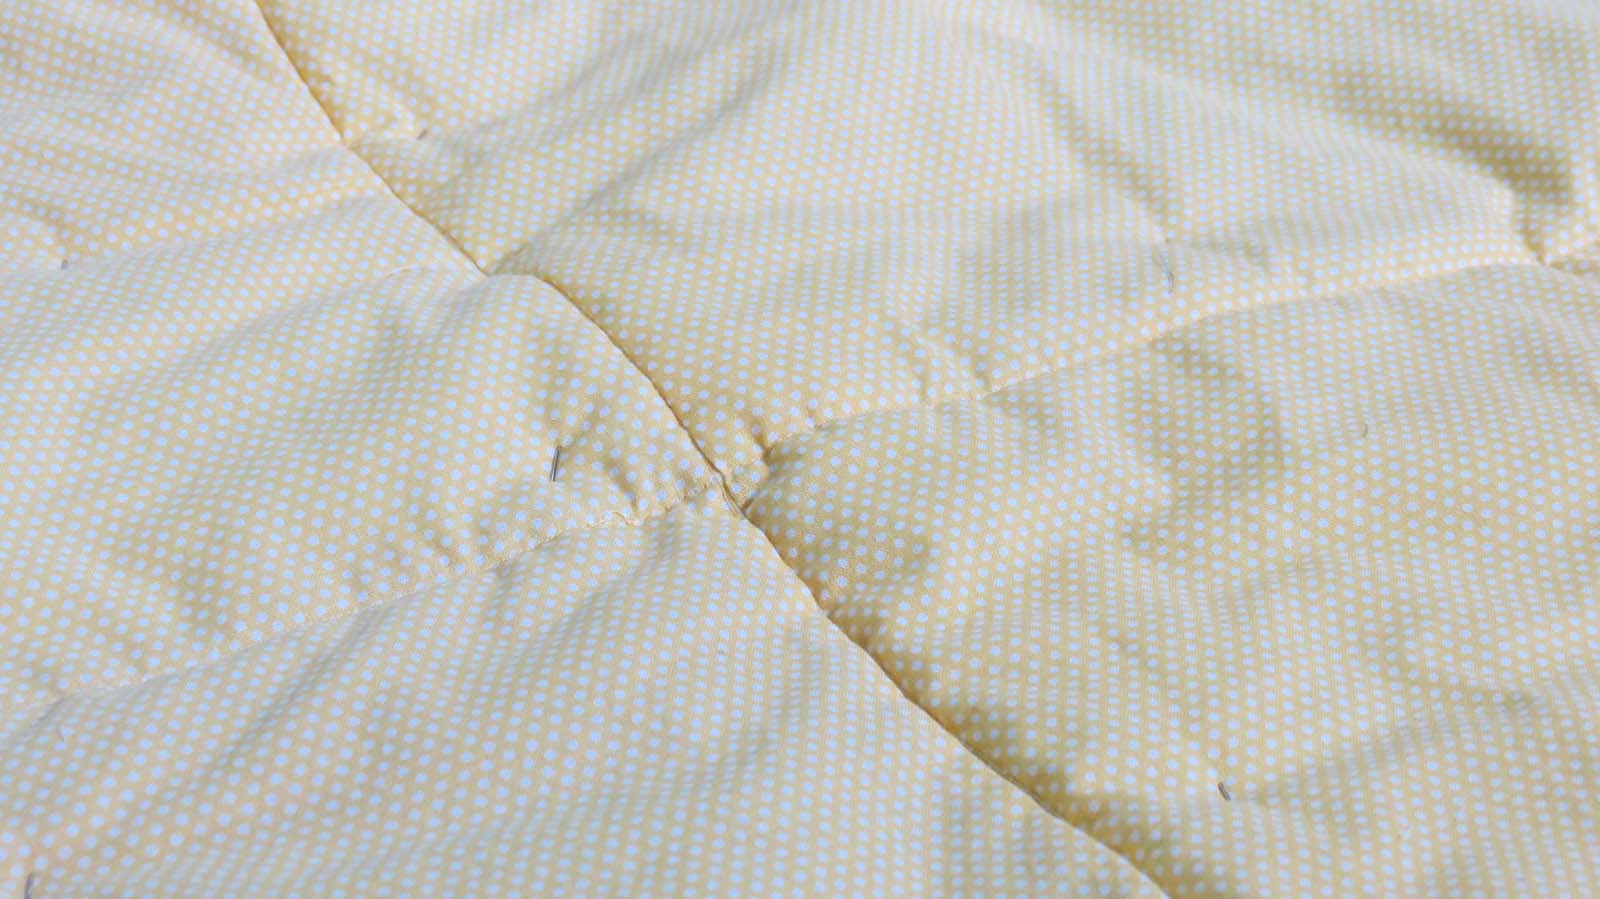
Eventually, the entire top had been “stitched in the ditch” and the 12″ x 12″ grid can be seen from the back.
Next, I put the blanket back in the machine to sew the perimeter. It is best to keep this as close to the edge as possible, I went in 1/8″ from the raw edge.
Trimming the Fat
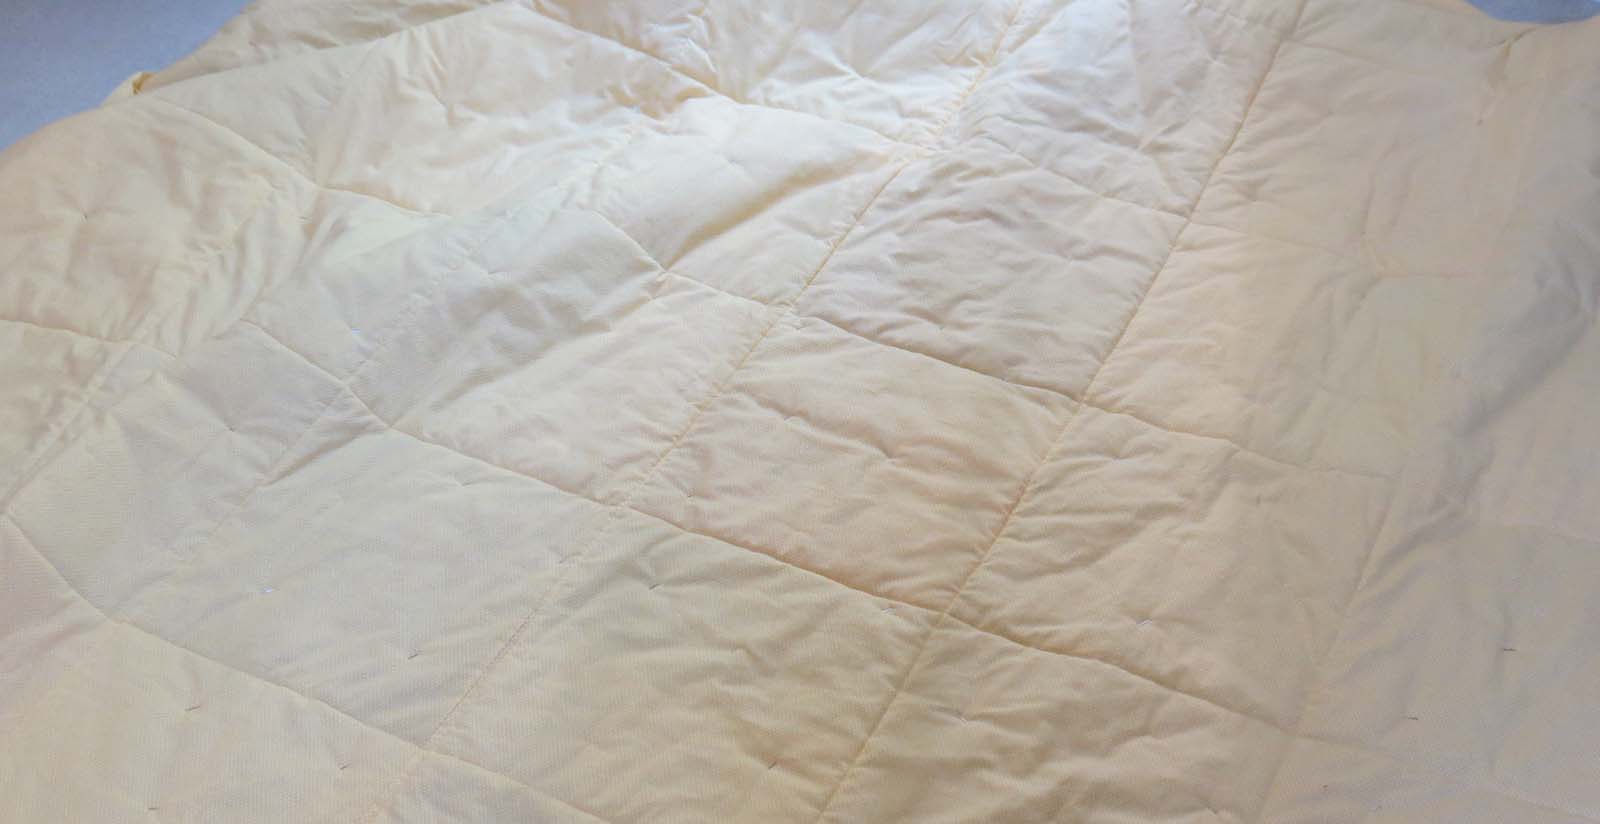
Flipping it over, topside up, the entire piece is now quilted. You can see around the edges the excess batting and backing is still sticking out. Go ahead and remove all of the safety pins at this time.
Get your rotary cutter, mat, and ruler to trim off the extra backing material and batting. This will leave smooth and even sides where you will attach the binding.

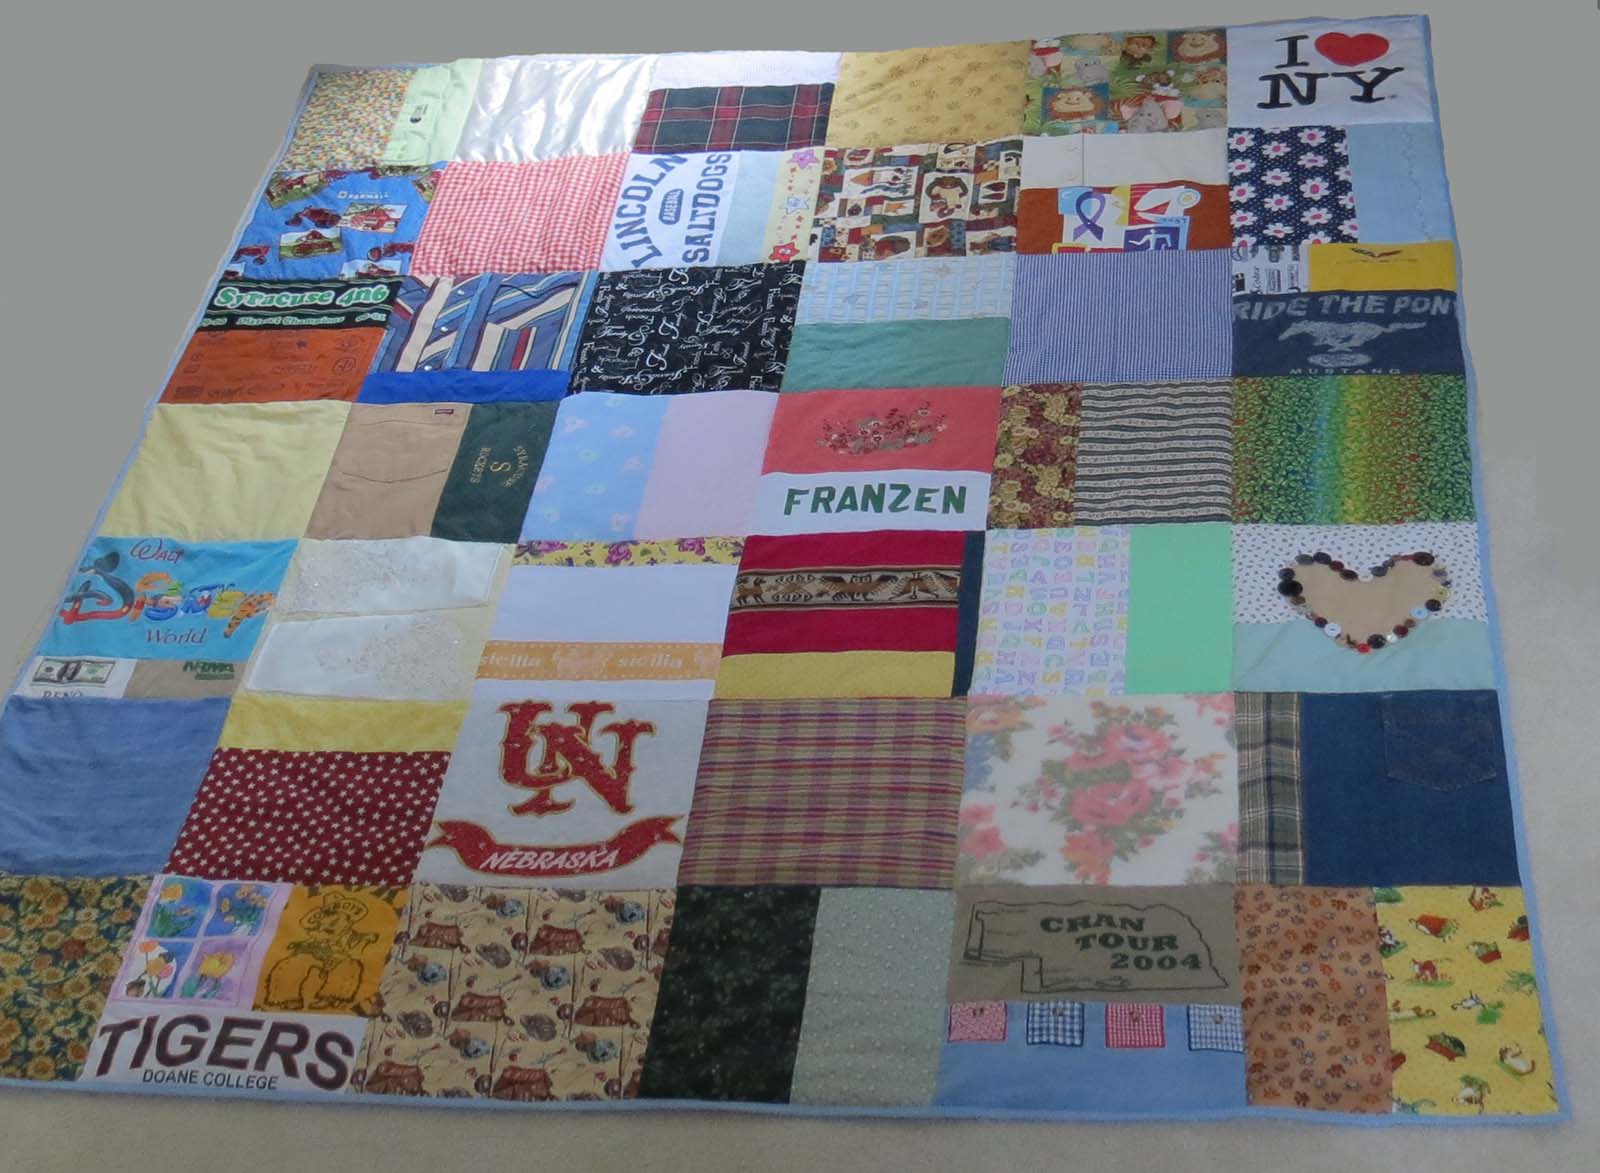
Your piece should now look similar to this, completely quilted, edges trimmed, ready for the final steps of binding:
Binding the Blessings Together
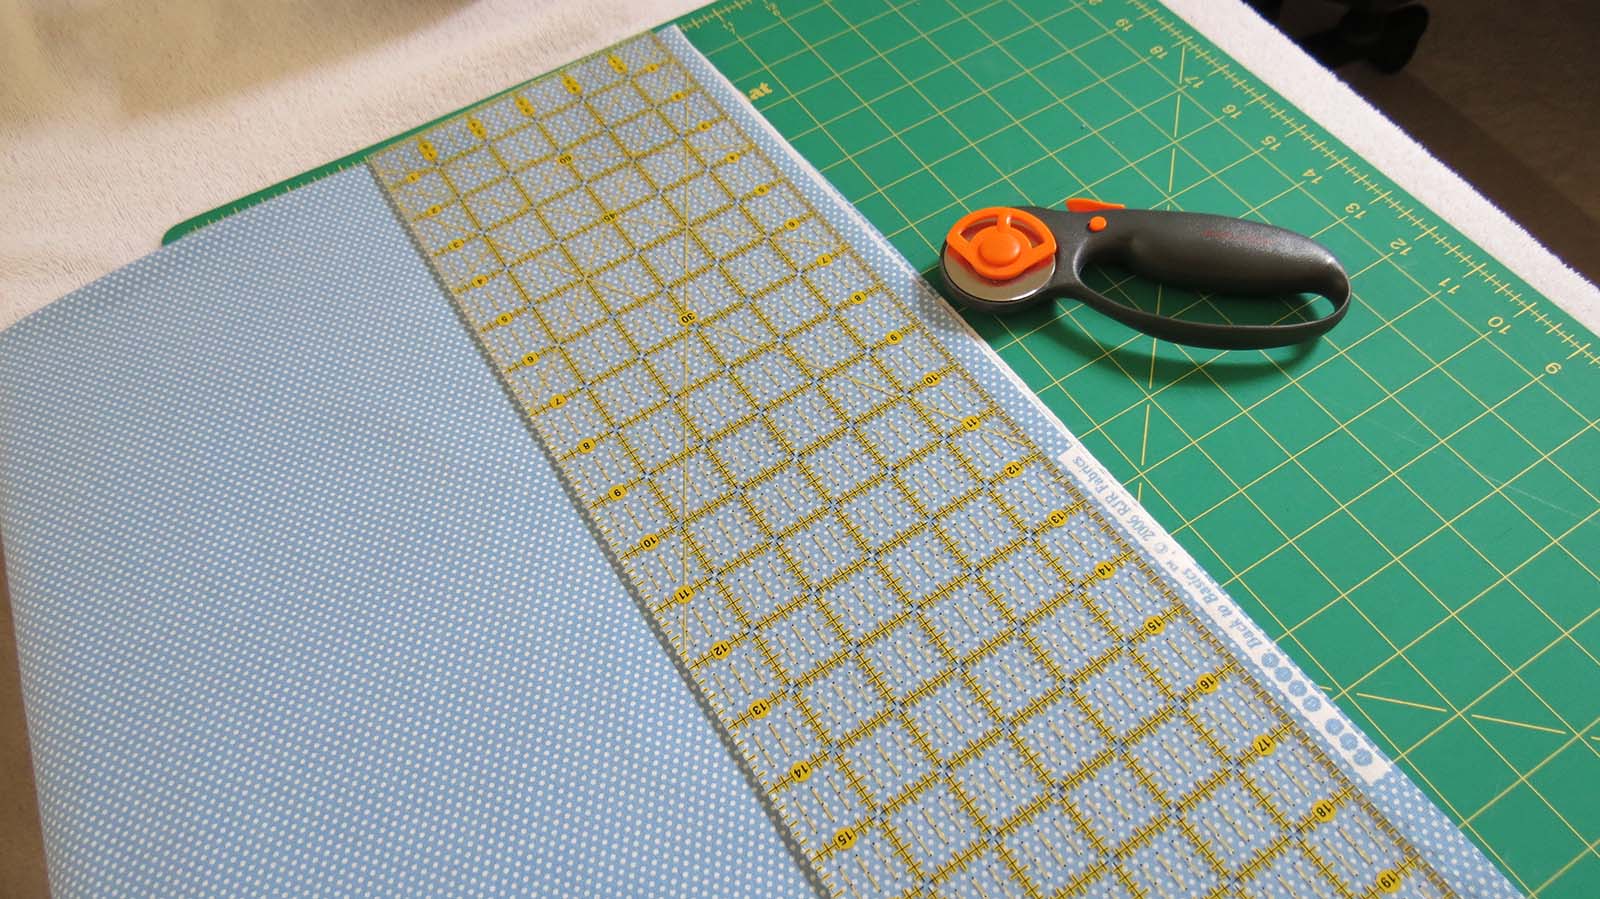
Setting that aside for a moment, it is time to prepare the fabric you are using for the binding. The binding is the small, decorative edge that holds all of the layers together, strengthens the quilt, and gives it that polished, finishing touch. As with the backing material, the binding can be any color or pattern that you prefer. It is generally best to choose a strong and durable fabric that coordinates, or at least compliments, a majority of the blocks on the quilt top. Keep in mind, unlike the backing, the binding is visible from both sides of the quilt. If possible, it is handy to buy your binding fabric slightly longer than the length of the quilt top. This will make it easier when cutting strips; you can simply cut out 4 (one for each side) the length of the material and not have to piece them together.
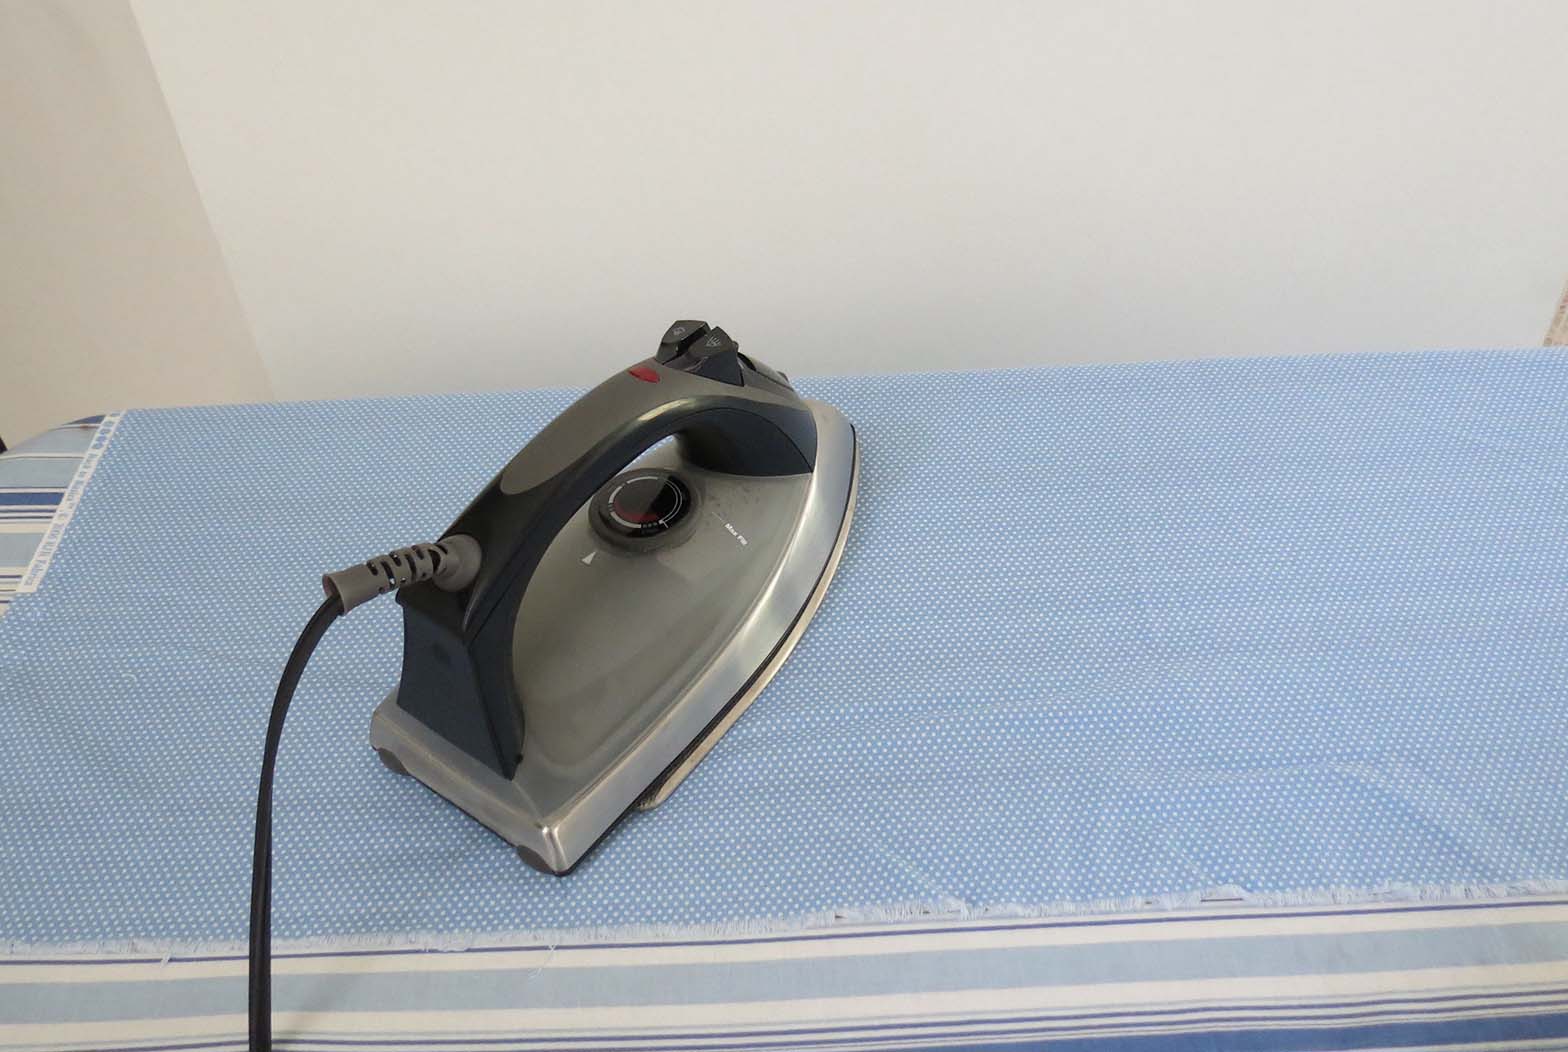
If you have not already washed, dried, and ironed the fabric, I would highly suggest taking the time to do that now. You do not want to attach the final pieces just to have them shrink and pucker when the finished quilt is washed and dried later. Ironing is required to ensure proper squaring of the fabric when cutting.
Fold the fabric width-wise and use your rotary cutter, mat, and ruler to square up the side.
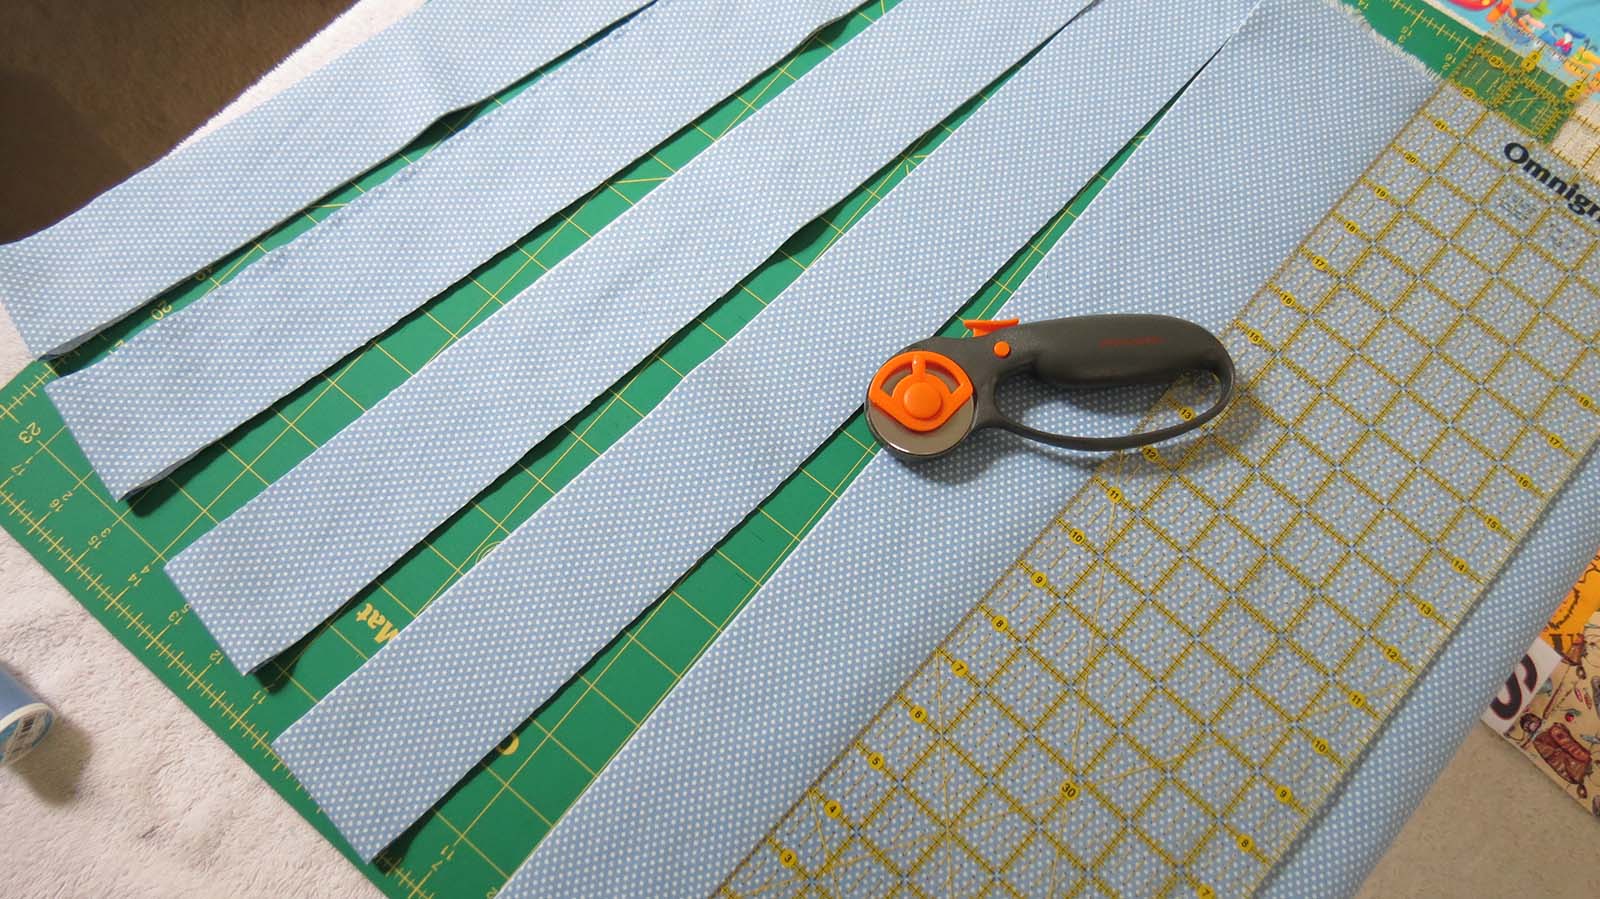
Then, measure in from that side and create 4 strips all 2.5″ wide, the length of the fabric.
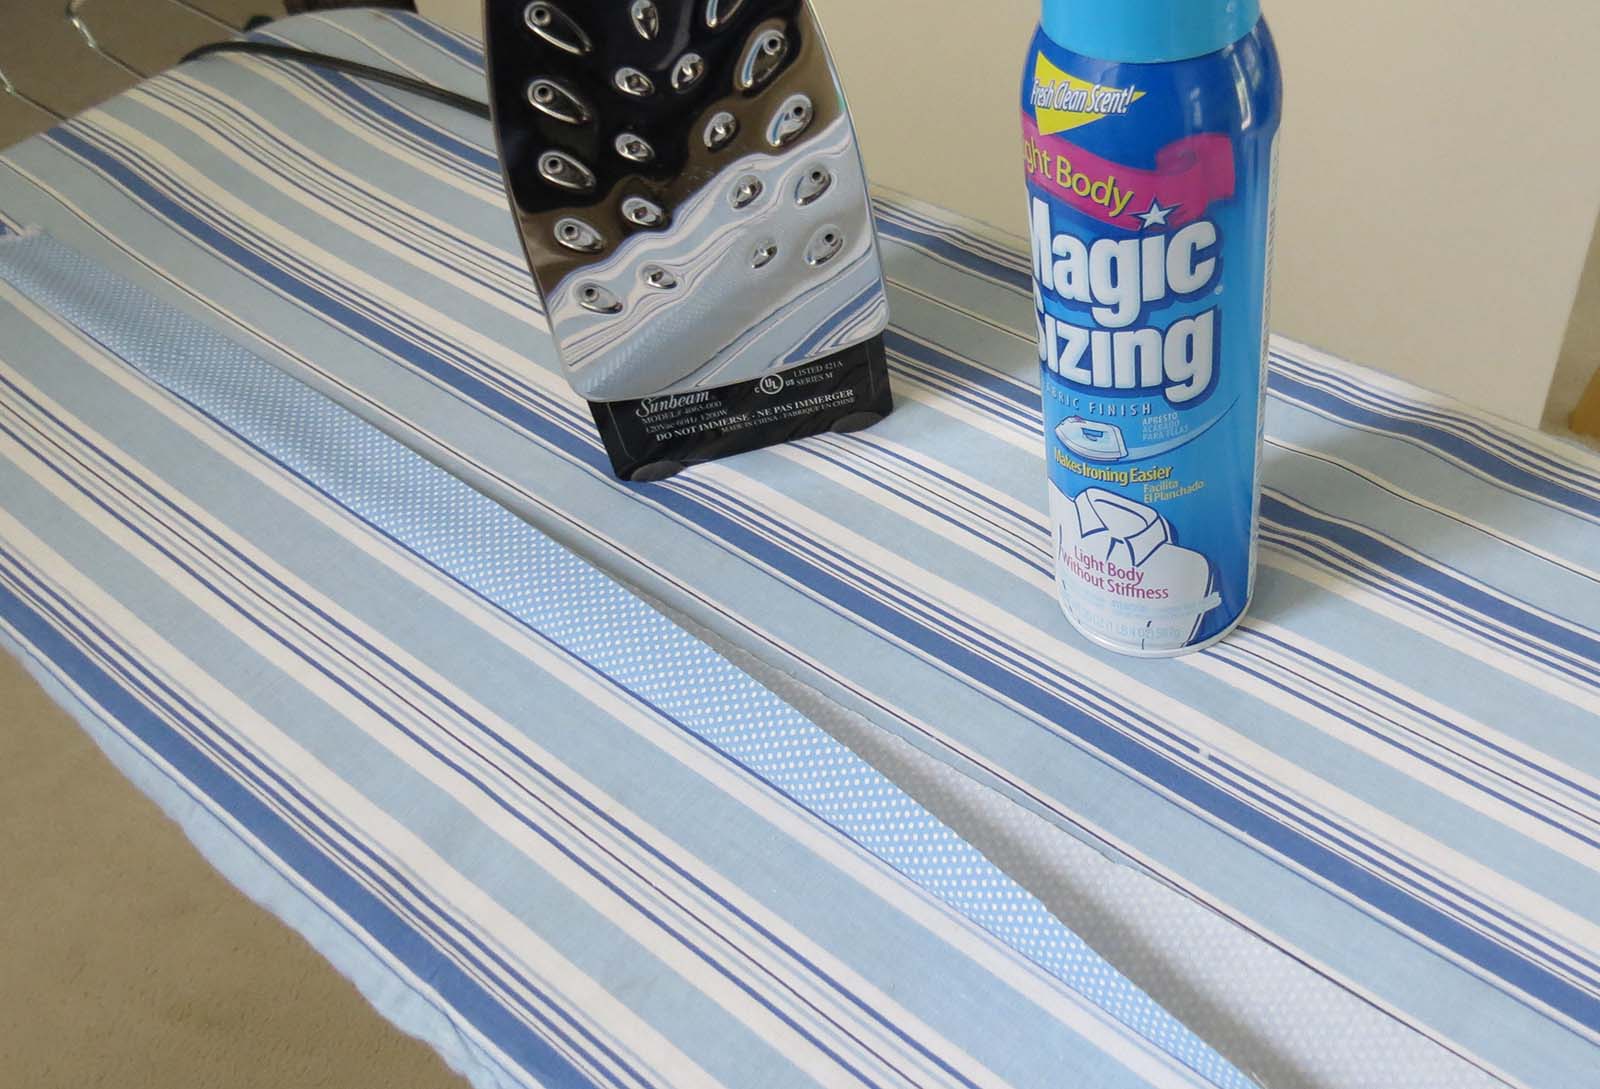
Take the strips back to the ironing board, fold in half lengthwise, and press. I used Magic Sizing to help set it and give the binding strips a little extra body.
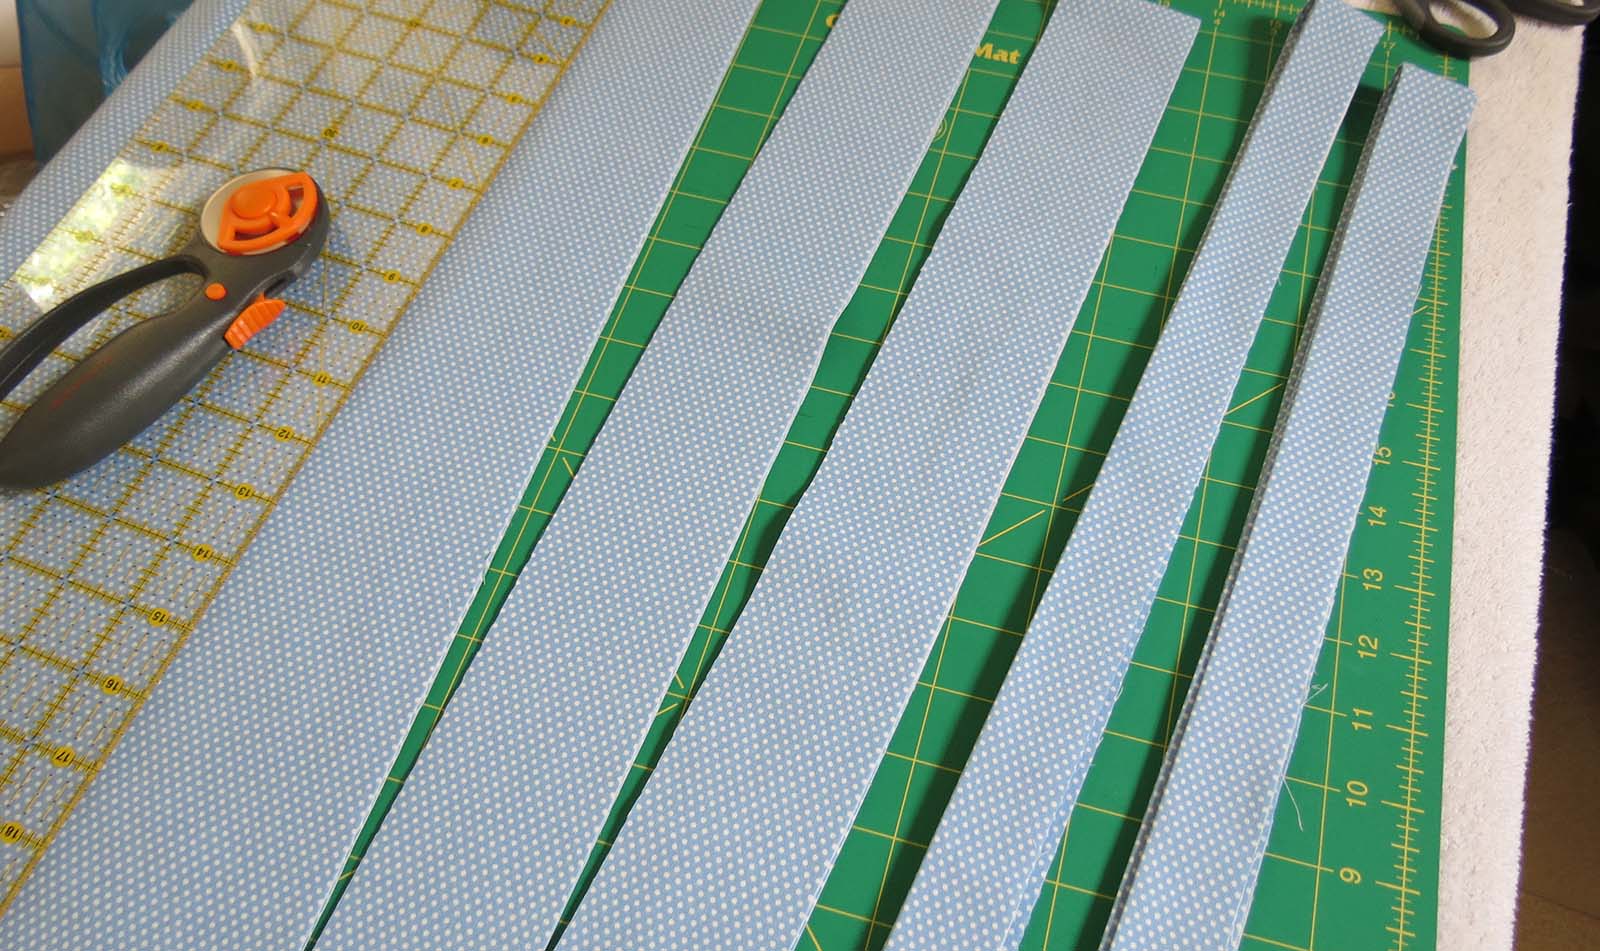
Here you can see 2 of the strips pressed and ready to go on the right.
When all 4 strips are pressed and ready, take a moment to change out the thread and bobbin on your machine to a color that matches the binding fabric (I used light blue).
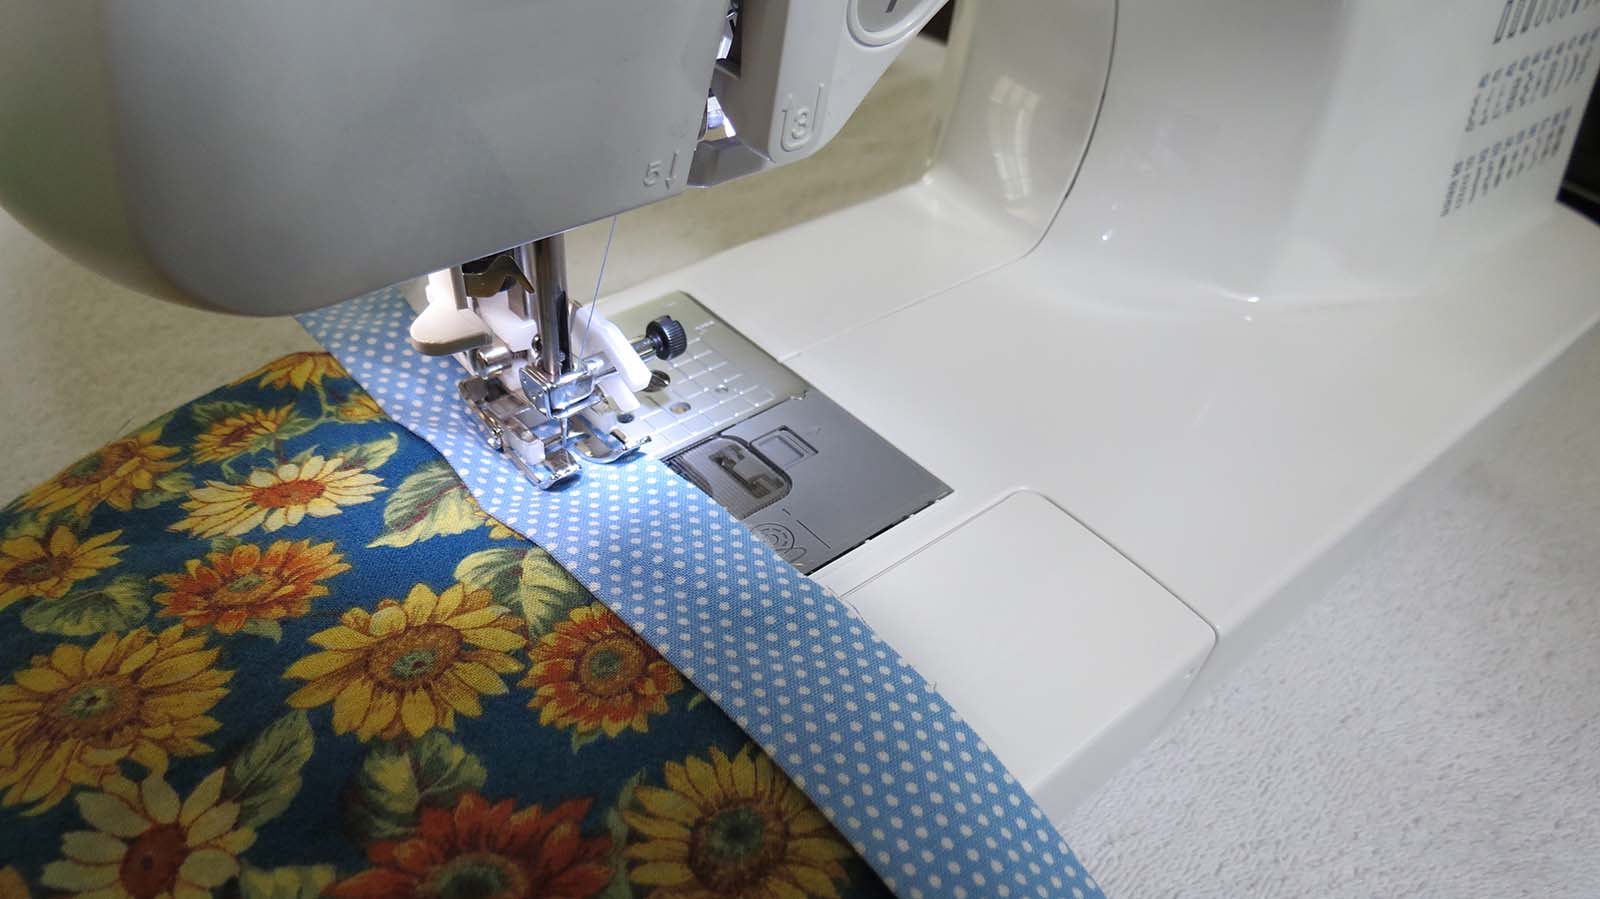
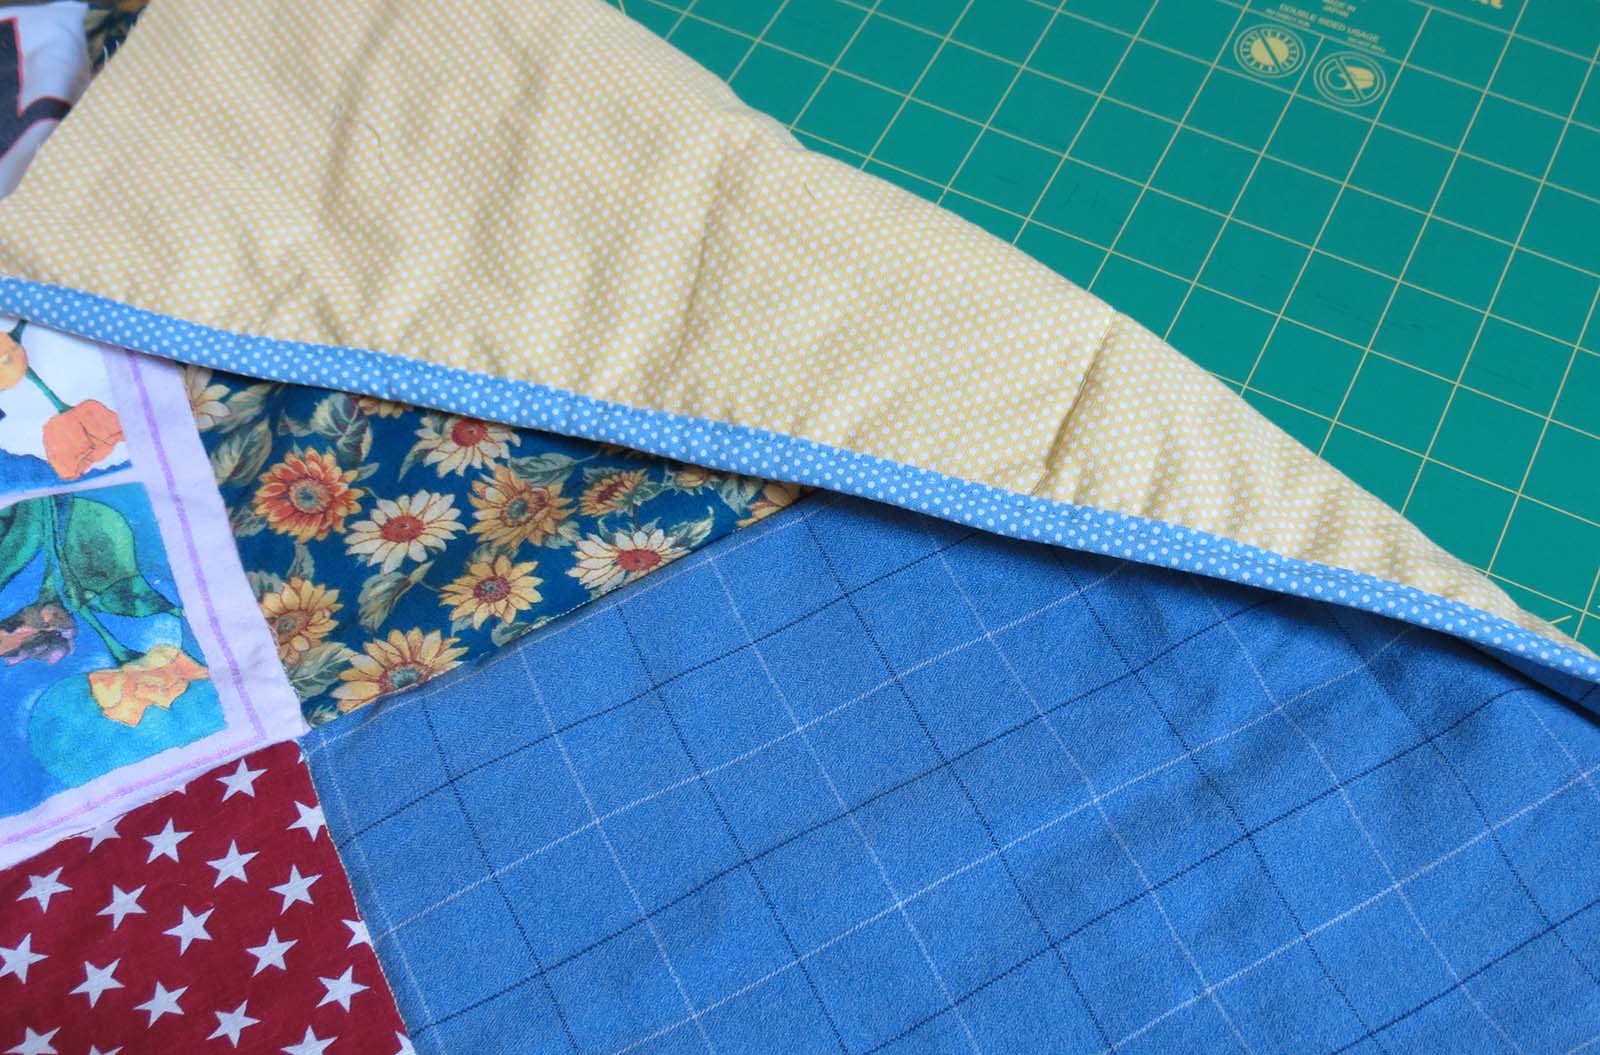
Line up one of the strips with the raw edges matching the raw edge on the quilt top. Try to leave an inch or two of extra binding at the top to work with later, you should also have enough to leave an inch or two remaining at the other end, as well.

Stitch the binding down using a 1/4″ seam from the raw edge.
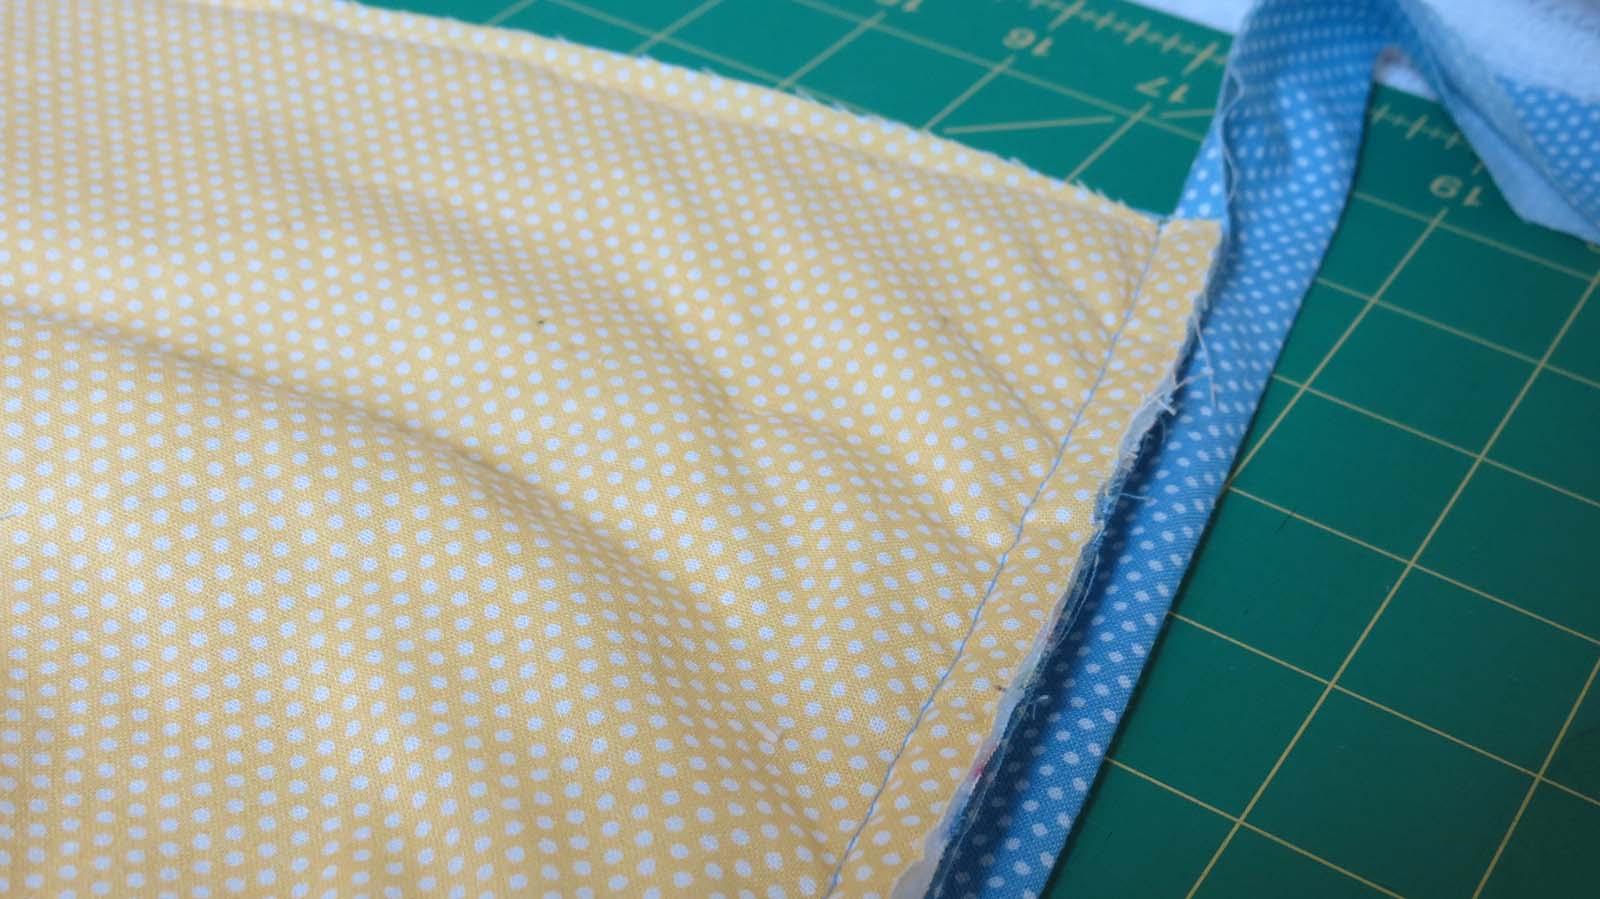
This is how it will appear from the back:
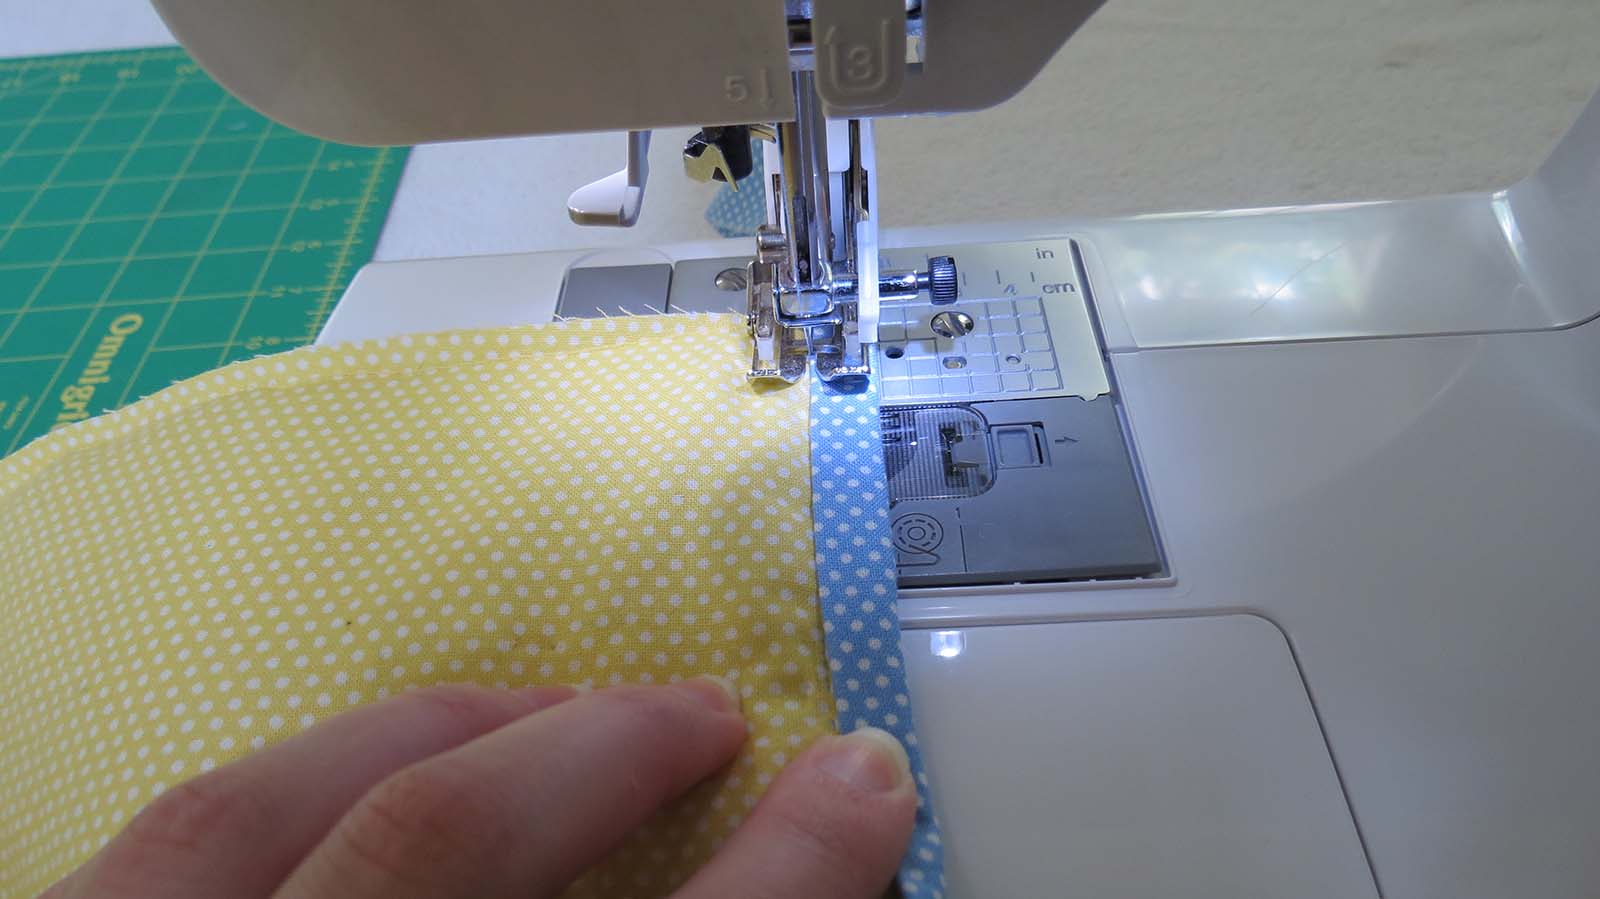
To complete this side with the binding, place the quilt back under the needle of the machine and fold the binding up and over the edge.
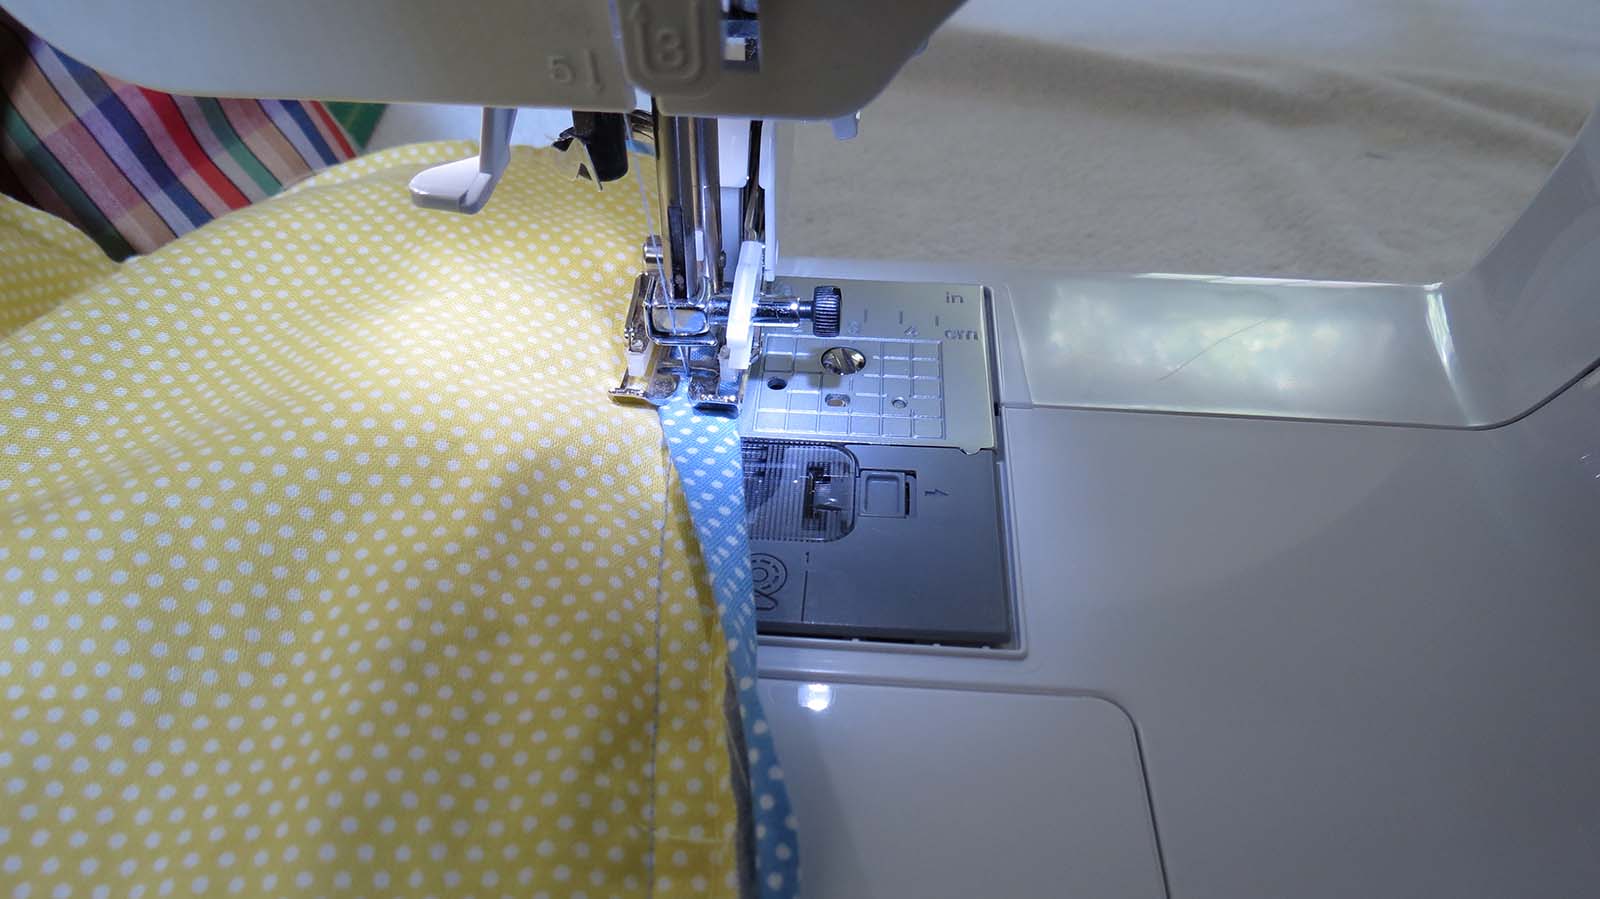
Hold the binding in place while sewing to ensure it is covering the original stitch. Also take care to try to stay the same 1/4″ from the edge. This will keep the stitches on top of the first set (or at least in the area of the binding), and prevent it from being visible on the front.

Do these same steps for the other length of the quilt. When working with the top and bottom edges, however, start sewing the binding about an inch down. This will allow for extra room when finishing the corners later.
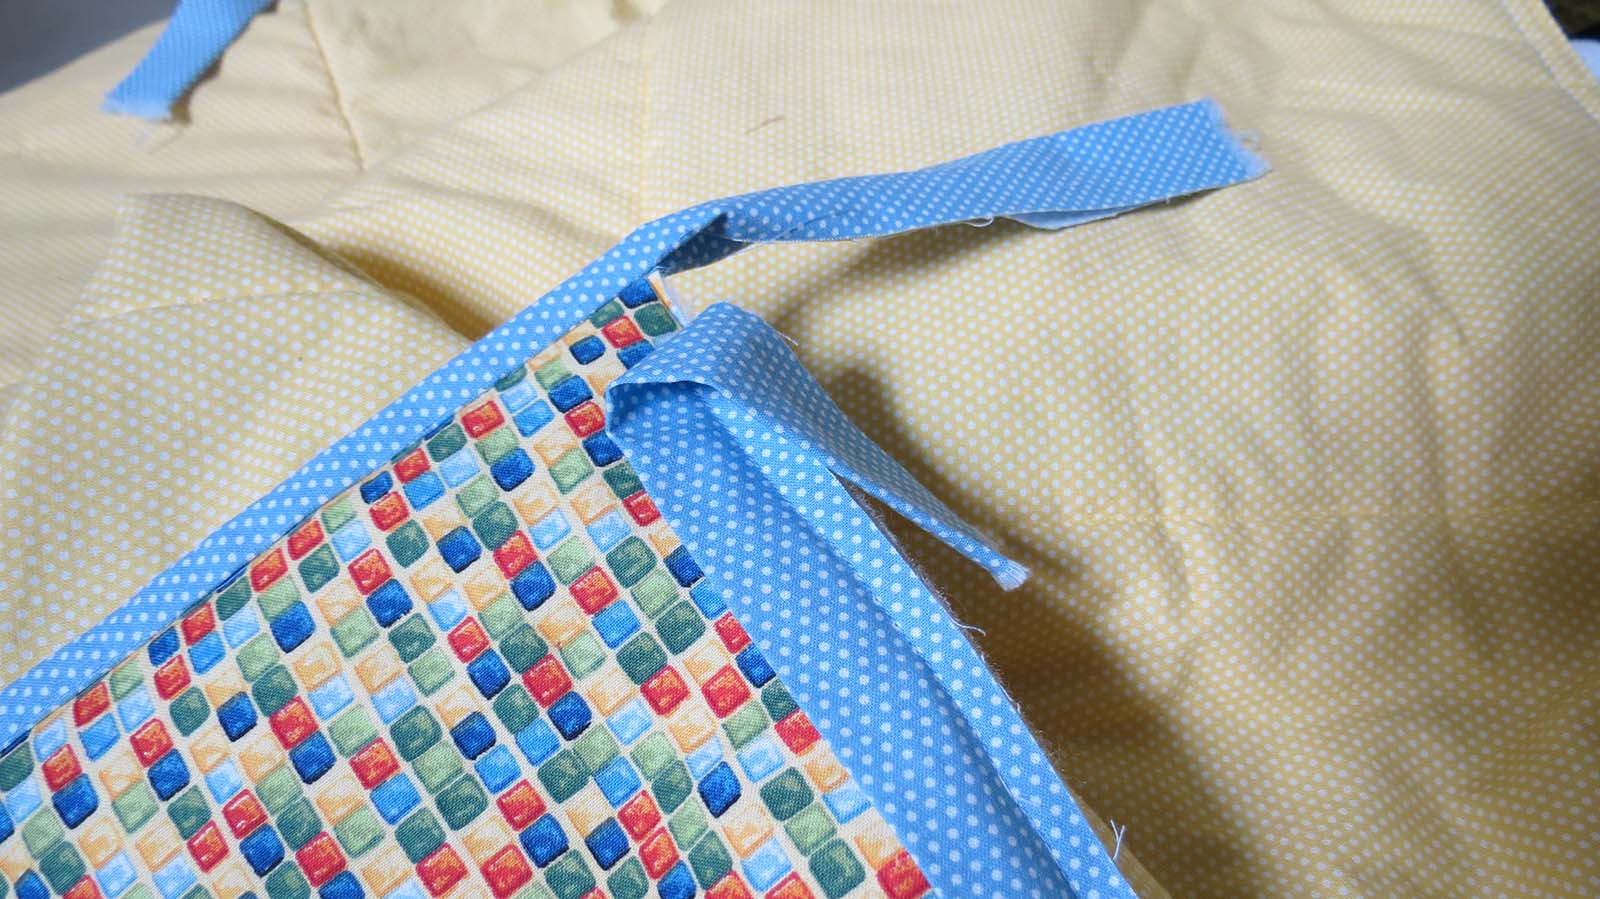
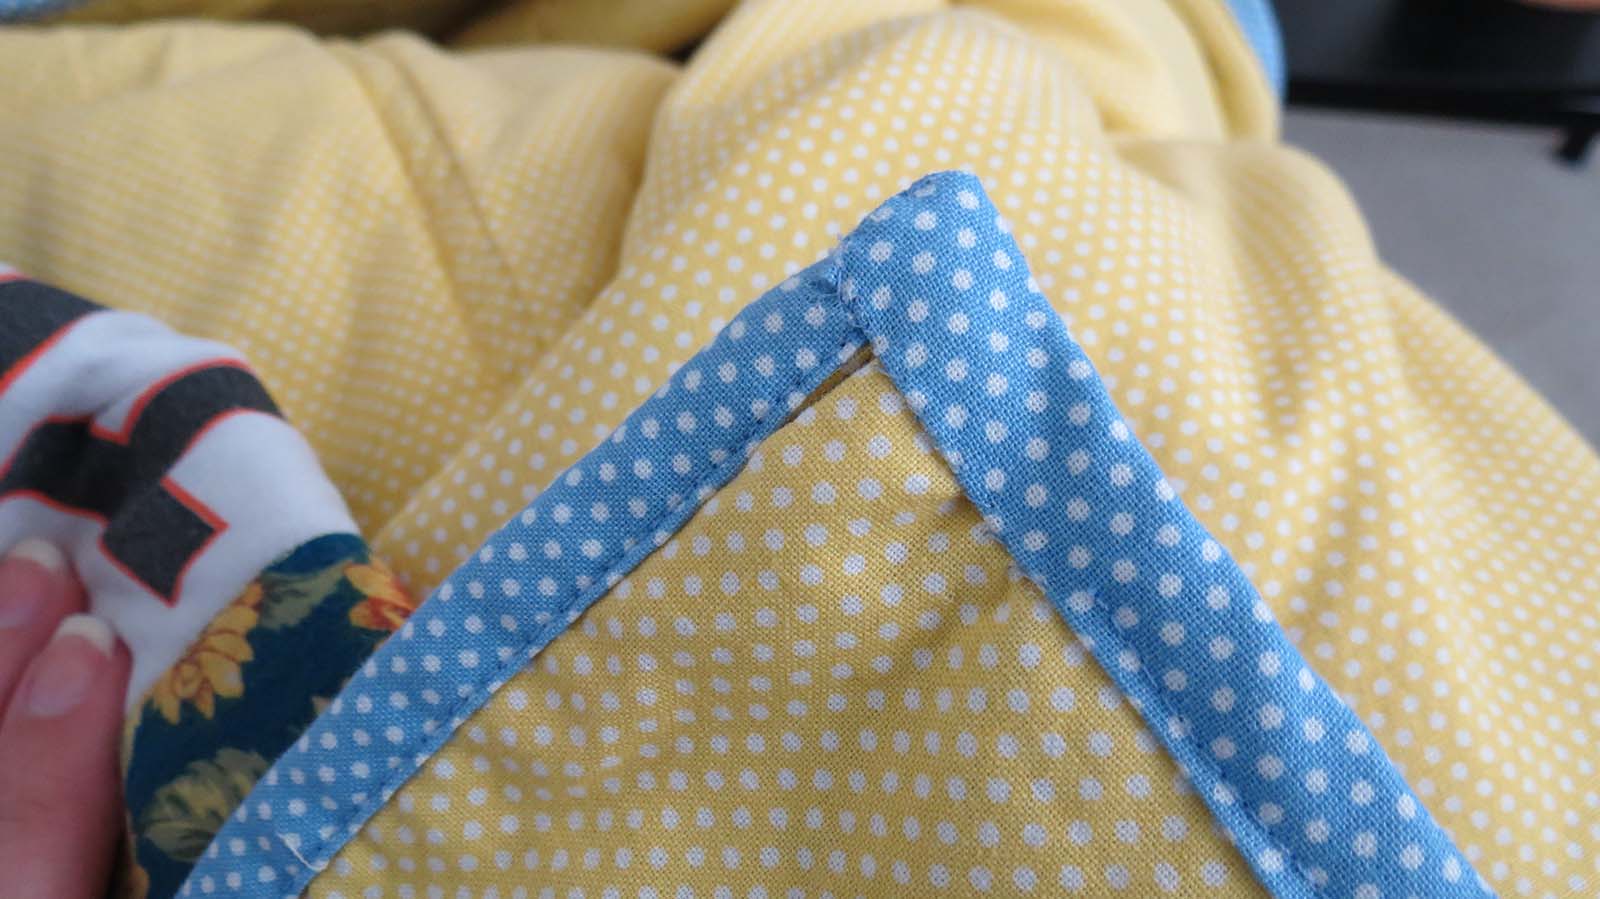
You should be left with the corners looking something like this:
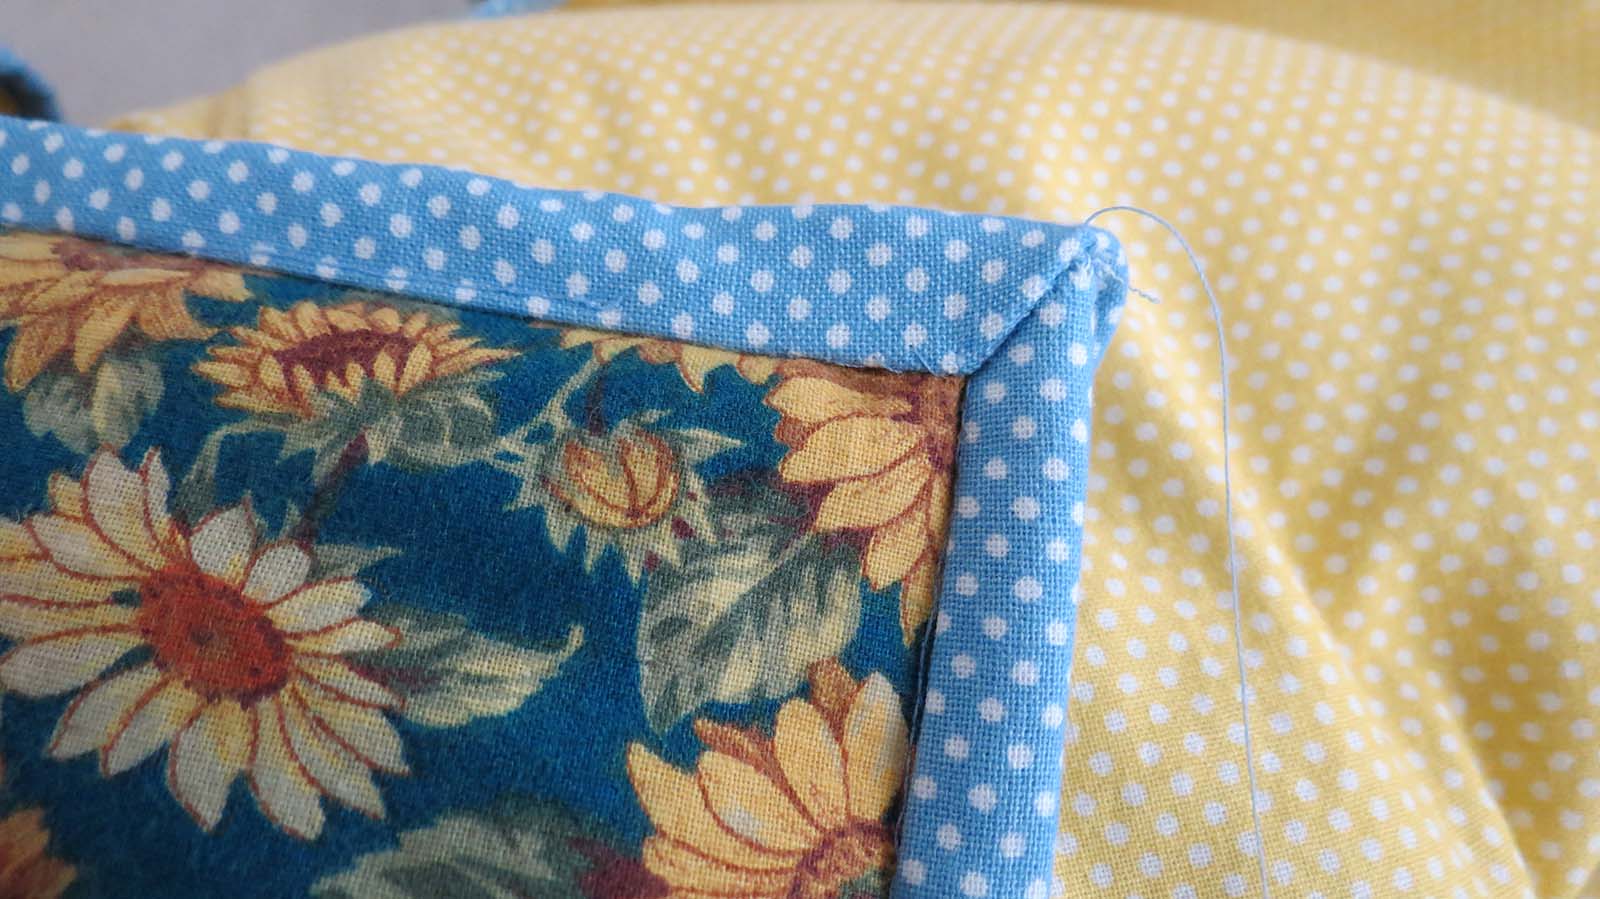
You are now officially done with the sewing machine. To finish the corners, thread a sharp needle with the same thread you were using for the binding. This takes a little finesse and some trial and error, but work your way towards the edge using a blind stitch to attach the rest of the binding. When you get to the corner, trim off the bulk binding fabric but leave a little to fold back underneath to create a smooth edge at a 45 degree angle for a mitered look.
Do your best to continue using blind stitches to secure the material. For the back side I used the same idea, taking care to make sure the binding was firmly attached and laying smoothly.
Enjoy the Fruits of Your Labor
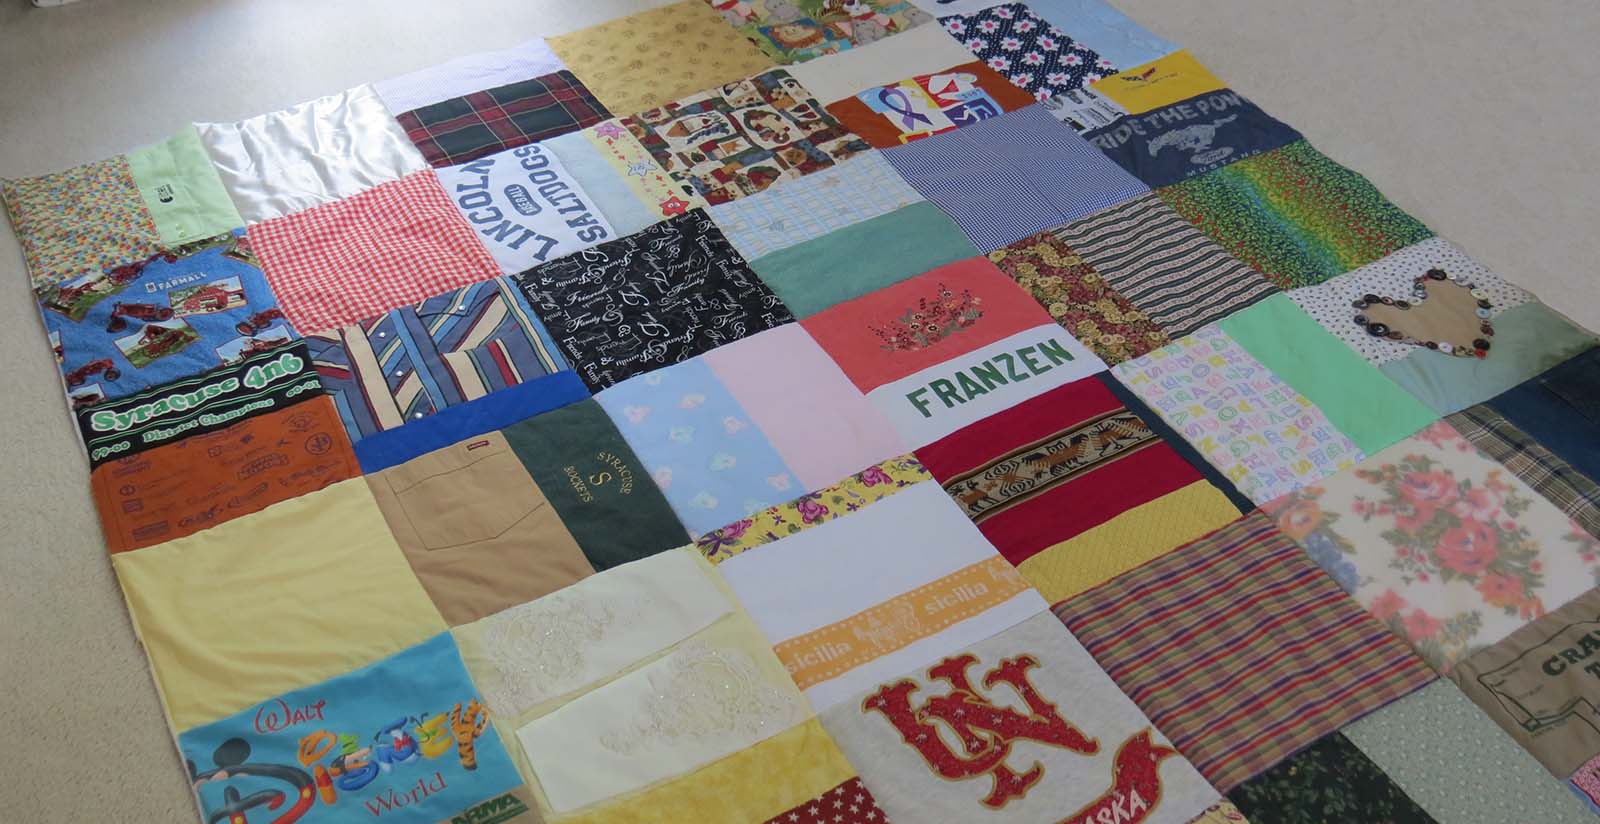
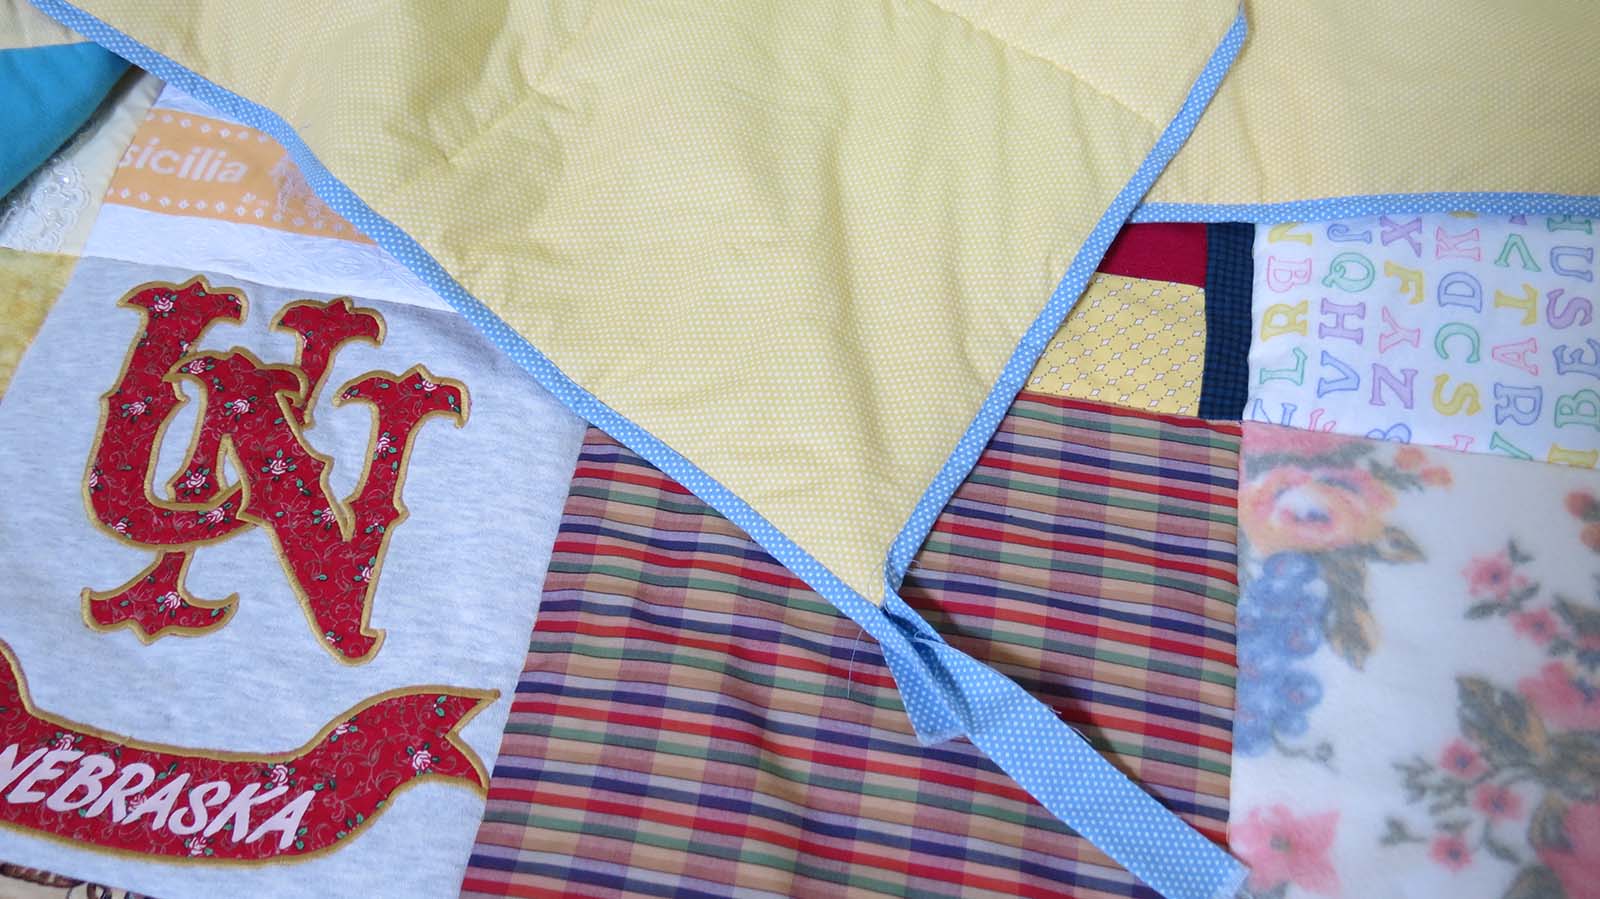
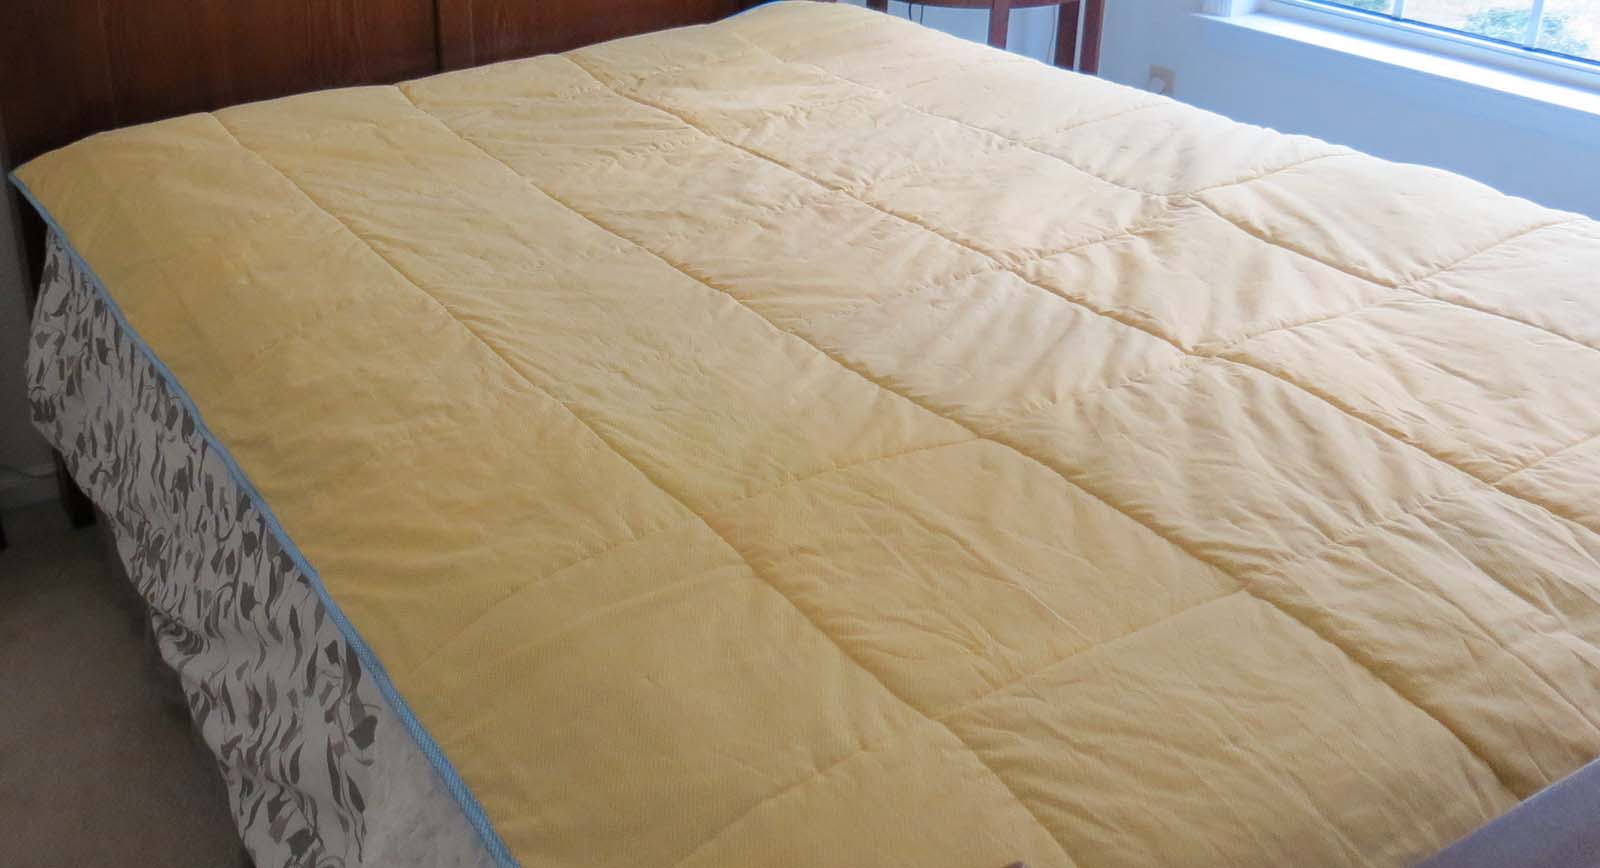
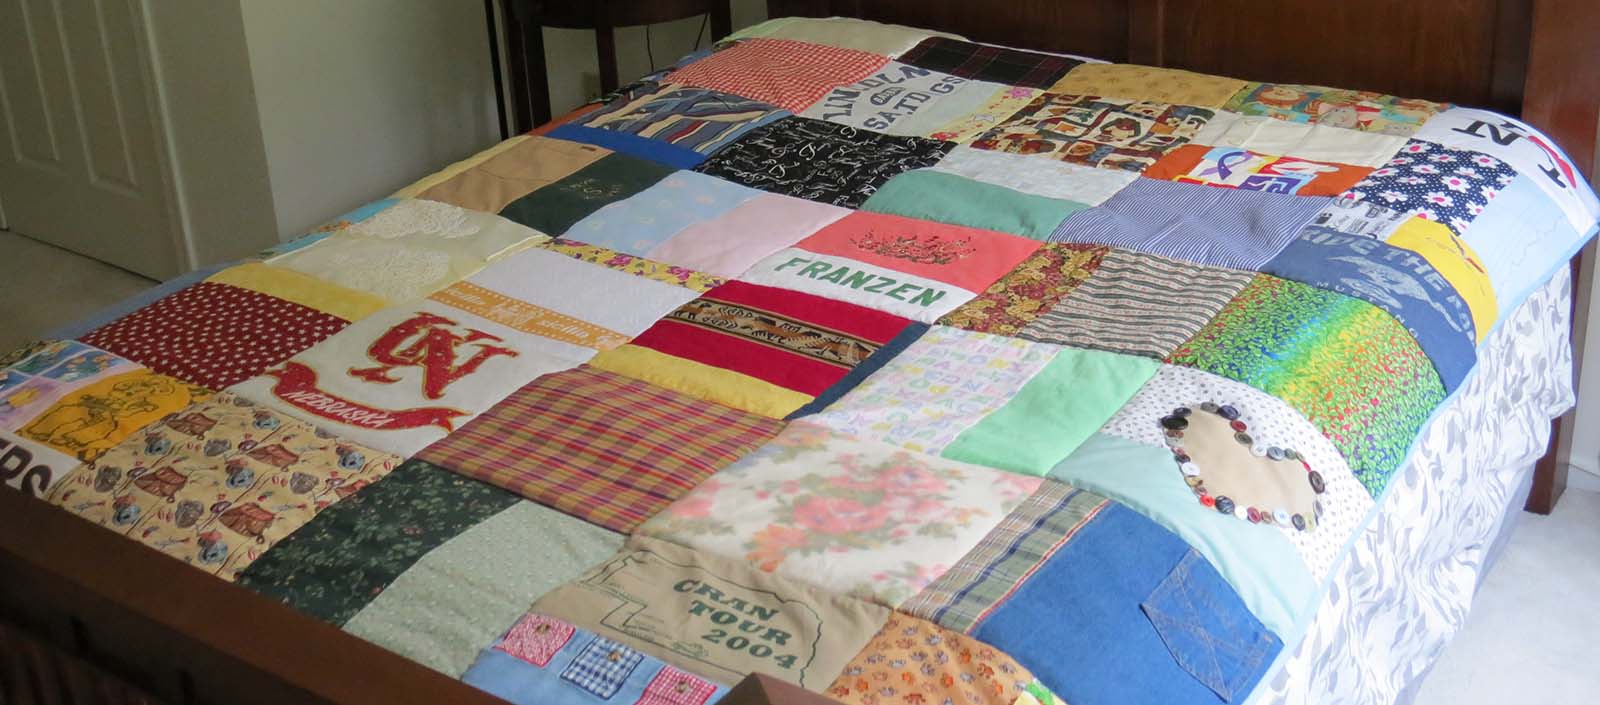
Once all 4 corners are hand-stitched down, you’re finished! Here are a few different views of my completed quilt, the Blanket of Blessings for our soon-to-be baby.

What I Learned
I am very pleased that the quilt turned out pretty much as I had envisioned. With this being my first attempt at something of this size and style, I did learn several things along the way. First of all, I learned I could actually make a full-sized quilt, all by myself, and in less time than it takes to grow a baby. I also learned to trust my gut, and just go for it. Working with fabric is great because it is so forgiving, and a mistake is not the end of the world. It was actually easier than I thought it would be, and a great outlet for fun and creativity.
What I Would Do Different
There are a few things I would change next time around. I would use a stronger/stiffer interfacing for the jersey fabrics. Even though I used the fusible interfacing on the blocks, the type I selected was a multipurpose medium weight, and it just didn’t give the knit fabrics the body I would have liked. I would strongly consider adding boarders around the blocks or at least one boarder around the entire quilt top to make it a little more uniform and also give the different fabrics a common surrounding to help them stay square. I would also take my own advice and add more pins. I had a box of 150 safety pins and could have still used several more to really help secure the edges. As long as they are not in the way when going through the machine, I don’t think you can ever over-pin. And finally, I would either take the time to hand-stitch the back of the binding and use the formal way I was taught in quilting class, or use this method for beautiful corners from Better Homes and Gardens.
Don’t Live in Fear
If I can do it, you can do it, honestly. I am no expert. I took one six-week beginner’s class 4 years ago where we made a crib-sized quilt. A few years later I made the same quilt with different fabrics, and then decided to undertake this project. Don’t let your fears and thoughts that it has to be perfect keep you from trying something new. There are always solutions to change what went wrong, and it might be an opportunity to even enhance your work of art. For example, if you find that your blocks are not lining up perfectly and it really bugs you, add decorative buttons or bows to the corners to hide the imperfections.
I hope you’ve enjoyed this little soiree of mine into the quilting world. I would love to see your projects and hear how the process went for you. Was it easier and faster than you thought? Did you run into unexpected issues, what did you do to resolve them? Or what’s on your activity list that you’ve been postponing? This might be the perfect time to get started. Send me your pictures or project ideas. If there is something that you’ve been wanting to try but haven’t had the time, courage, or patience maybe it’s something we can do together. Feel free to email me or comment below, my next project could be inspired by you.
You Might Also Like:
- Repurposing Old Bed Sheets into a New Comforter
- Top 5 for Sewing and Quilting
- Baby Quilt, a Blanket of Blessings; Part I
- Baby Quilt, a Blanket of Blessings; Part II
- Baby Quilt, a Blanket of Blessings; Part III

6 comments
Skip to comment form
What a beautiful quilt full of stories and memories for your little one!
Author
Thank you! It’s been a lot of fun and hopefully just the first of many more baby/kid projects to come.
It looks amazing! You are my sewing machine superhero. : ) While the kids were at Jason’ folks I got the top and bottom of SaeNa’s ‘receiving blanket” blanket done and got the two sewn together. I just need to bind the edges, but am a little concerned…when I did Brice’s it continually bunched up on me. Any suggestions to prevent this? You mentioned the walking foot in the post, but any other things that might help too?
Author
Way to go! I’d love to see pictures when you get it all finished up. To help minimize and prevent bunching I would look at getting a walking foot if possible. Also, set your machine to a slow or medium speed so it has time to feed the layers of material through. You can also try pinning or basting the binding material to help keep it in place if needed. If problems persist you might want to check the tension on your machine to see if a small adjustment to that will help things sew a little smoother. Good luck, I’m sure it will turn out beautiful.
I made a twin sized quilt made in 5 inch squares completely out of clothes donated by family members for my daughter when she left for college. She could recognize fabrics worn by family members – a hug from home.
Author
Dear Sue,
I bet the quilt is beautiful. What a special treasure! I love that description too “a hug from home” – perfect! And I love the idea of making one for the kids when they leave for college. I should start their new quilts now, and maybe they’ll be completed by the time my girls are ready to leave for school 🙂
Thank you for sharing! Many blessings,
Sarah