This is a great project to become familiar or reacquainted with your sewing machine. The stitching doesn’t have to be perfect and it can be a wonderful opportunity to test out your free motion quilting skills (this was a first for me). Additionally, you will save tons of money on material since you are repurposing old sheets. You may also be more likely to use the finished project due to the fact that this is a relatively easy process; it isn’t as meticulous and time consuming as say creating an heirloom quilt would be. It is one of those projects that seriously anyone with a decent sewing machine can do and actually have fun in the process.
The Back Story
We were always fortunate growing up to have fun bed sheets. My favorite was a flannel Care Bear set. I used them so often that eventually the fitted sheet became threadbare, and we retired the set to the back of the linen closet. Years later I came across them and still couldn’t bear to throw them out. Determined to use the material in some manner I talked Mom into letting me keep them a little while longer. I decided to turn the sheets into a comforter. We were clearing out some other old linens and Mom donated a few additional sets of sheets for the cause, too.
I had never undertaken a sewing project like this on my own. I didn’t have any real instruction or directions, but figured it couldn’t be that hard. I was simply going to use one of Mom’s old plain sheets on the bottom, add a layer of quilt batting in the middle, and place my Care Bear sheet on top, stitching around the printed images; the fitted sheet was too thin to do much with.
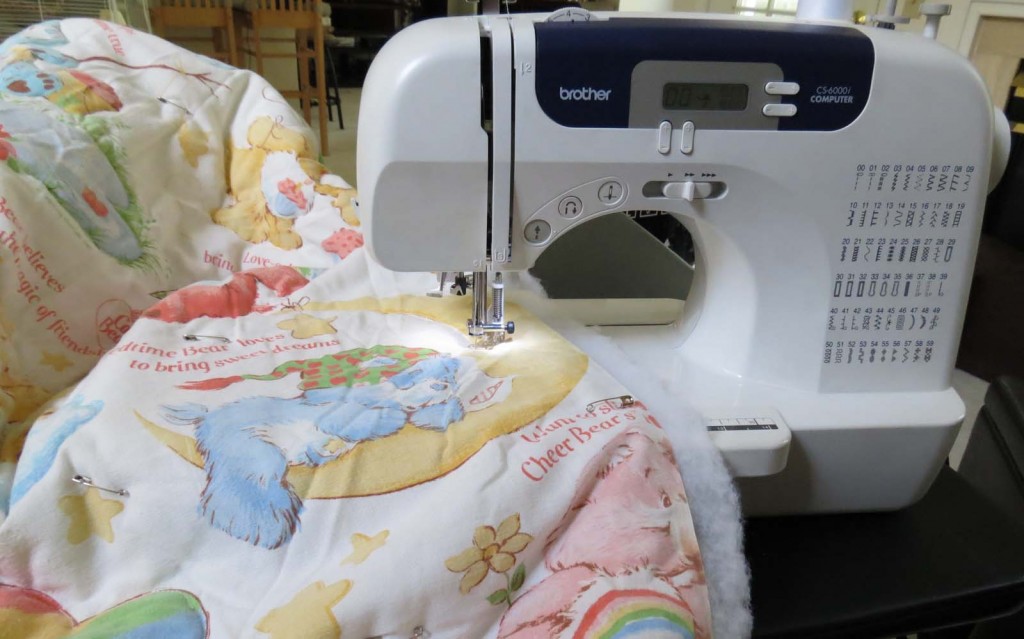
I began by laying out the bottom material face down, then spreading out the batting on top of that, and finally placing the Care Bear sheet on the top, face up. I pinned all 3 layers together, and used Mom’s machine to begin sewing around the characters. This worked for awhile, but the machine was rather old, needed some major attention, and I was not even using a proper foot for quilting. It wasn’t long before the machine started having continual tension and bobbin issues. Also, I had only pinned the perimeter, so it was beginning to bunch in the middle. I soon found the busyness of daily life overshadowed the battles with the comforter.
Long story short, the partially completed project ended up in a storage tote where it sat for years. The last time I was home visiting my family, we sorted through all of my things that had been left behind and came across the Care Bear comforter. I packed it up with several other boxes of items and decided to see if I could salvage it or needed to just cut my losses.
Picking up Where I’d Left Off
Since my last shot at it, I now had my own working sewing machine, I had taken a formal quilting class, and finished two crib sized quilts. When we recently found out we would be having a baby girl in August, I thought this would be a great opportunity to finally get the blanket finished. The soft comforter would be perfect for lying on the floor or even spreading out in the grass outside for playtime and picnics. I am also getting ready to make a large pieced quilt for her and wanted to ensure my machine was in good working order and try out a few different techniques here before I tried them on the next quilt. If something went wrong with this project I wouldn’t be heartbroken since I never expected it to be prefect in the first place.
Ripping and Pinning
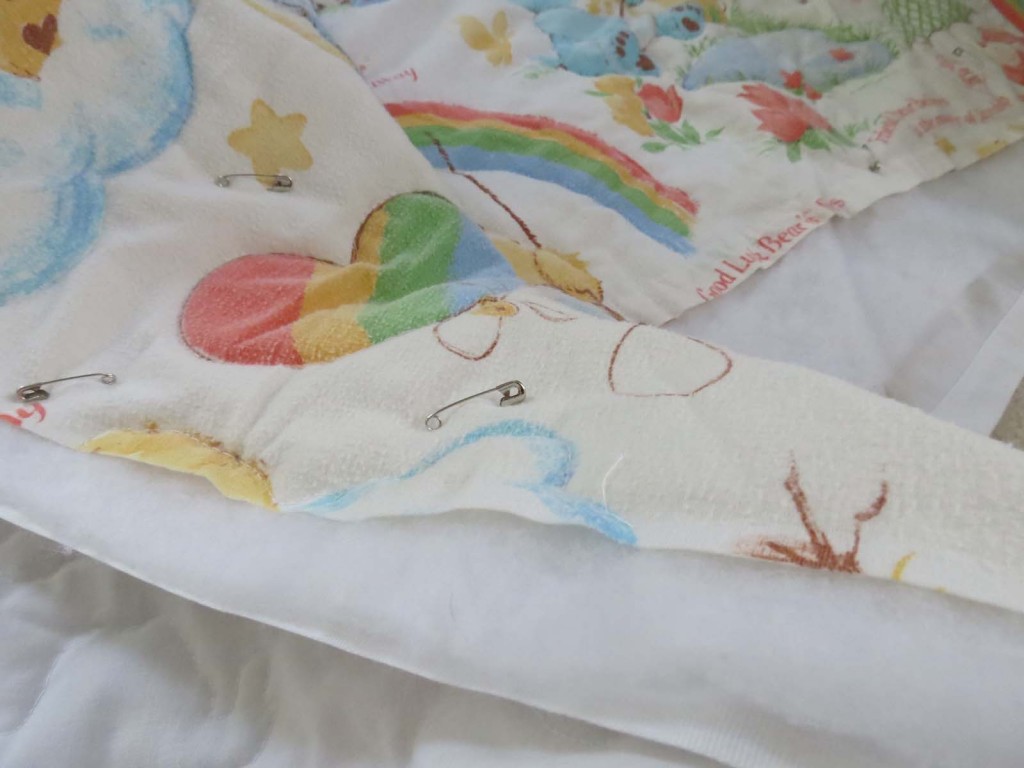
Taking it out of the tote, it actually didn’t look as bad as I remembered. I had finished quite a bit more than I originally thought. I did spend one evening in front of the TV with my seam ripper, undoing a few of the characters that had not been pinned appropriately and were sewn with creases in the material, etc. I then took my time and properly re-pinned the entire comforter using quilter’s safety pins, as opposed to the little straight pins I had once thought would keep things in place.
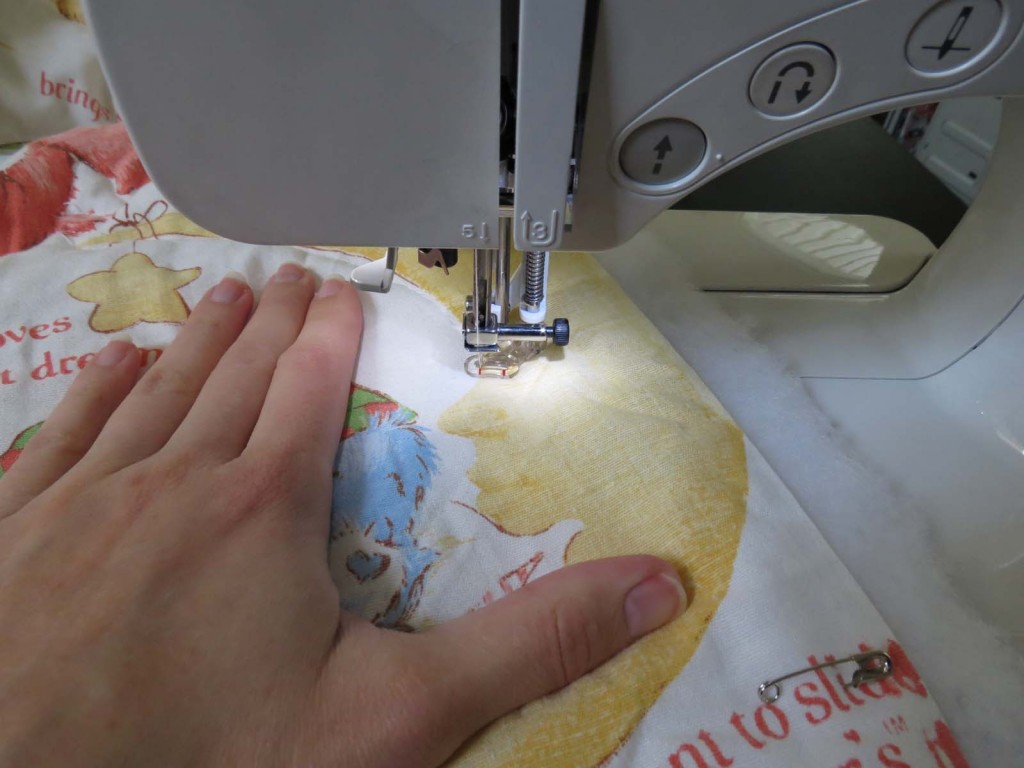
Since I used full sized sheets, it did take a while to pin through all 3 layers and get it properly aligned, but of course it is one of those steps that a person cannot afford to skip. As a rule of thumb, the spacing between pins should not exceed that of your open hand (if your spread out your hand and are not touching any pins, you should add to that area). This will ensure good coverage with keeping your quilt (or comforter) nice and flat and prevent bunching and folding.
Commence the Sewing
After winding the bobbin, threading the machine, and attaching a free motion quilting foot, I was finally ready to put needle to cloth. When I had originally started the project I at least had the knowledge to begin sewing in the middle of the sheet and work outward towards the edges. (This also helps prevent shifting and bunching of the fabric.) So, I moved the material to the next open Care Bear and began to sew around the figure. It was a little tedious at times, but all in all it went rather well. I had never experimented with free motion quilting techniques, and this definitely gave me the practice I would need before jumping into a more technical activity. I just stitched around each bear following the outline, at this stage even kids and those with little experience could help. Worst case scenario a few stitches have to be removed; nothing is permanent and fun, not perfection, is the goal.
After a couple of afternoons with the machine, I finished sewing around all of the figures.
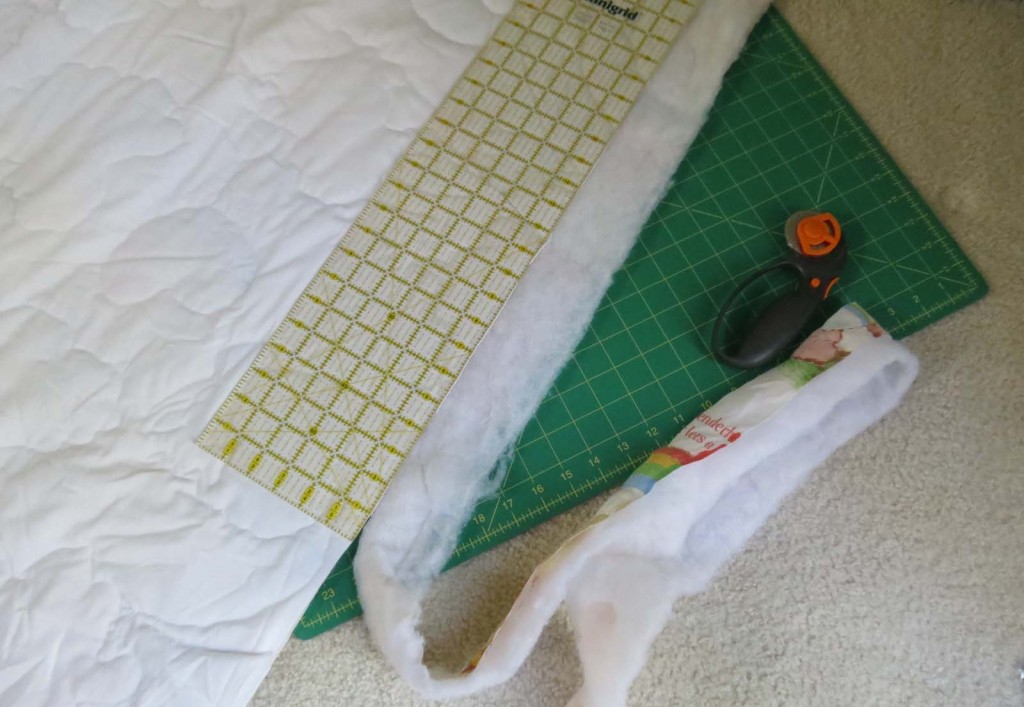
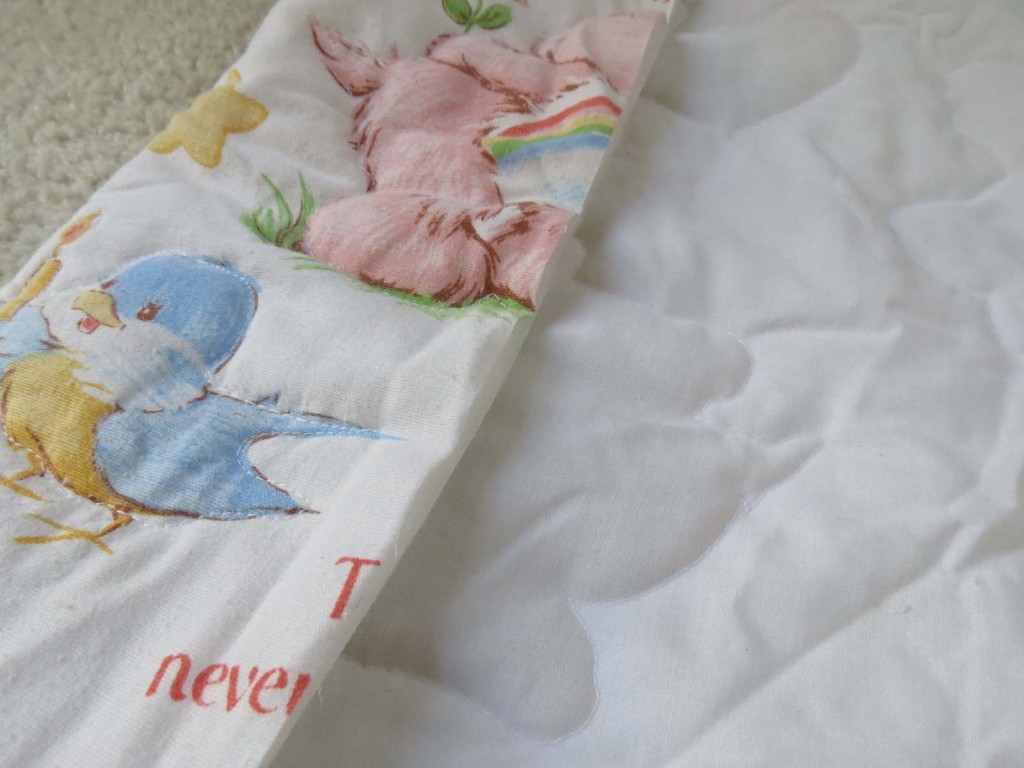
I removed the pins, and used my rotary cutter, mat, and rulers to trim off the excess material and batting. Since this is a much more laid back project, I honestly didn’t take a lot of time trying to square up the comforter. After trimming, the edges were even, and that was good enough for me.
All Bound up
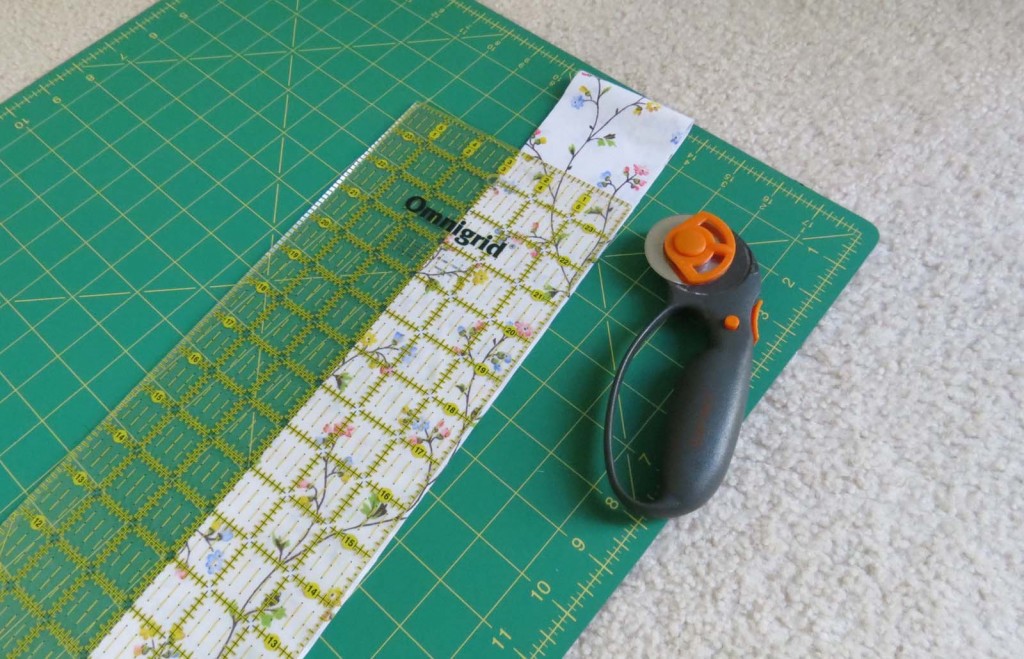
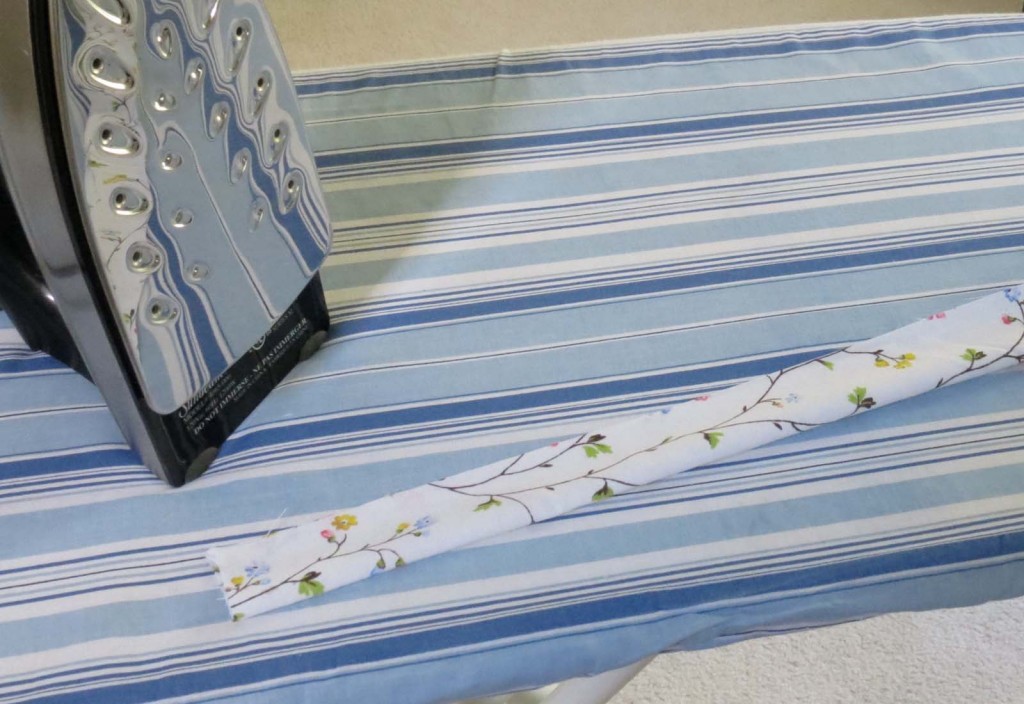
To complete the raw edge I cut 4 strips of material out of a third sheet for the binding. They were 3 inches across and the full length of the sheet. Again, I did not get extremely technical here with the binding. Normally, I cut my strips to 2.5 inches on the bias, and stitch them together to form one continuous length that wraps around the entire quilt. The top is machine sewn and the back is hand stitched. I wanted to try using the sewing machine to stitch the front and back of the binding, that is why I left the 4 sides separate and a little wider than normal. The strips were then folded in half length wise and pressed with an iron before sewing.
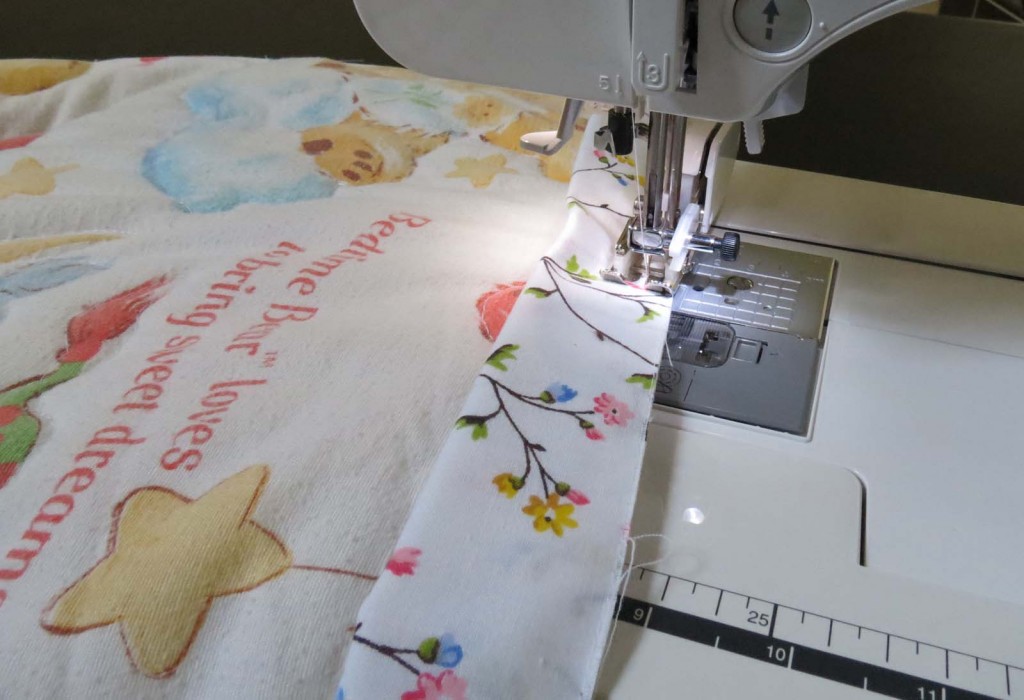
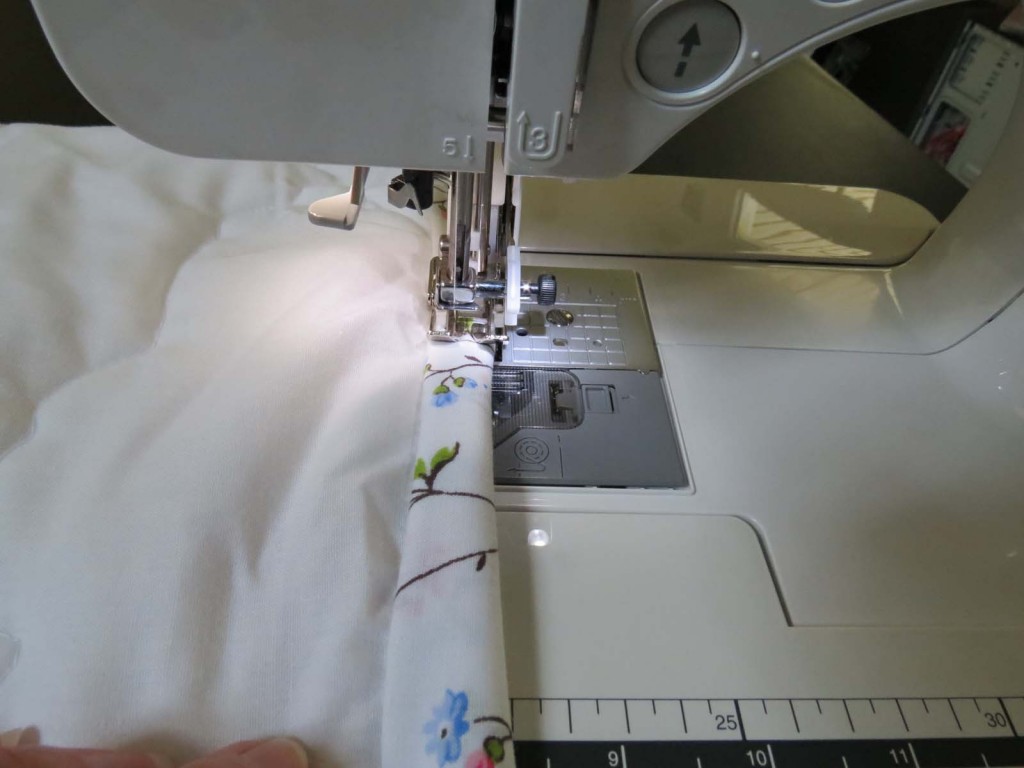
I changed to a walking food on the machine; and then I placed one strip with the raw edges matching the edges of the quilt and stitched a ¼ inch seam along the top.
Turning the comforter over, I folded the strip over the edge and proceeded to do the same on the opposite side to secure the back and complete the binding. This was performed on all 4 sides. I did not stitch all the way to the edges leaving a little of the binding extending on all corners. I then hand stitched and trimmed the remainder of the bindings to achieve a finished look.
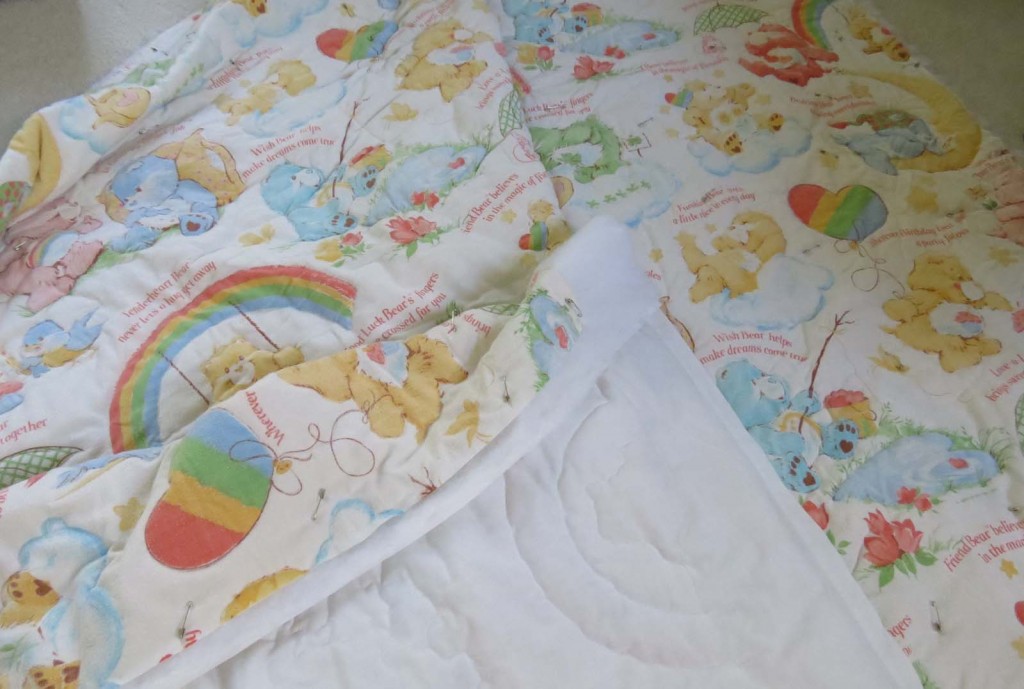
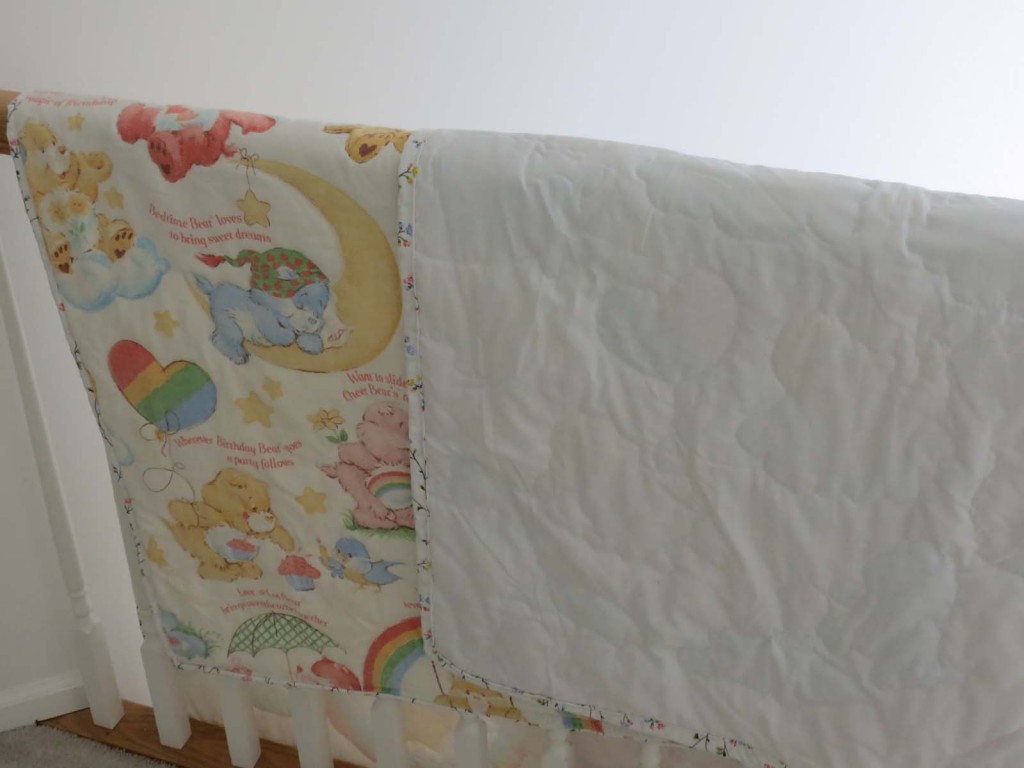
And there you have it, a cost-effective, cute and cozy comforter! If you have any questions about the steps, or if some of the terminology in this post is new to you, feel free to drop me a line. I’m just a novice myself, but would love to chat about your ideas and crafts. Your sewing machine manual is a great place to start for information, too, or of course you can search any of it on the web. Feel free to share your ideas, pictures, and projects. I’d love to see what inspires you.
You Might Also Like:
- Baby Quilt, a Blanket of Blessings; Part I, Part II, Part III, and Part IV, the Conclusion
- Top 5 for Sewing and Quilting

10 comments
Skip to comment form
This is great…loved reading it …would have been much more fun to be there with you and your mom and Katie and all of us sewing….ha! Someday! Anyway Congratualtions!!!! Love your blog!
Author
Thank you so much, Cindy. I really enjoy projects like this. Hopefully someday soon we can all be sewing together!
So I bought two twin sheets because I wanted both sides to have the same thing. Does that make this more difficult?
Author
Dear Brenda,
Not at all. If anything it might be easier because you’ll have less to sew! Everything else should be the same.
God Bless and Happy Sewing!
Sarah
This is great! Turned out adorable.
Author
Thank you. It’s so easy and so much fun, a great project to do with the kids if they get bigger beds and the sheets no longer fit. I’m sure this won’t be the last one I make.
Another use for old sheets – having tall boys I always added about a foot of material onto the bottom of the top sheet for tucking purposes. This way the guys could have most of the top sheet to cover up with and I didn’t have to remake the beds every morning because they had kicked the sheets loose. Old sheets work perfectly.
Author
That is a great idea. Re-doing the sheets every morning is such a pain. Thanks!
What size and type of sewing machine needle did you use? As tight a weave as sheets are, I have had issues with skipping stitches. I love old bedsheets as fabric. I like the cotton/polyester combination ones especially. Also, what were the dimensions of you Alzheimers lap quilt? I like your ideas.
Author
Hi Kathy,
Thanks so much for the inquiries, and I’m happy to hear you’re enjoying the site. For this project I used a Schmetz Universal 80/12, and it worked really well. Now that I have a bit more experience with my machine and other quilting projects, I would probably go for a Quilting 75/11 or 90/14. They offer a nice dual pack with both depending on your fabric and type of thread. (Link to Schmetz Needles) And I agree, I love using sheets for fabric, it’s practical and I’ve been very happy with the results.
As for the lap quilt, it was approximately 16″x24″. The squares were 4.5″ with a 2.5″ boarder with seam allowances (4″ squares and 2″ boarder once finished). But you could do any size really. This one was almost too long; the sides, especially with the pockets, hung a little lower than I would have liked. But I have seen people make them way larger too. So that is just personal preference for whatever you prefer and would be best for the recipient.
Thanks again, and happy quilting!
Sarah