If you’ve visited this page before, there is one huge difference that is changing my life with boiled eggs – start with boiling water! This completely changes the peeling. The eggs turn out gorgeous. Read on for details…
I have recently heard several people mention that rather than hard-boiling eggs it is better to bake them in the oven. Gearing up for the Easter weekend, I wanted to see which method works best for me. I used eggs from the same carton to try to eliminate mitigating factors, such as various freshness, size, and type.
Traditional Boiling
In the past, I have always boiled my eggs in a pan of water on top of the stove. With some research, however, I discovered I wasn’t even doing that properly. I would generally just let the eggs sit in the boiling water for way too long to ensure they were thoroughly cooked. Little did I know, overcooking an egg is what results in the gray coloring around the yolk, and can also cause it to be rubbery and foul smelling.
Originally, the bullet points below were the latest ways to properly boil an egg. NEVER AGAIN! Seriously, I feel bad for even trying this method, let alone having other people try it. It ruined my eggs, they never peeled well. They looked like my toddler had tried to peel them while taking bites out of the eggs. I was frustrated and ashamed at how they looked. I tried every trick I could find, adding things like baking soda, different types of eggs, different ages of eggs. I couldn’t figure out what was wrong. – It was starting with cool water! Don’t do it, people!
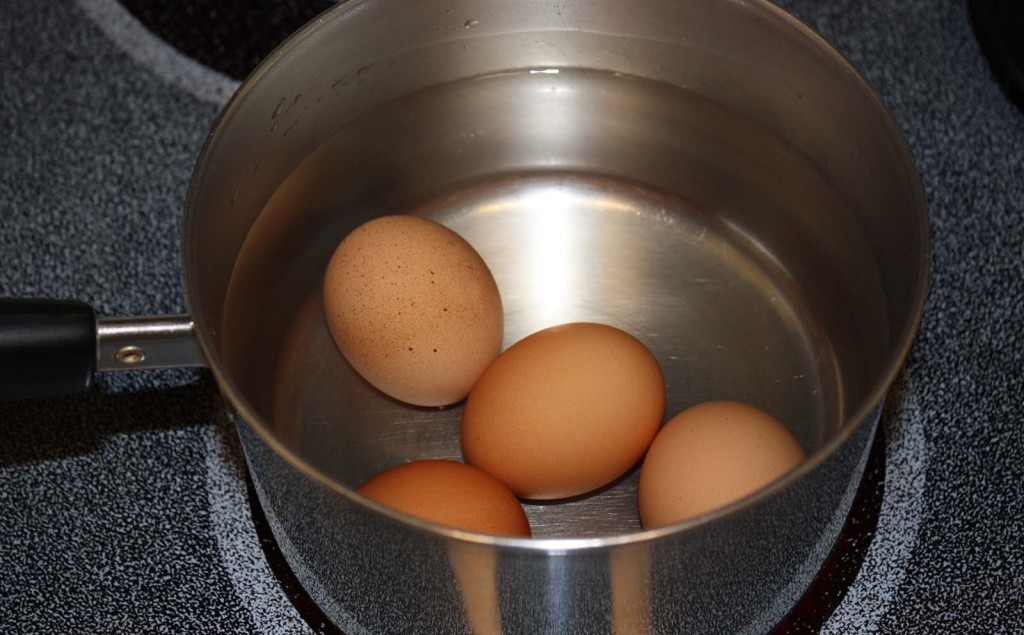
Start with placing the eggs in a pan and cover them with cool water by at least an inch or twoHeat the water until it just starts a full rolling boil, then cover the pan with a lid and remove from the heat
So…Here’s the perfect solution! START WITH BOILING WATER!
- Start by bringing a pan of water to a rolling boil, enough water to cover the eggs by at least an inch or two. I put the pan on the stove top, with a little water in the pan and turn to high, while I heat the rest of the water in my electric kettle to save time.
- Once the water reaches a rolling boil, gently lower in the eggs, I use a pair of rubber tipped tongs to avoid dropping them.
- Boil for 10-12 minutes
- Then I immediately take them over to the sink, set the whole pan in the bottom and turn on the cold water. I carefully tip the pan to let the hot water drain out and cover the the eggs with cold water. I do this just for a minute or two, until I can reach in and easily handle the eggs with bare hands.
- At that point you can return the eggs to the fridge to use later or peel for eating
- Tap the eggs to crack and then roll to break shells completely. Peel and rinse eggs in water to remove any extra pieces of shell
Modifying my boiling time did make a substantial difference for the appearance of the yolks. Simply starting with boilig water has made a drastic difference.
Baking/Hard-Cooked
The alternative method has been suggested by greats such as Alton Brown. Rather than using a pan on the stove filled with water, you simply bake the eggs in the oven. This approach is from Food.com.
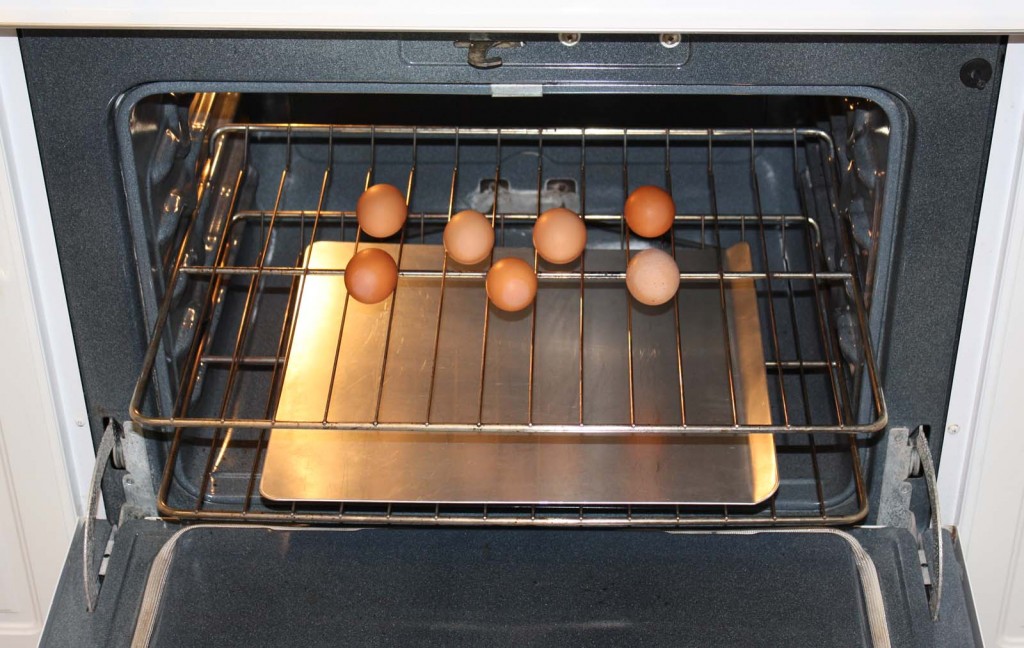
- Preheat your oven to 325 degrees
- Position the racks in the center of the oven
- Place eggs directly on the racks – *UPDATE* -I’m sure many of you have heard the latest suggestion for this step: place the eggs in a muffin tin to prevent them from rolling around and for easier handling in and out of the oven. All other aspects (bake time, temperature, and results – including brown spots) are the same.
- For a precautionary measure, you may wish to place a baking sheet in the bottom in case there is any breakage
- Bake for 30 minutes
- Transfer baked eggs to a bowl of cold water (same as when boiling, to stop the cooking process)
- When cool enough to handle, crack and peel eggs. They can be returned to cold water to continue to chill if needed
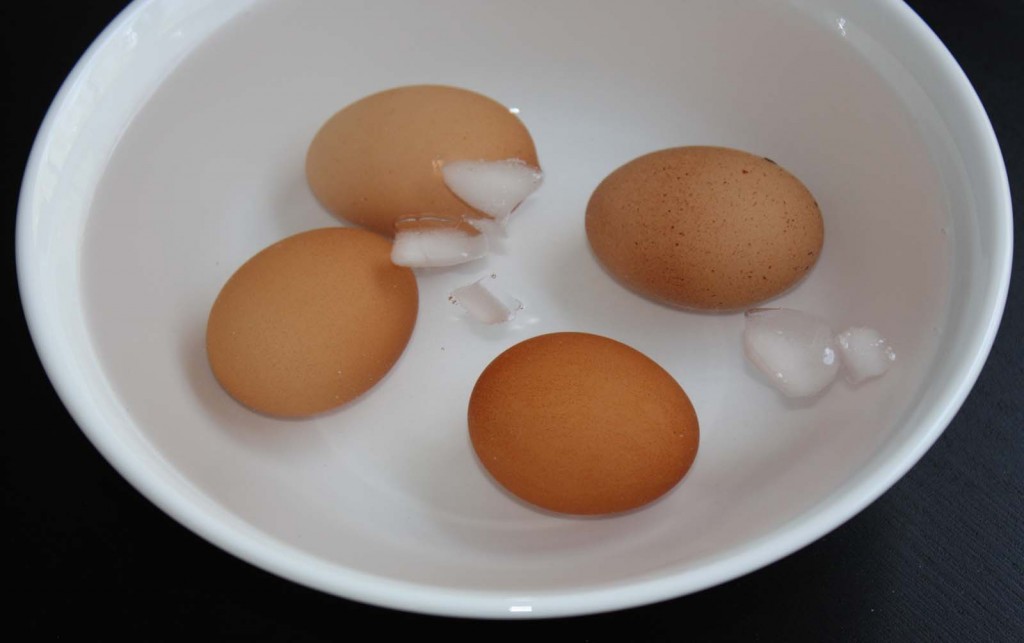
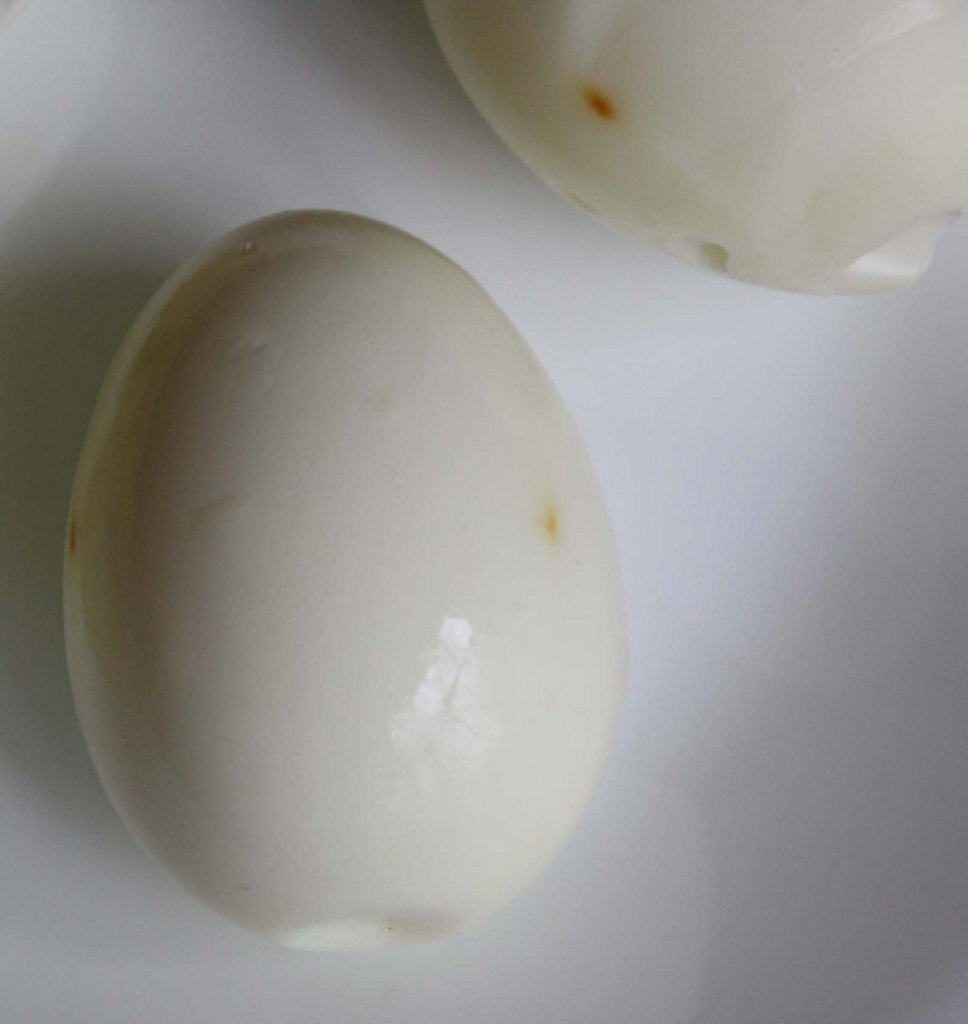
This worked well too, but since I was only cooking a few eggs at once, boiling was quicker. It was also a little precarious getting the baked eggs from the oven racks to the bowl for cooling. I used rubber-tipped tongs but did have one casualty. Thankfully they were already hard-baked by that time, but it did crack and scatter bits of shell across the top of my stove. One result I did not expect, the oven racks left dark marks on the eggs that also transferred to the whites. When they are peeled, the eggs look like they have been on the grill. I noticed this in other people’s baking experiences too. It did not affect the taste, but appearance wise it was less than beautiful.
On a positive note, baking does result in a slightly creamier egg. I honestly didn’t notice a huge difference, but if you are a food connoisseur you will probably appreciate this benefit. If you are doing several dozen eggs at once, baking would also certainly be the way to go for time and ease since you should only have one layer of eggs in a pan for boiling at a time. With baking you can do as many at once as your oven racks can hold.
Wrapping Up
I have to say with this experiment, the old adage of, “If it’s not broke, don’t fix it,” applies. I will personally be sticking to the conventional hard-boiling. Since I have rectified the issue with discolored yolks, boiling is easier for transporting the eggs from the heat and saves time (with smaller amounts of eggs). To do away with additional steps, I have found it just as effective to drain the hot water from the pan, and replace it with cold running water from the tap (rather than traditional blanching in a bowl of ice water). This eliminates the need to move the eggs to another bowl and saves cleaning another dish. The pan of cold water and eggs can sit in the sink while you peel.
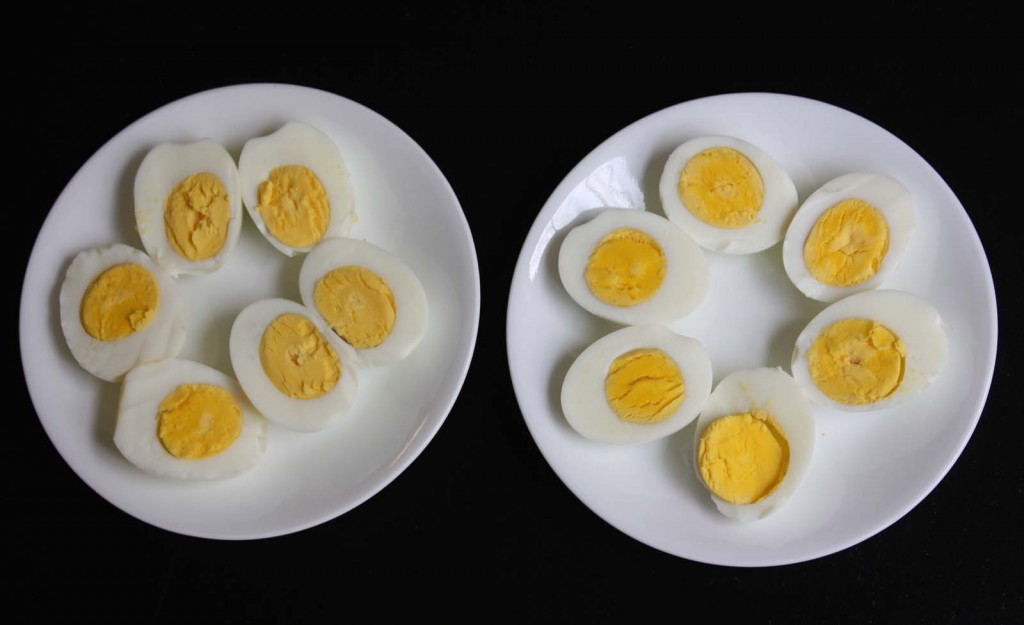
As a visual comparison, here is a picture of the finished eggs. The baked ones are on the left and boiled on the right.
A Few Reminders
Don’t forget, if the eggs float before they are cooked they are bad. This is another reason hard-boiling has my vote. When I put them in the pan I can double check before cooking that they are still fit to eat. If just one end is up, but the other is still touching the bottom of the pan, this can actually be favorable since older eggs are generally easier to peel (7-10 days old is about the best). Completely submerged means they are very fresh. This can lead to tearing when peeling, and leave part of the white on the shells causing uneven edges and making it difficult to have a nice area to fill for deviled eggs. If you do have fresh eggs, you might try placing them back in the cold water after cracking for a few minutes before peeling to try to help lessen these negative results.
See what works best for you. Have you tried both methods, is there one that you prefer? Add any comments, suggestions, or ideas below.
More to Come
Click here for the second half of this post when I look at the details of making deviled eggs; slicing without peeling, ingredients for the mix, and filling the eggs.
Sources: Real Simple, Food.com, and Greetings from the Asylum
You Might Also Like:


6 comments
3 pings
Skip to comment form
Love your blog and this post.
Author
Thanks so much, Beth. That means a lot since http://www.secondhandmom.com/ is one of my favorite blogs! I always look forward to seeing your creative ideas and inspirations. I’ll have to be much better in the future about commenting rather than just reading. Have a blessed Easter.
Very useful info! I’ve been wondering why the yolks were discoloured for ages! Now I know.
Many thanks from Scotland! 😀
Author
So glad it helped, Alex! It’s the little things that make the difference 🙂
You’re so welcome, enjoy!
Sarah
Thank you very much Sarah! I’m a bodybuilder and try to eat food which is healthy and economical. I baked German sausages and threw a few eggs in there. The mix turned out to be great!
Author
Dear Rahul,
You’re very welcome! I hope it helped. I have very rarely used the baking method, I prefer hard boiling. Starting with eggs in the boiling water has been a total game changer for me. Do you use baking or boiling?
The German sausages sound like a delicious addition too.
Thanks for sharing!
Sarah
[…] “baked” eggs instead of hard-boiled eggs. But truly, there’s little to no difference between stovetop eggs and baked eggs. Both cooking techniques work, but seriously think about it: When you’re cooking eggs […]
[…] eggs as an alternative of hard-boiled eggs. But really, there’s little to no distinction between stovetop eggs and baked eggs. Both cooking strategies work, however significantly give it some thought: When […]
[…] “baked” eggs instead of hard-boiled eggs. But truly, there’s little to no difference between stovetop eggs and baked eggs. Both cooking techniques work, but seriously think about it: When you’re cooking eggs […]