I wouldn’t classify myself as a pack rat, and I’m far from a hoarder. However, I do have a tendency to keep things. Especially if I’m under the impression that they could be used for something else, if they are pretty, or too sentimental to just throw away. Christmas cards (and other greeting cards) fall into this category for me. They are generally very beautiful, have come from special people, and there has got to be something I can do with them. Here are a few ideas I’ve come up with, and a few from other sites, to upcycle all of those lovely holiday cards.
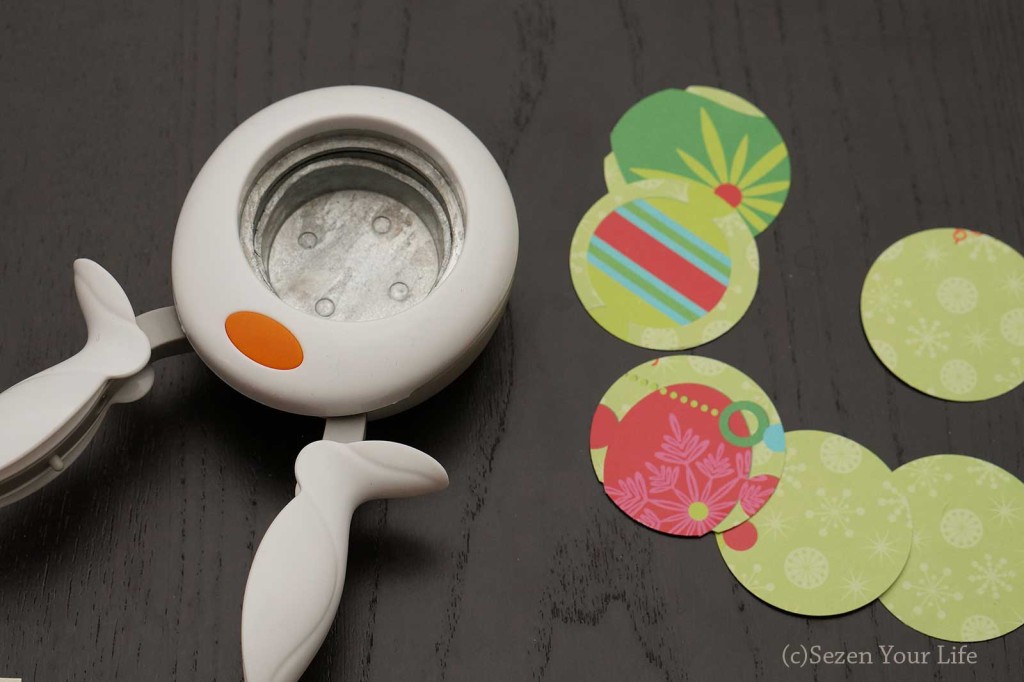
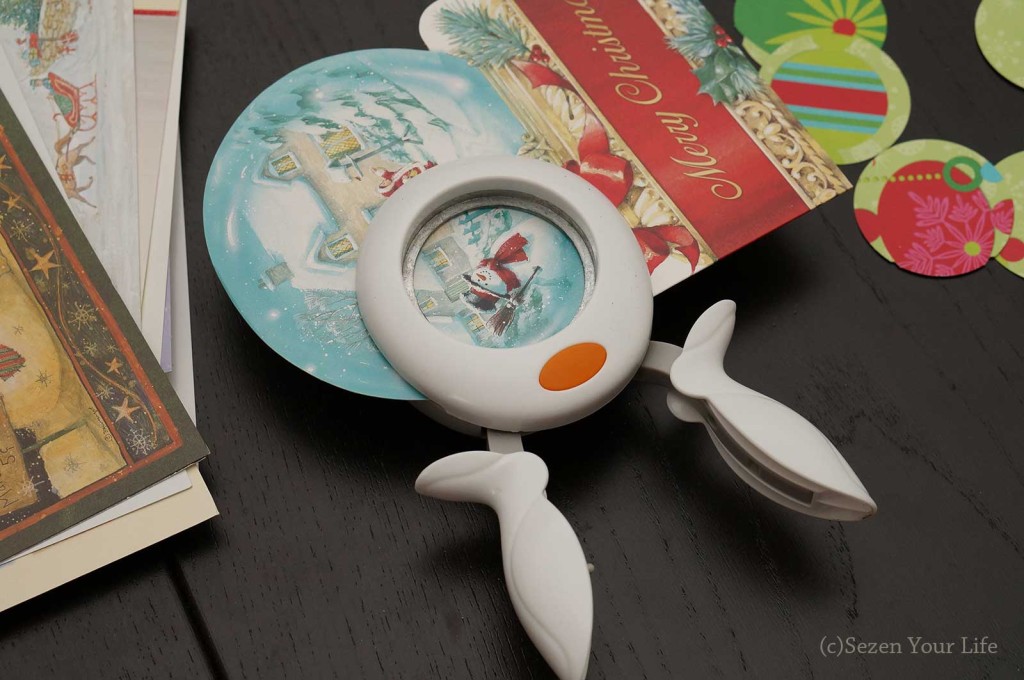
For these crafts I used the Extra-Large Round ‘n Round Squeeze Punch by Fiskars. I recently ordered one from Amazon on sale for under $10. Normally they sell for around $18, so I jumped at the chance. It makes a 2-inch punch by squeezing the handles, rather than trying to use a lever punch which always seems to be more difficult than it should be. I also love it because you can view exactly what you are cutting. (No, I’m not getting any kickback from Fiskars for this post, and I had to pay for mine like everybody else does. I simply love this product and would greatly recommend it.) With that being said, you can also trace around a jar or lid that you have at home and use scissors to cut out the images.
I used a standard hole punch for the projects that required threading the circles on ribbon, yarn, or string.
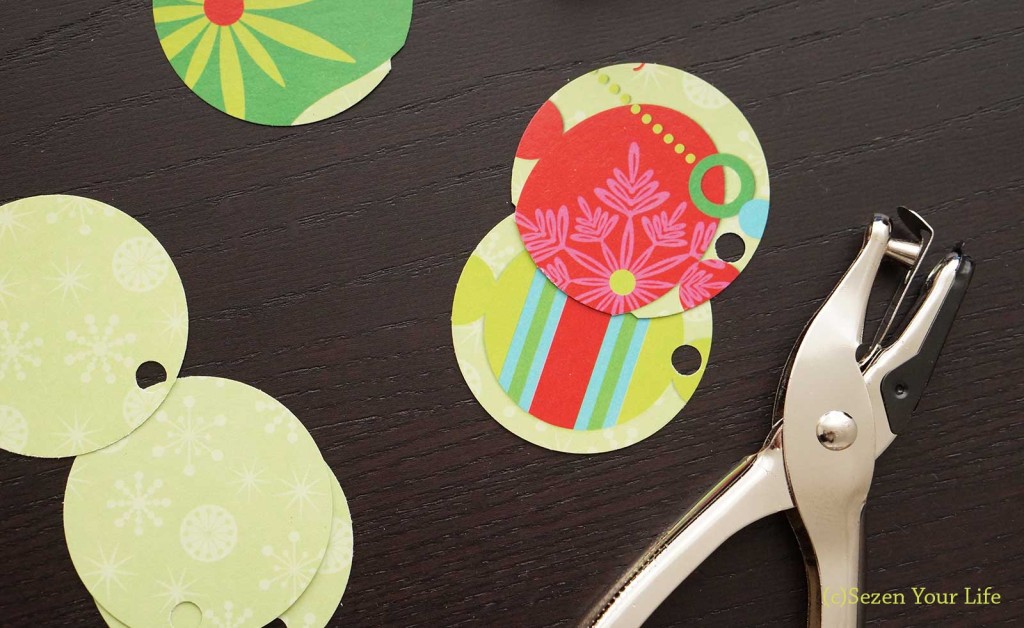
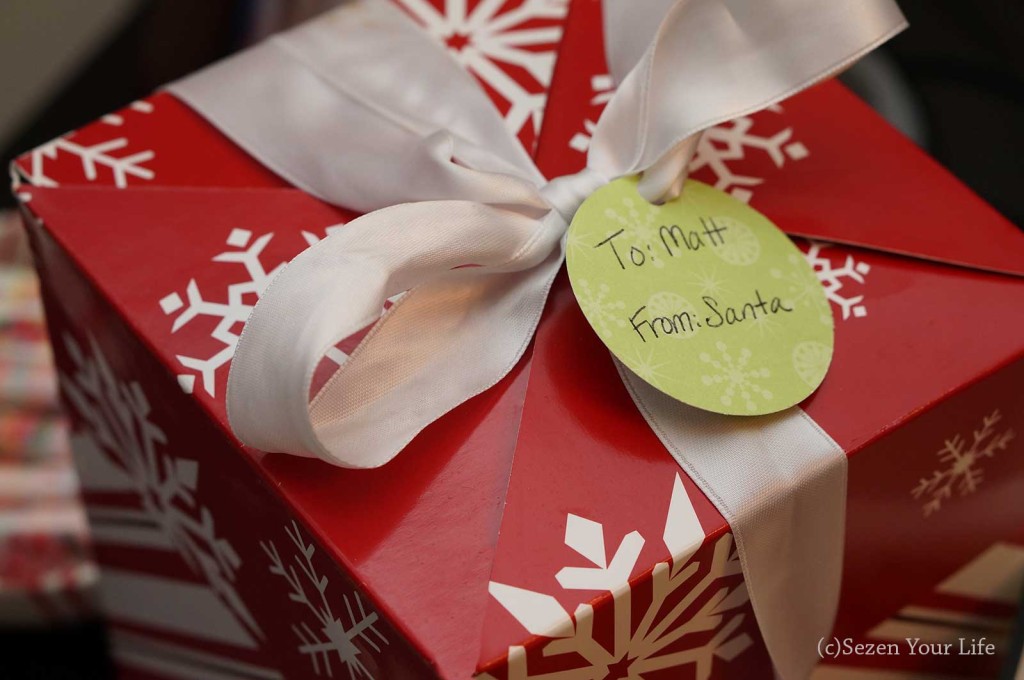
*Gift Tags*
These are perfect since I always seem to run out of tags this time of year.
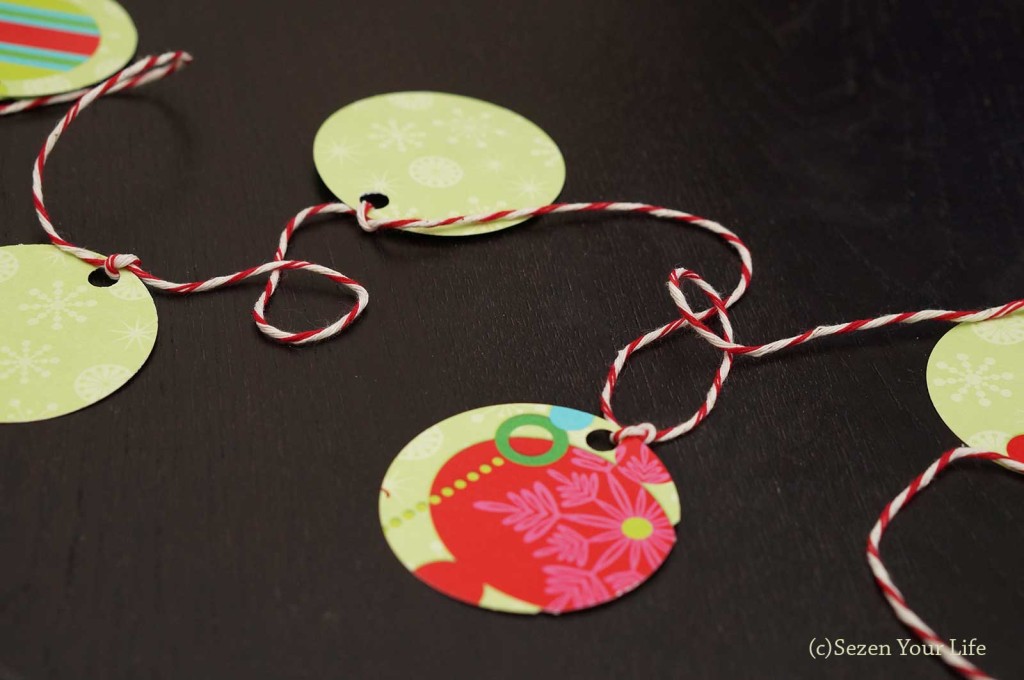
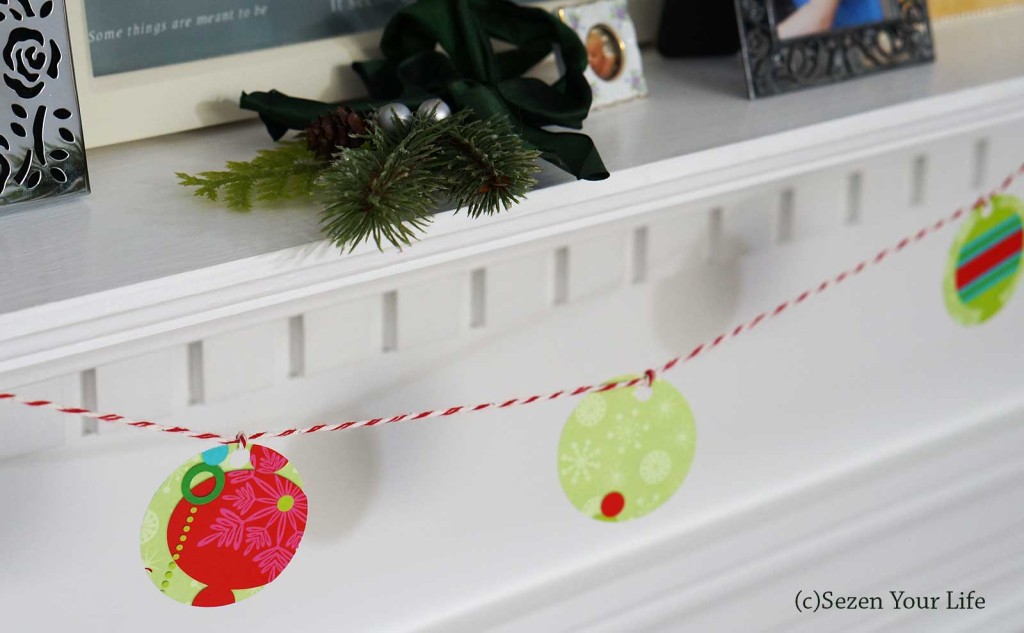
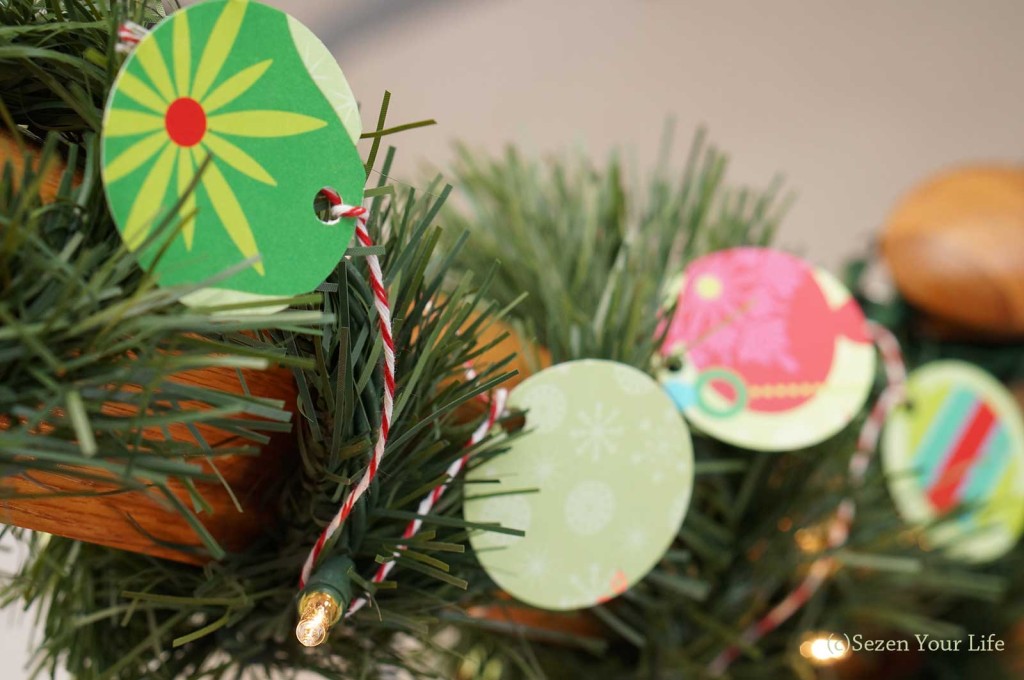
*Decorative Garland*
String discs on yarn or ribbon, attach with a knot, and drape over mantels, greenery, or hang on the tree.
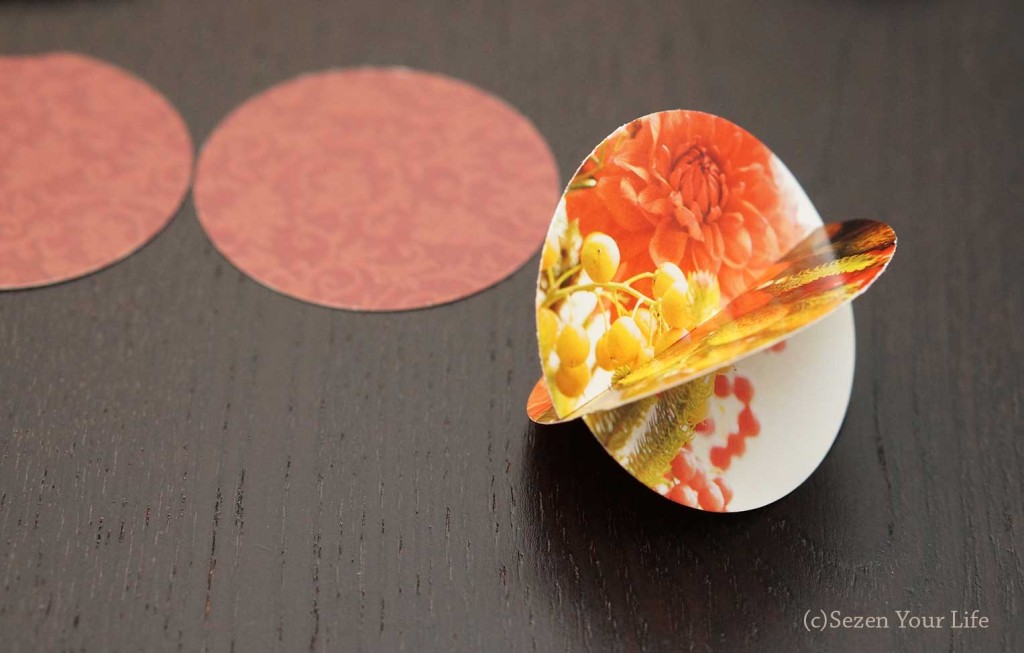
 To amp up this look, cut a slit halfway through 2 circles and interlock them to get a 3-dimensional sphere.
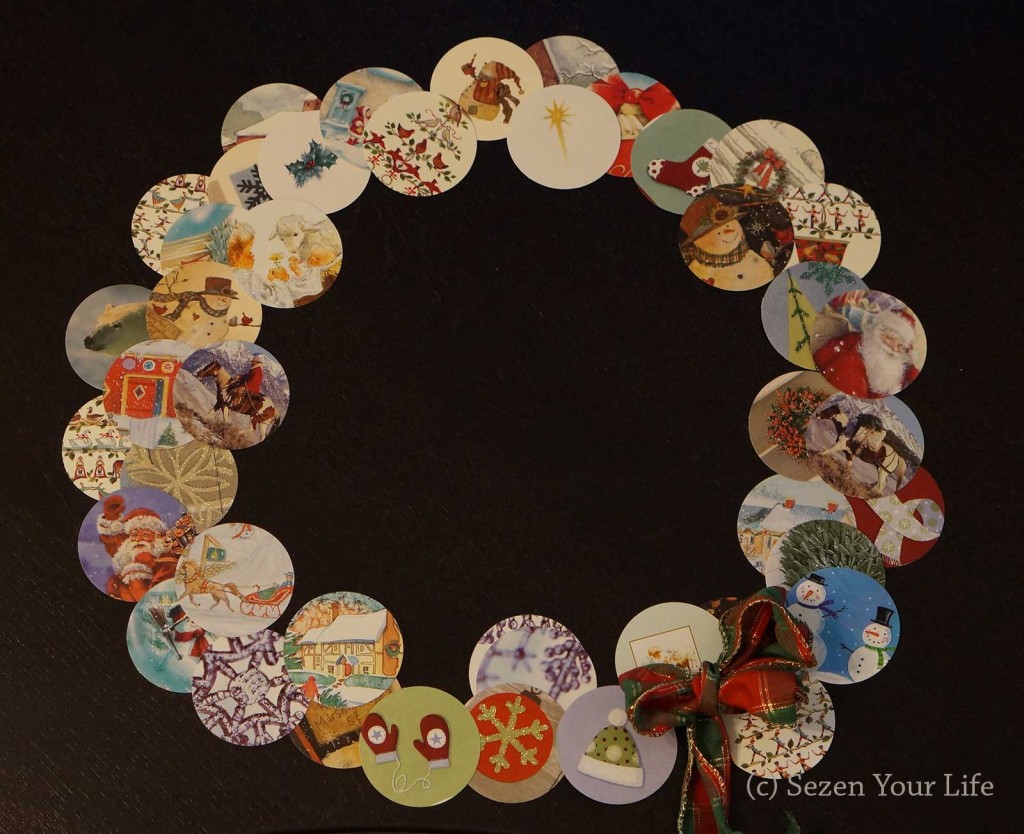
*Holiday Wreath*
Arrange cutouts in a circle, glue together or affix to an “O” shaped base cut from cardstock or cardboard. I also like the added touch of stitching as shown by Ninja Diva.
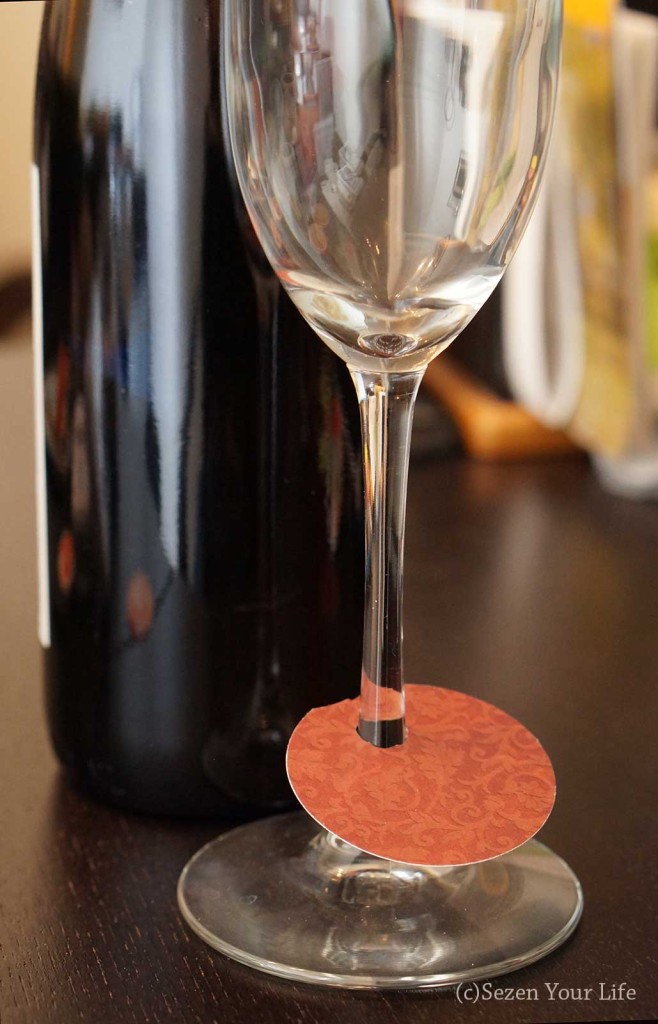
*Drink I.D. Tags/Wine Glass Labels*
After punching a hole towards the top of the circle, take your scissors and enlarge it to accommodate the stem of your glass. Cut a slit from the edge to the hole and slide onto the base. You can personalize them with your guests’ names, or have everyone pick a different color or image they will hopefully remember as their own (at least for the first few drinks).
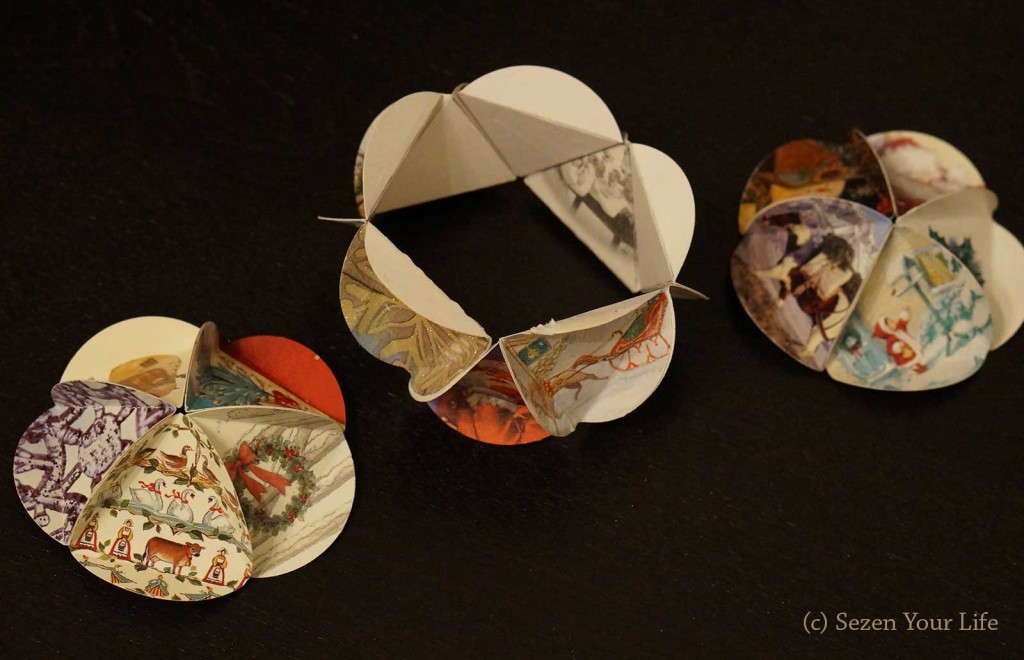
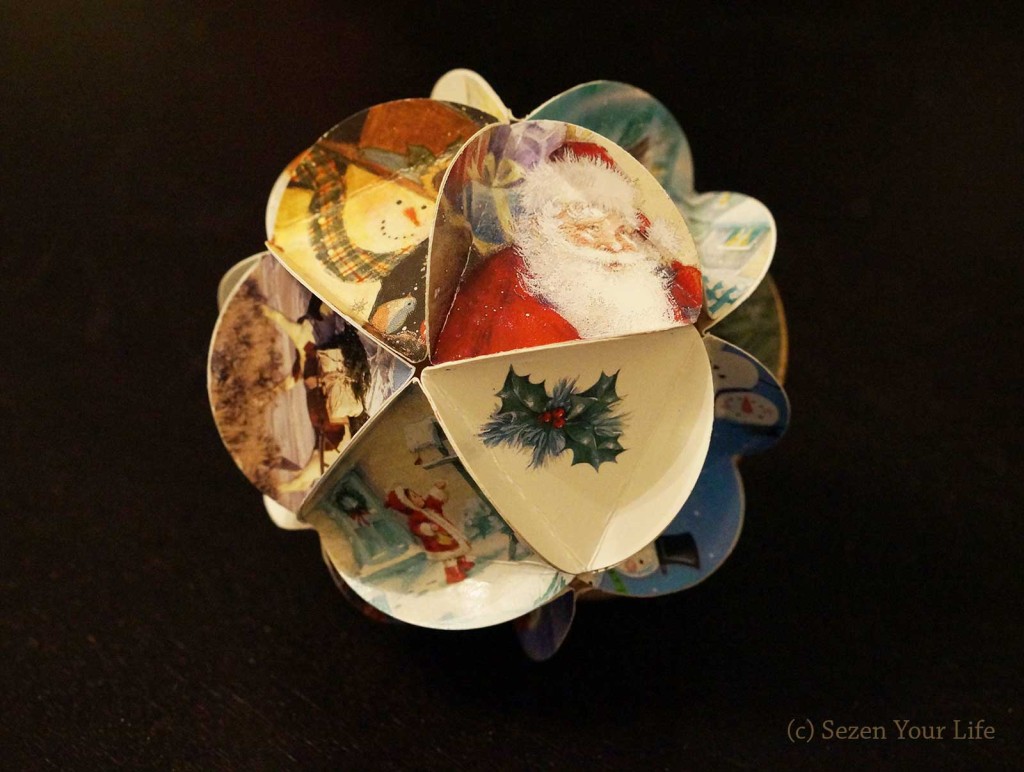
*Ornaments*
Last year my husband’s grandmother made one of these for L. This 20-sided polygon is called an icosahedron, if you’re looking to impress your friends. In addition to the outstanding name, I thought it was really cute and marveled at Grandma’s skills. I wish we lived closer so she could show me in person how she did it, and we could make them together. Since that wasn’t an option, I used Instructables.com for step-by-step directions.
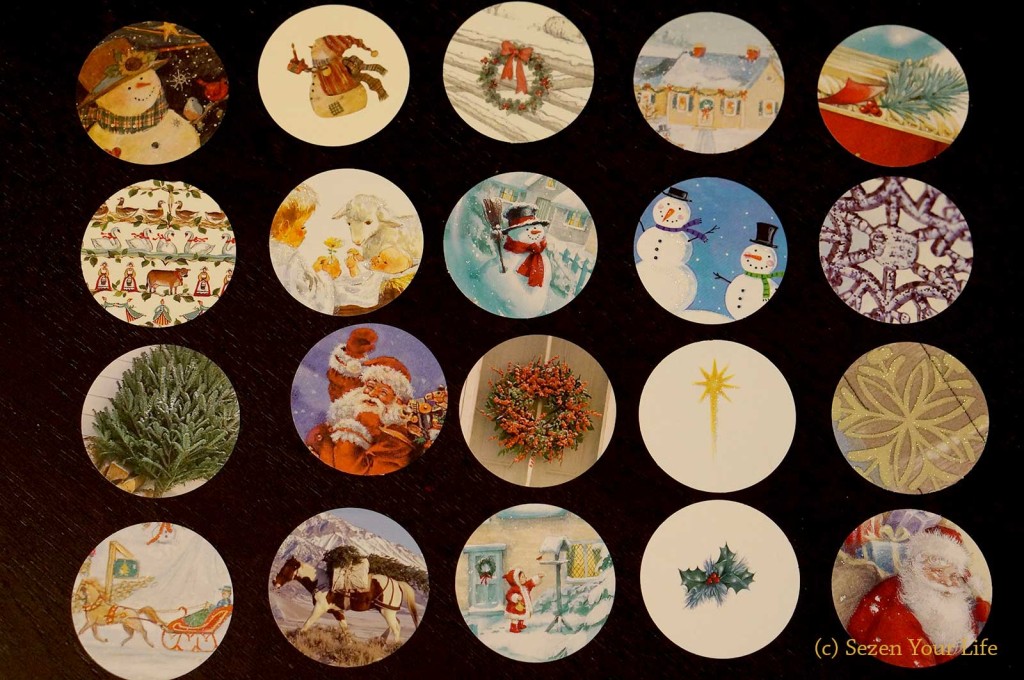
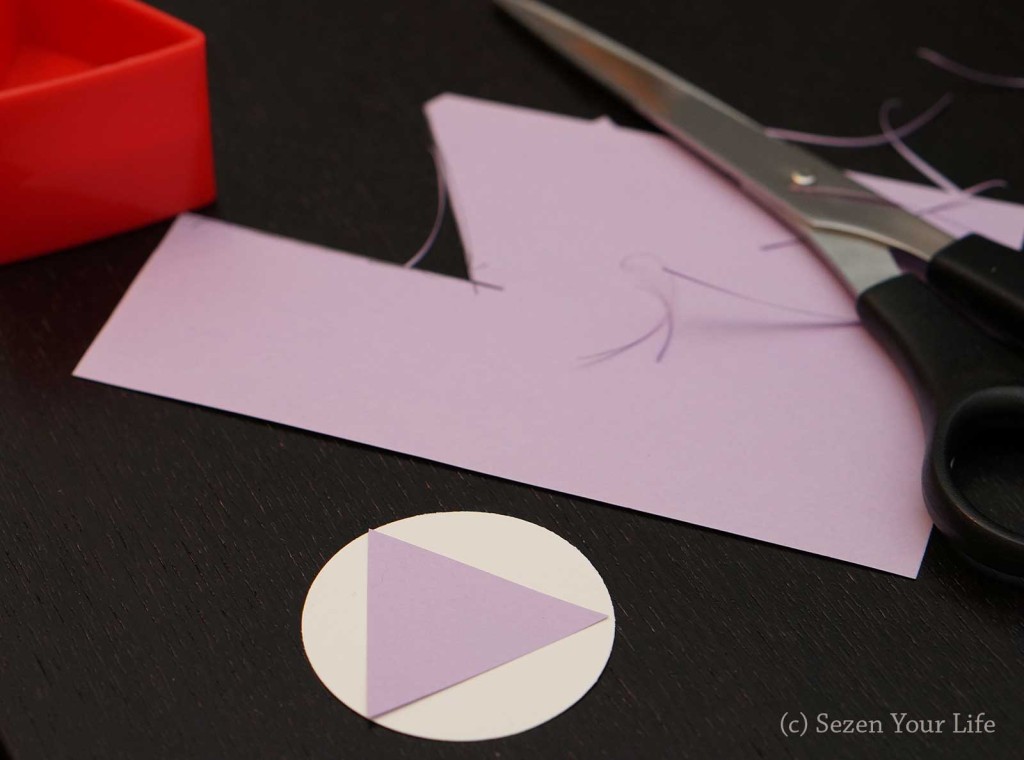
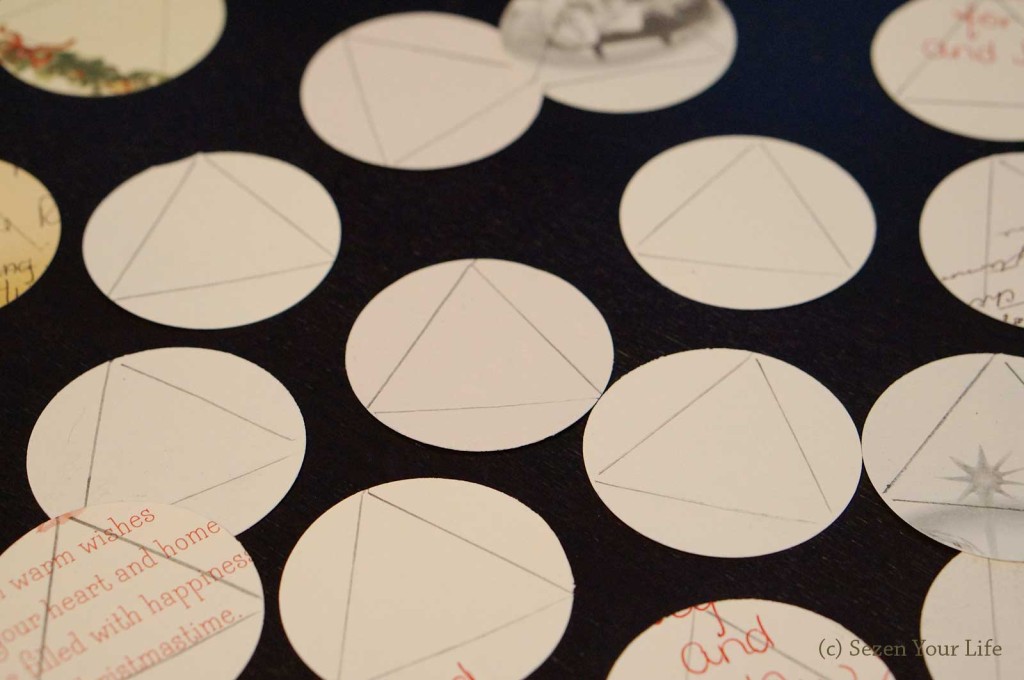
Begin by cutting out 20 circles.
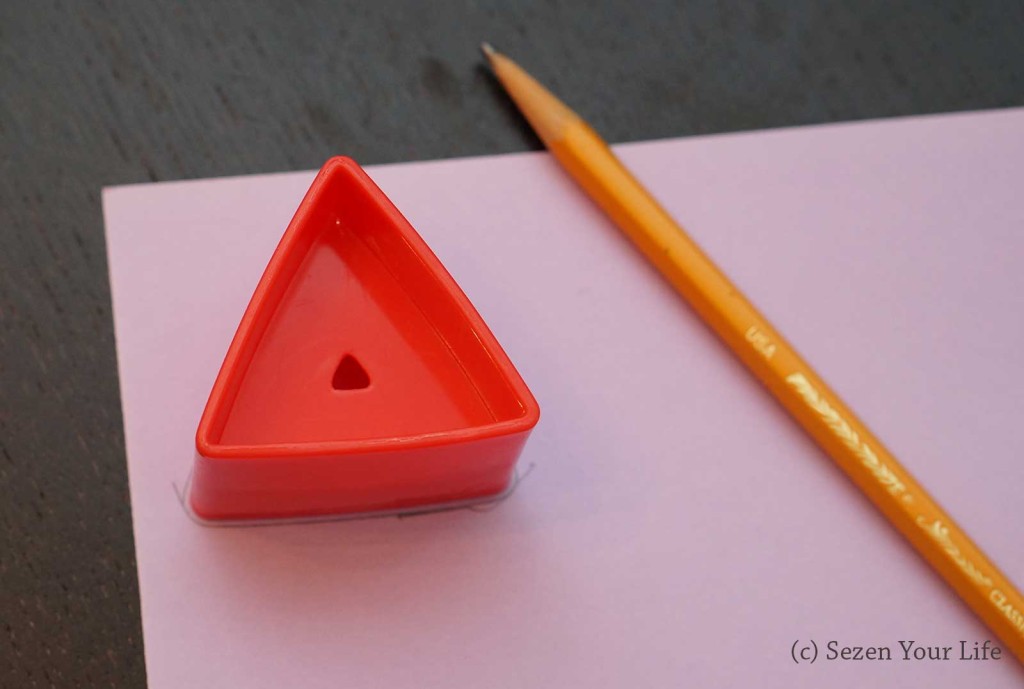
Make an equilateral triangle that fits exactly inside the circle. I have no idea where my compass and protractor are from math class, so I improvised and was happy to find one of L’s toy blocks worked well as a template. The Instructables site shows a more precise method using the compass. If you have your protractor, you can eyeball it and just make sure all 3 angles are 60 degrees. See, and you thought you’d never use geometry again. Your teacher would be so proud right now. Isn’t this fun! I almost feel bad for copping out and using the red block.
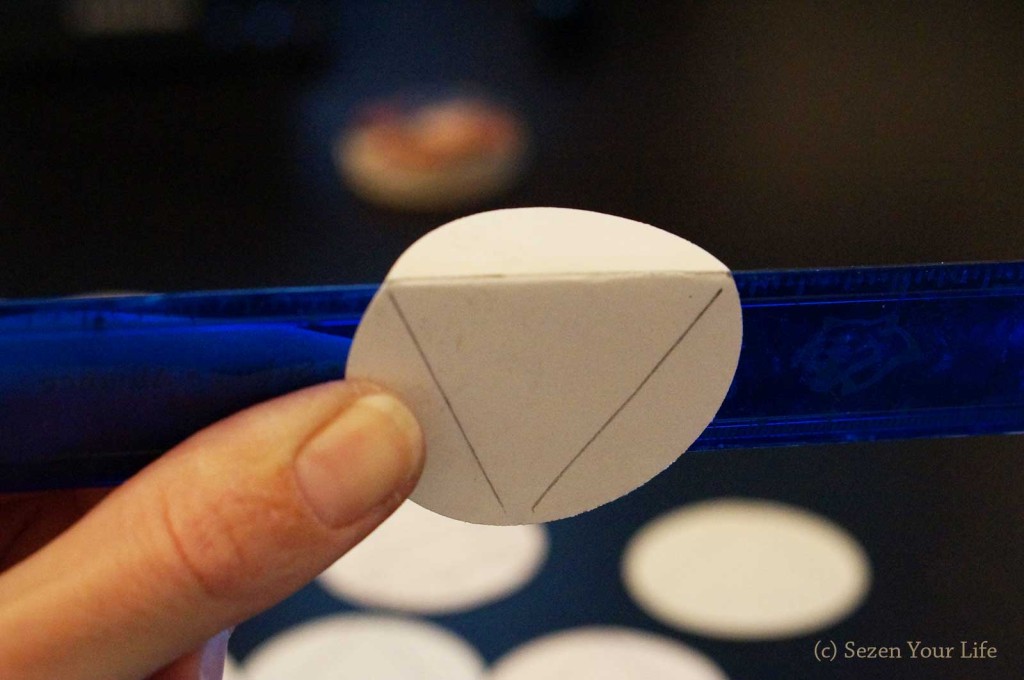
After you have your lines to follow, fold each edge up towards the side with the image. Instructables did theirs in a different way, but I prefer my method so you don’t have marks on the front of your circles. I used a ruler to make crisp, straight folds along the lines.
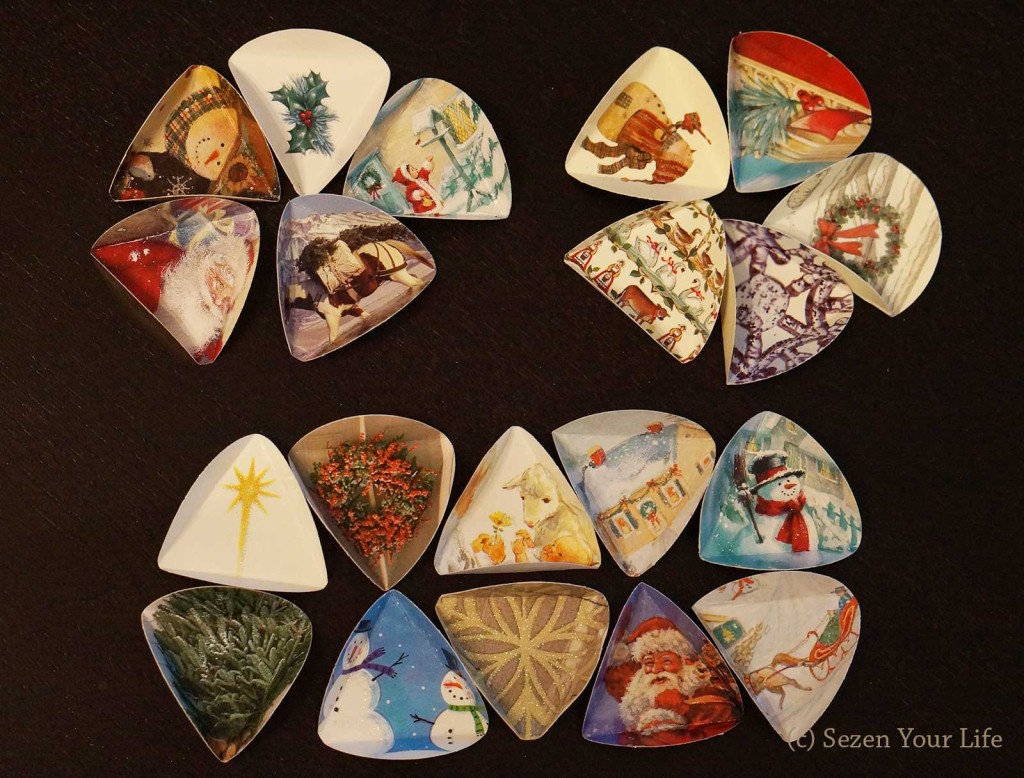
After all 20 are folded, arrange them in 3 groups: 5 for the top; 5 for the bottom; and 10 for the middle.
Put the points of 5 together for the top and the same for the bottom. The middle is one continuous row. Add glue to the folded edges and press together. I started out only gluing pairs of triangles since I didn’t have any paperclips laying around to hold them together while drying. This is also the time to add a string inside for hanging as shown on the site. Otherwise, you can add a ribbon after it is finished.
Once the glue is dry attach the top, middle, and bottom parts together. Let them dry and the ornament is finished. You can punch a hole in the top to add a ribbon for hanging if you did not include one previously.
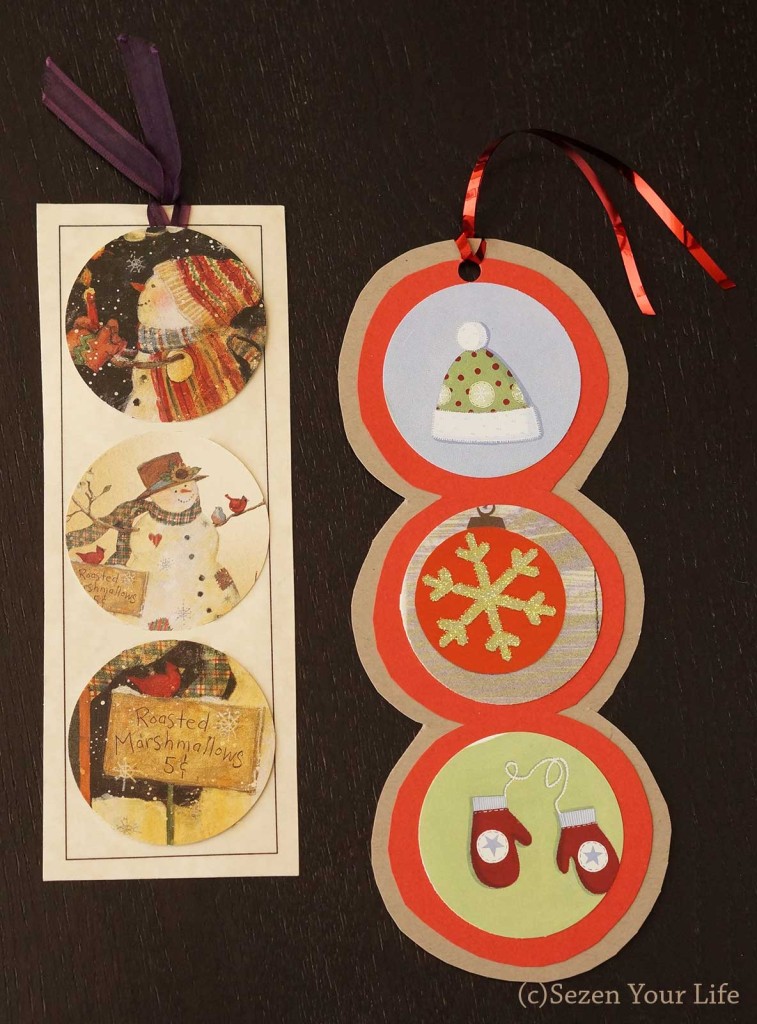
*Bookmarks*
Glue 2 or 3 coordinating images to construction paper or cardstock, punch a hole in the top, and add a ribbon. These are great for the kids to make as gifts for teachers, friends, or family members.
*Embellishment*
You can also use the decorative circles to jazz up scrapbook pages, picture frames, or make your own greeting cards.
These are merely a few ideas off the top of my head. You can use other cards to make these crafts for any holiday, birthday, or general decoration. I’m sure you’ll come up with many more designs. Feel free to share your projects. I always love hearing about people’s creative activities; you never cease to amaze me!
You Might Also Like:
- Children’s Christmas Tree from Felt
- Baby Footprint Ornament and Baby’s First Christmas Picture
- Woven Basket from Electrical Cords