-(It’s like herding cats, trying to get both girls to sit still for pictures anymore. These are the best I could get.)-
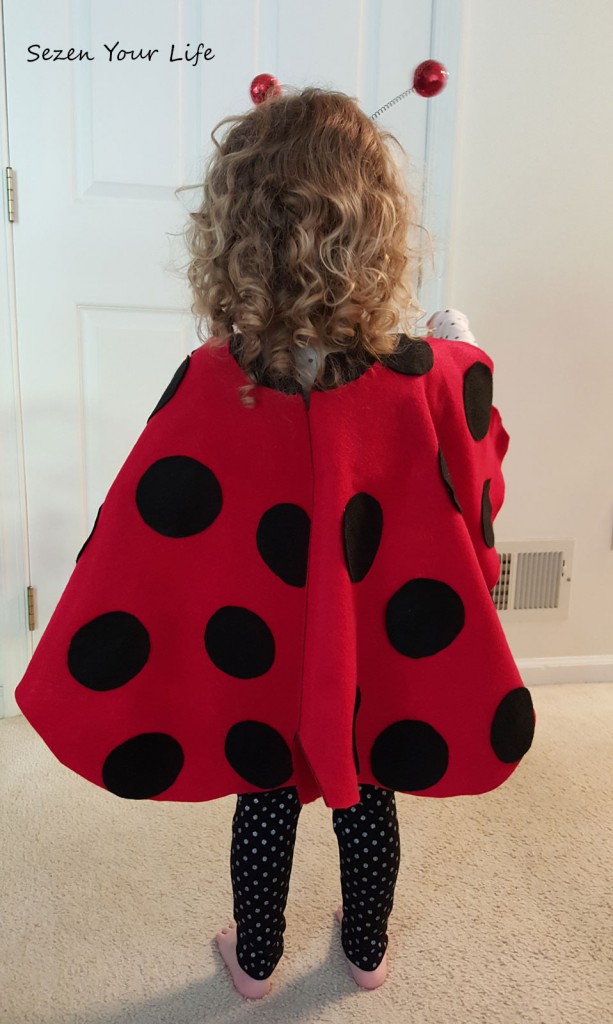
After lots of wavering (between everything from a circus clown to an elephant), L decided she wanted to be a ladybug for Halloween. She stuck with the ladybug idea for several weeks in September, long enough for me to feel like we could commit to purchasing fabric to make costumes. L also decided that her sister needed to be a ladybug, too.
I was happy with the decision, because logistically I knew this would be one of the easier outfits to create. We could have went out and bought one, but she wanted to make it. I’m always up for being crafty, so we hit the store.
I bought way too much fabric, as usual. I’d always rather have extra than have to run out in the middle of things to buy more, praying they still have the same stuff in stock. And I love adding to my stockpile at home for impromptu crafts. I purchased 2 yards of red felt and 1 yard of black. I didn’t even use half of either.
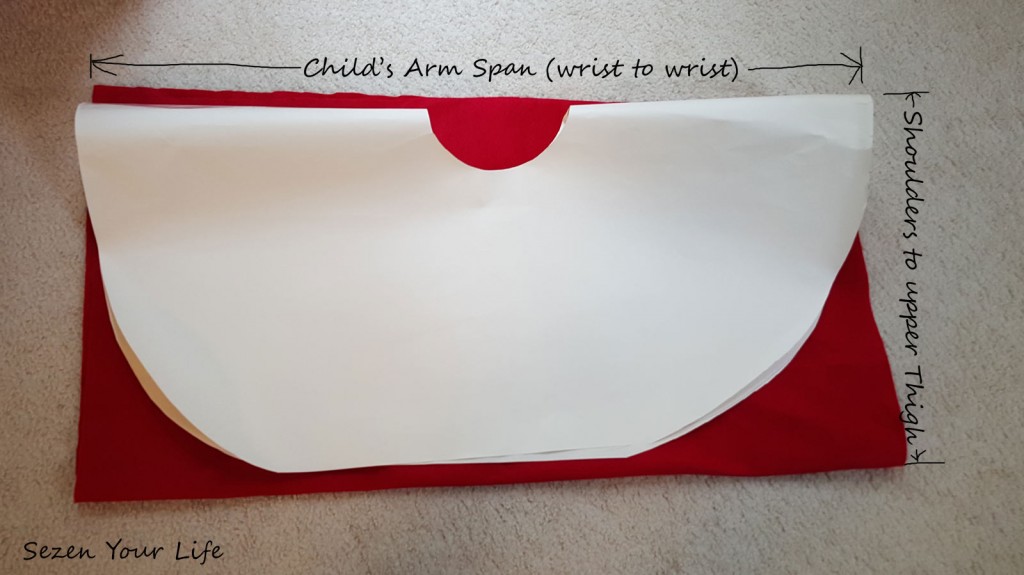
With the red fabric folded over, I started by measuring L’s arm span, wrist to wrist, for the width of the fabric. The length went from her shoulders to the top of her thighs. If you want to add a tutu or something cute at the waist, just go shorter to accommodate for that. Surprisingly, L didn’t want a tutu, just the “wings”. As you can see in the picture, I did use a large piece of craft paper for a template before I started hacking away at the felt.
If I would have followed the pattern, I could have basically made a large circle with a hole for the head. L tired that on, and wanted to be able to use her arms more, so we shaped the front to just cover her body.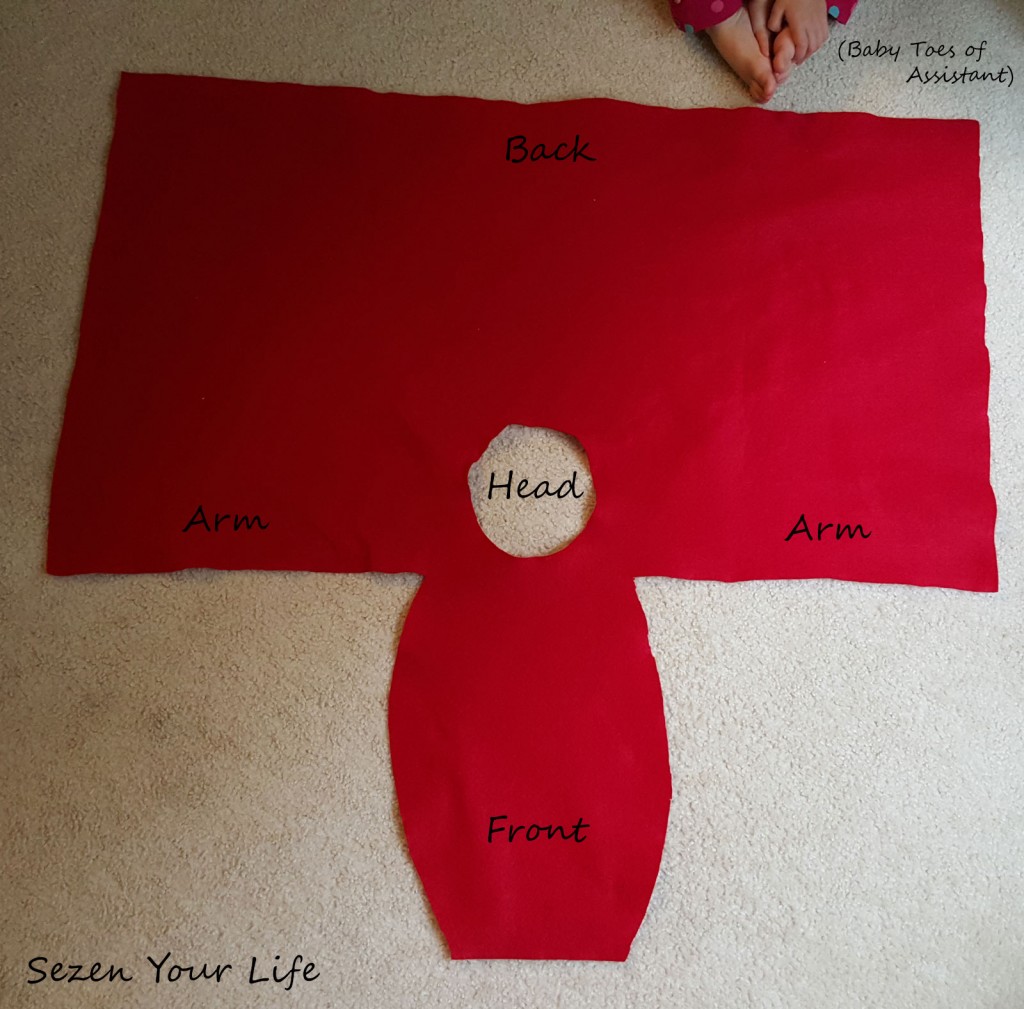
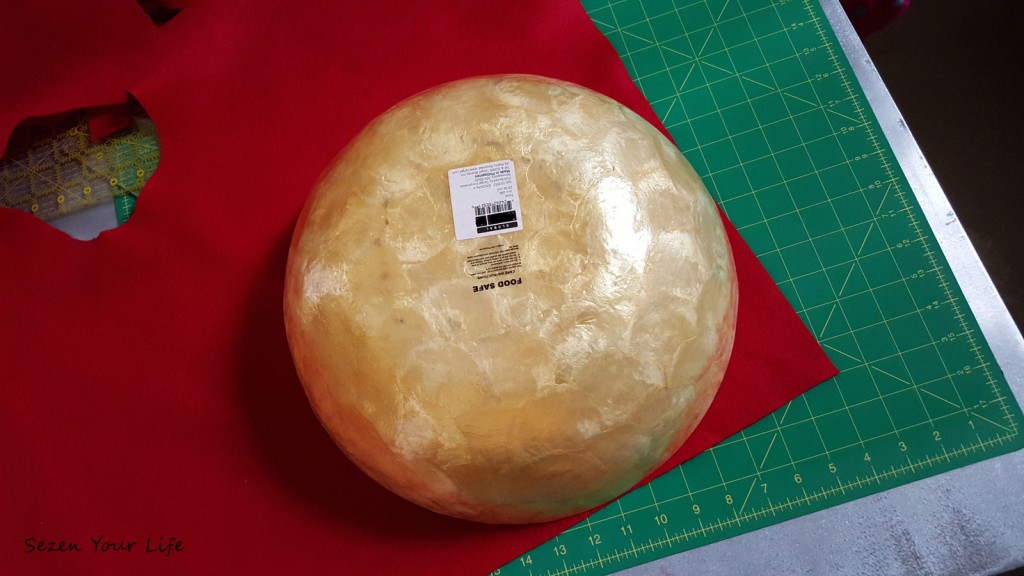
The square edges were a bit rough. I used my “precise” measuring tool, a decorative bowl, for an edge guide; and followed around the curve with my rotary cutter.
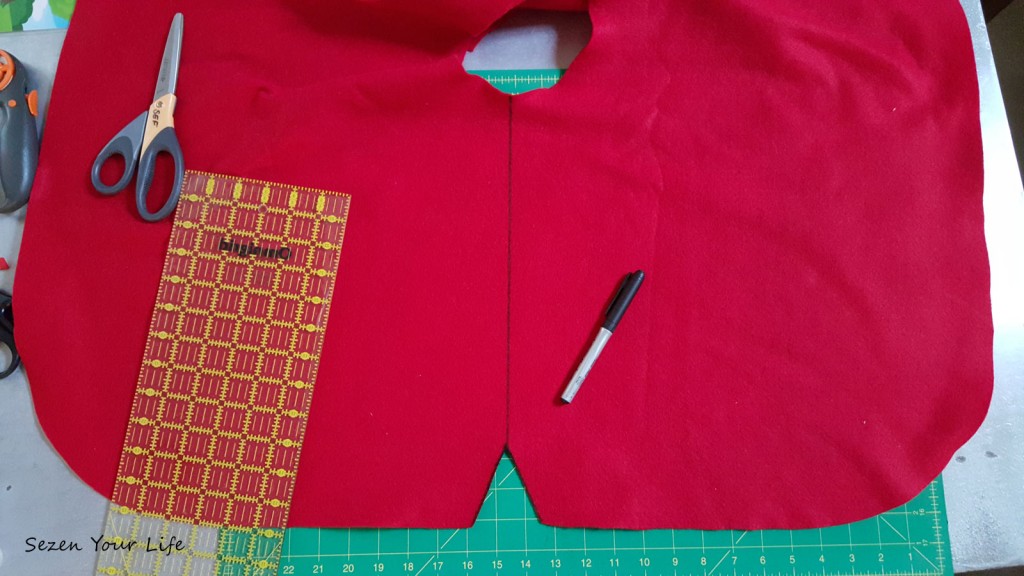
A permanent marker helped add a bit of detail.
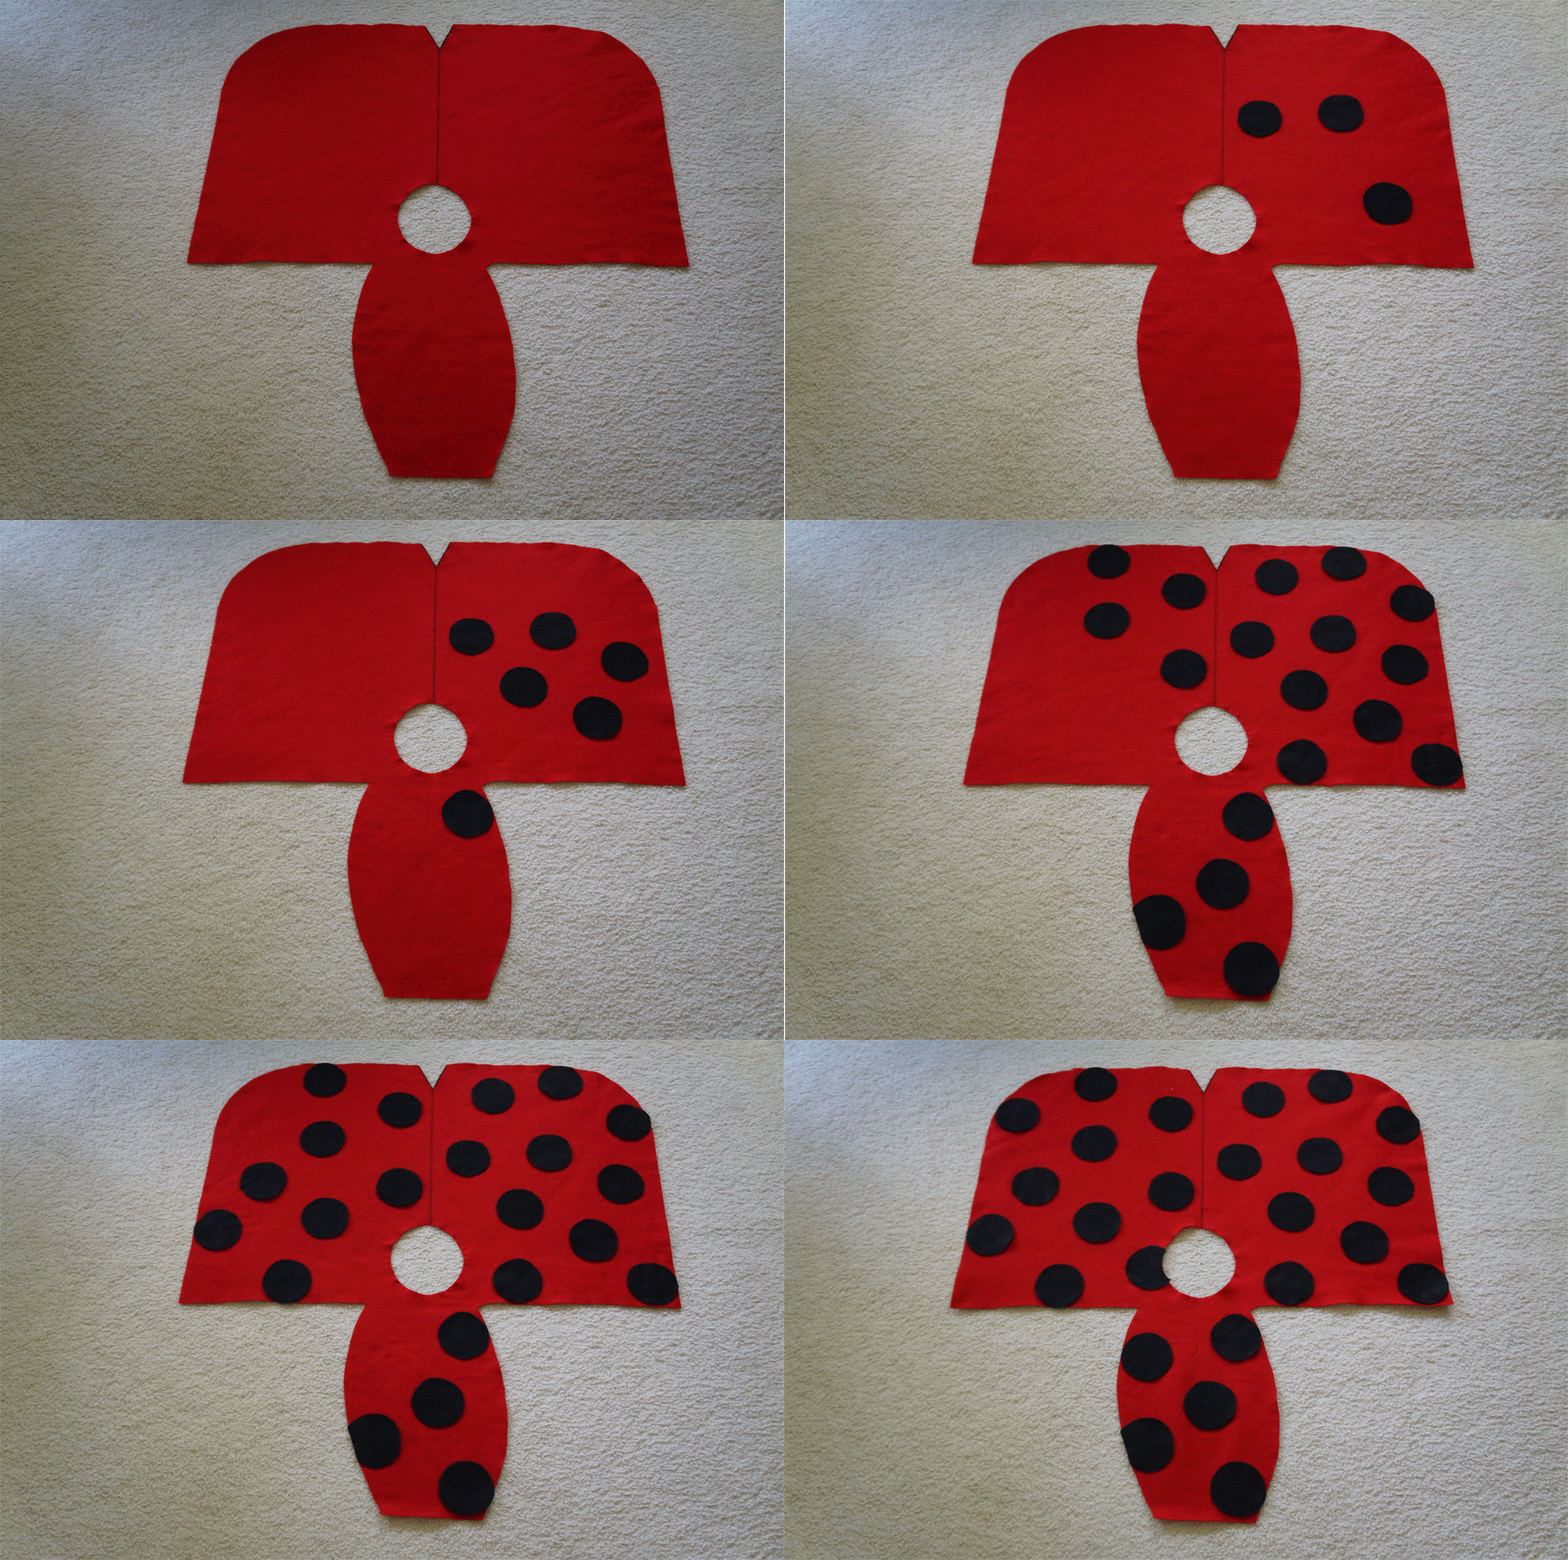
After a few model fittings with L, this is the basic shape we were left with.
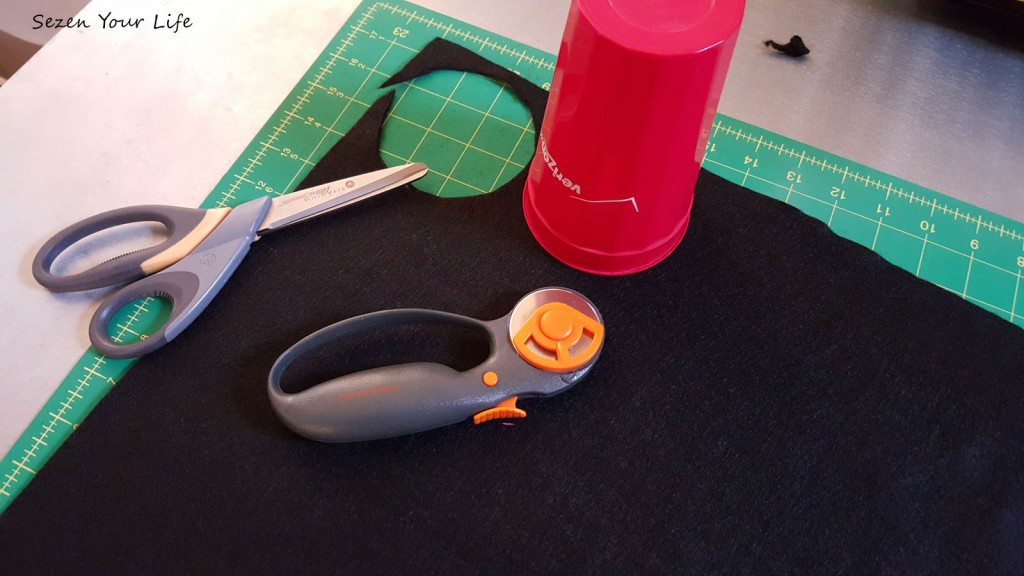
Again, employing whatever was within reach, in this case a plastic cup, I used my rotary cutter to cut out black spots. I had to clean up a few edges with the fabric shears, but they came out nice and uniform.
Then, I fired up the glue gun.
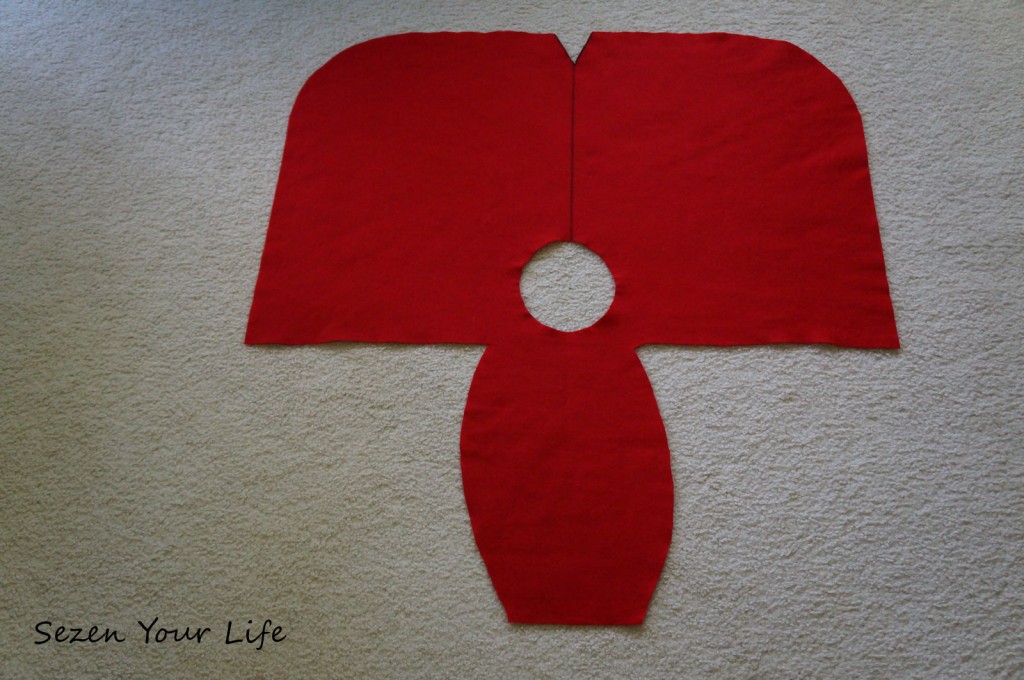
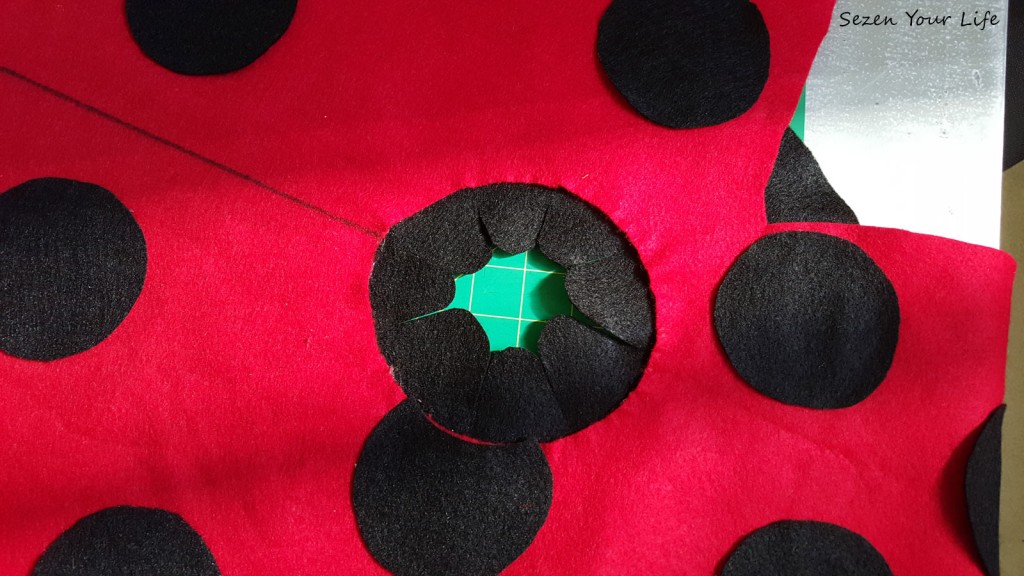
To dress up the neck and reinforce the edges, I added a large circle of black felt underneath.
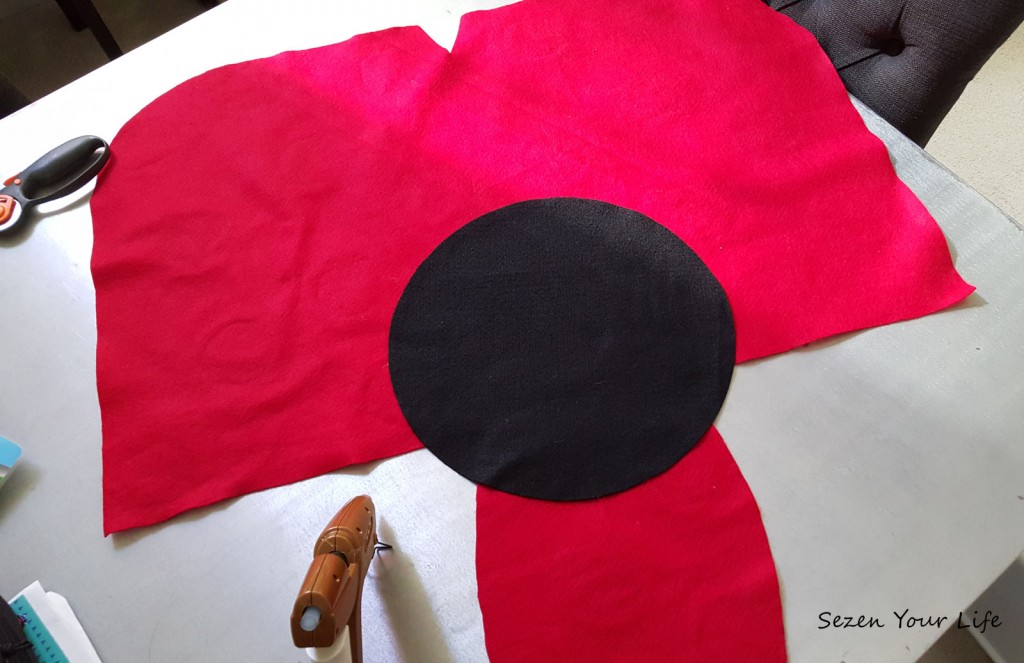
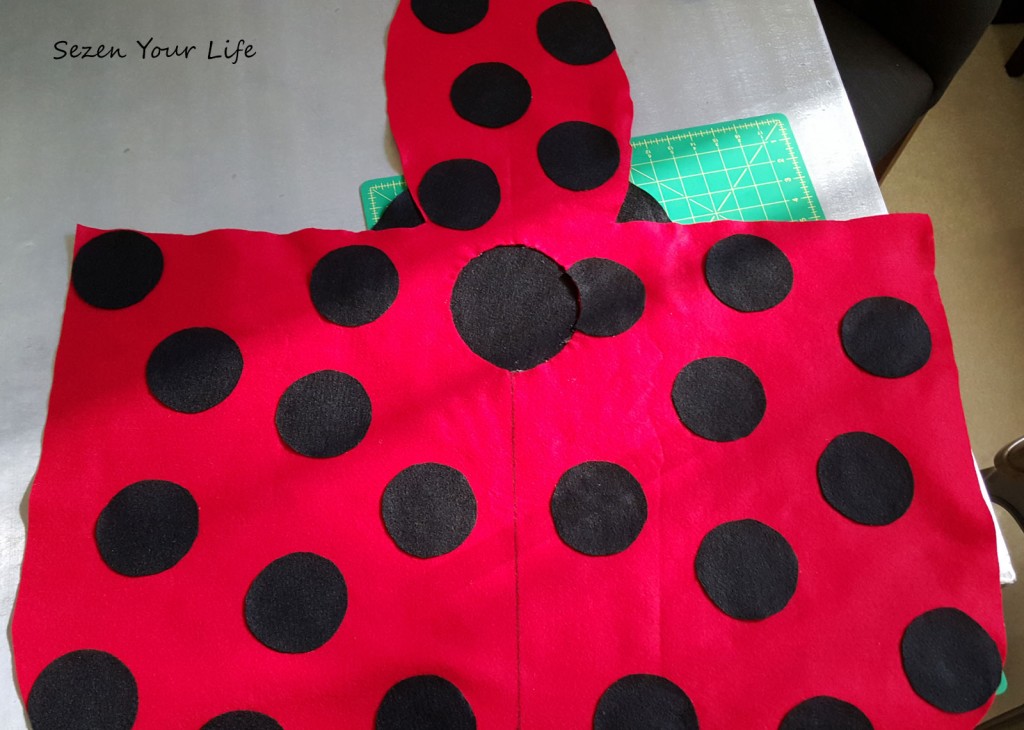 I used the rotary cutter to slice the black felt like a pizza to reopen the head hole.
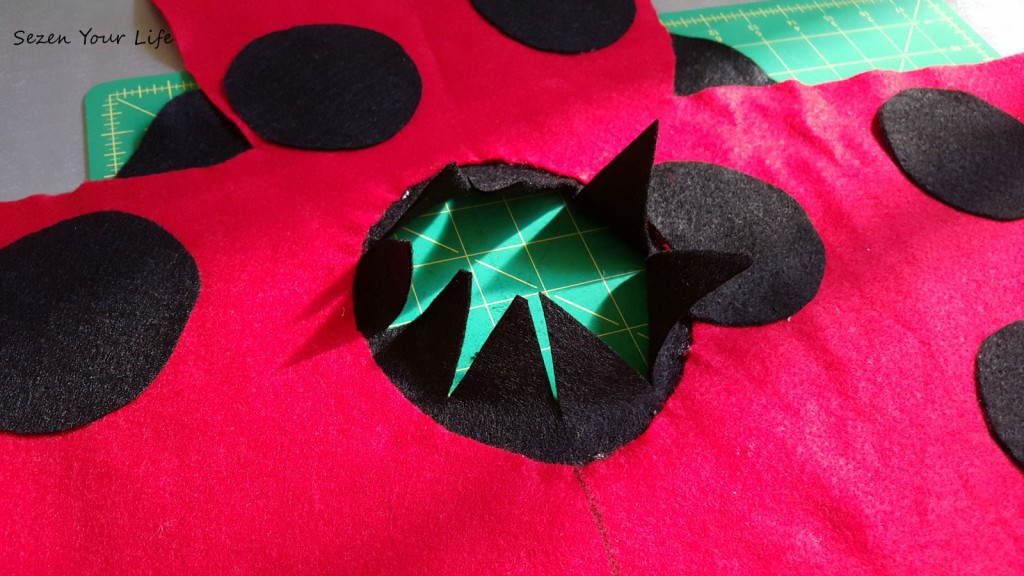 Then rounded the points with scissors to make it a bit more feminine. Direction I received from L, “Needs to be like a flower, Mom; not pokey.”
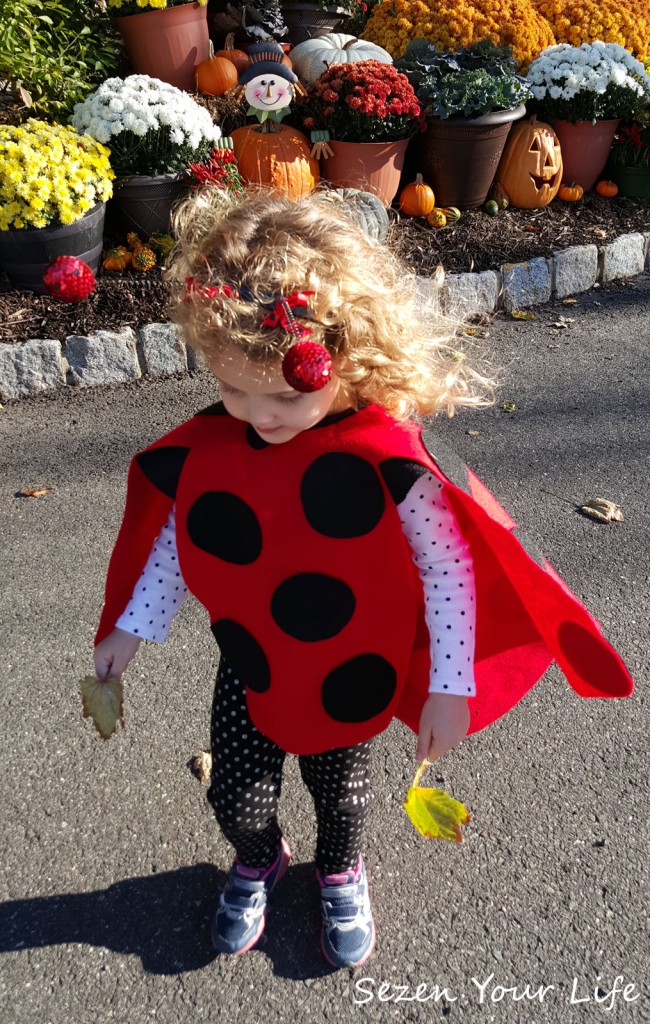
And that was all it took. Some red and black felt, scissors, and a glue gun. She wears it over polka dot leggings and top. It’s pretty heavy and keeps her very warm. We had head bands, pipe cleaners, and pompoms to do antennas, but the ones you see in the pictures below were only a few bucks at the store and too cute to pass up.
This same idea could easily be used for any number of costumes, from butterflies to pumpkins. It was easy, relatively quick, inexpensive, and she loves wearing it.
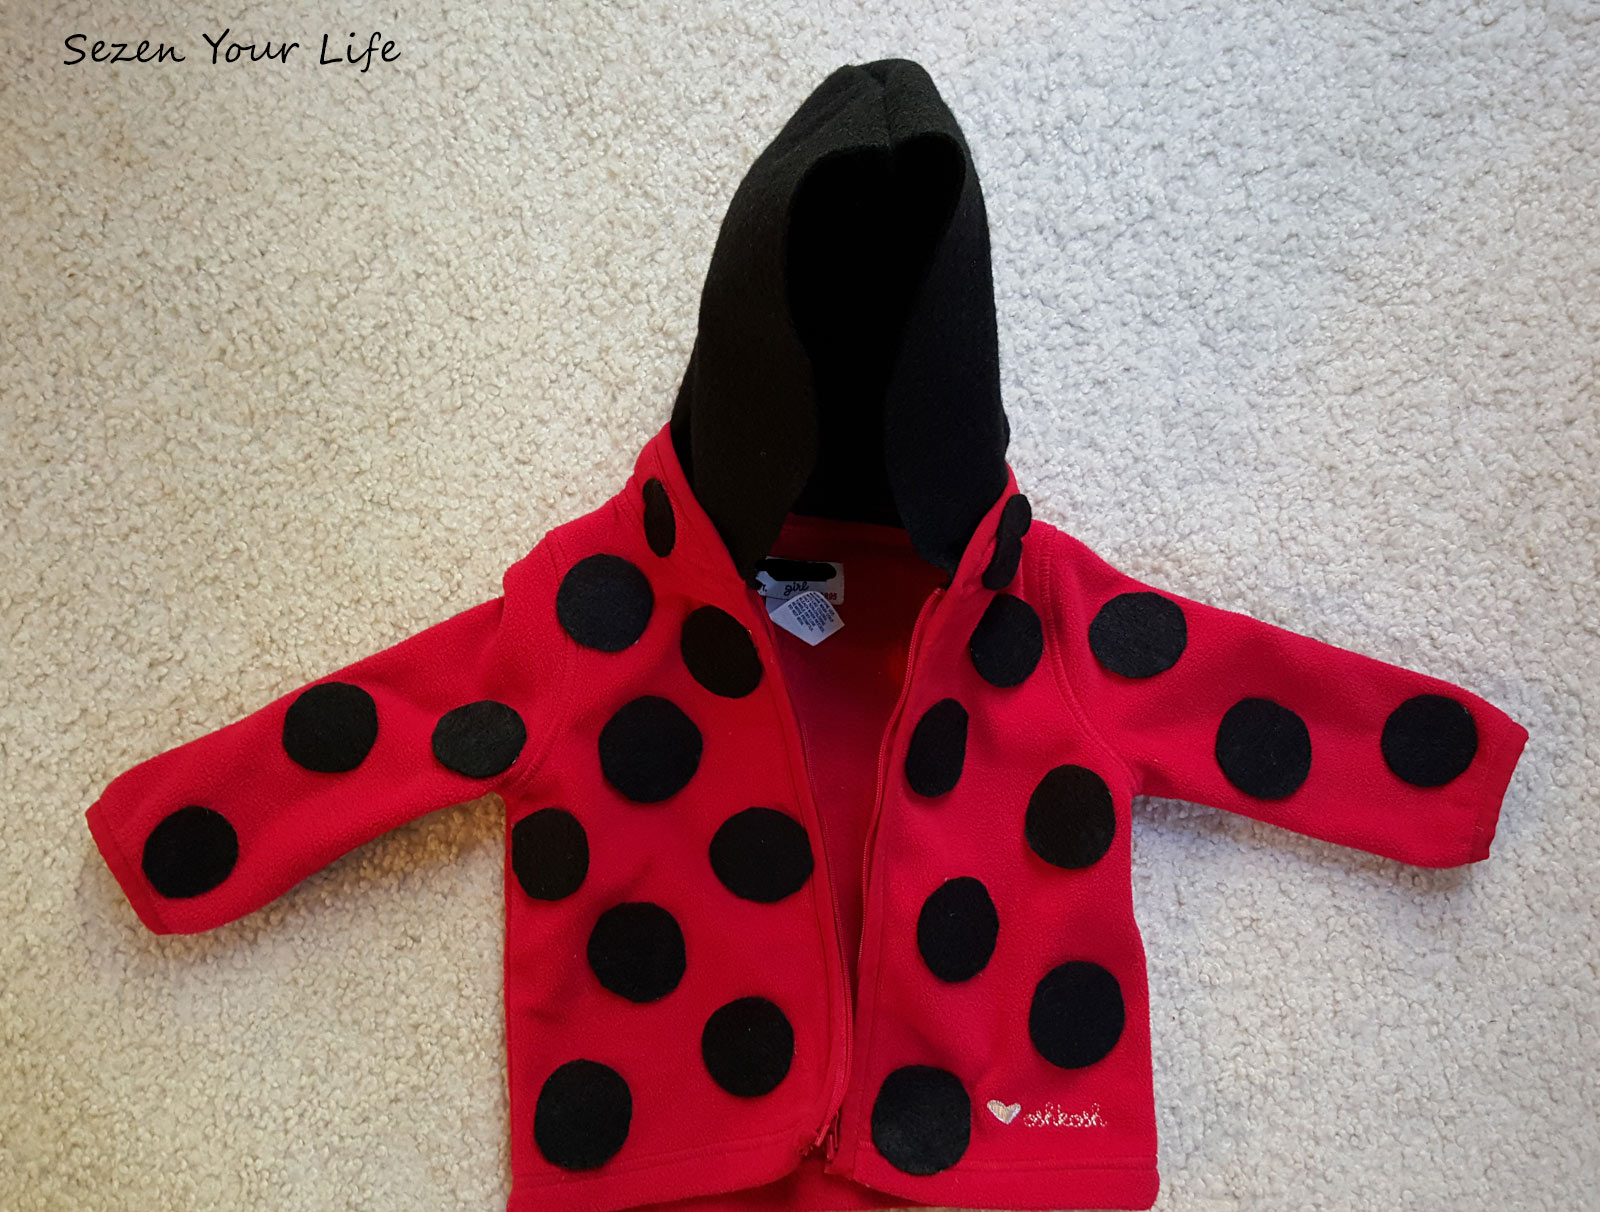
As I mentioned at the beginning, L said C needed to be a ladybug, too. I was going to make a body suit type thing for her, until I saw a red fleece jacket in her closet (which used to be L’s). C has just about outgrown it, so this was the perfect solution. I simply cut out more black spots – I used a smaller cup; and hot glued them right to the jacket.
I forgot to take a picture of just the plain jacket, but you’ll get the idea here in a minute. I was originally going to make a little hat or do headband antennas for C too, but she kept pulling everything off her head. So to add warmth, and not have the perpetual battle of keeping something on her head, I made a hood.
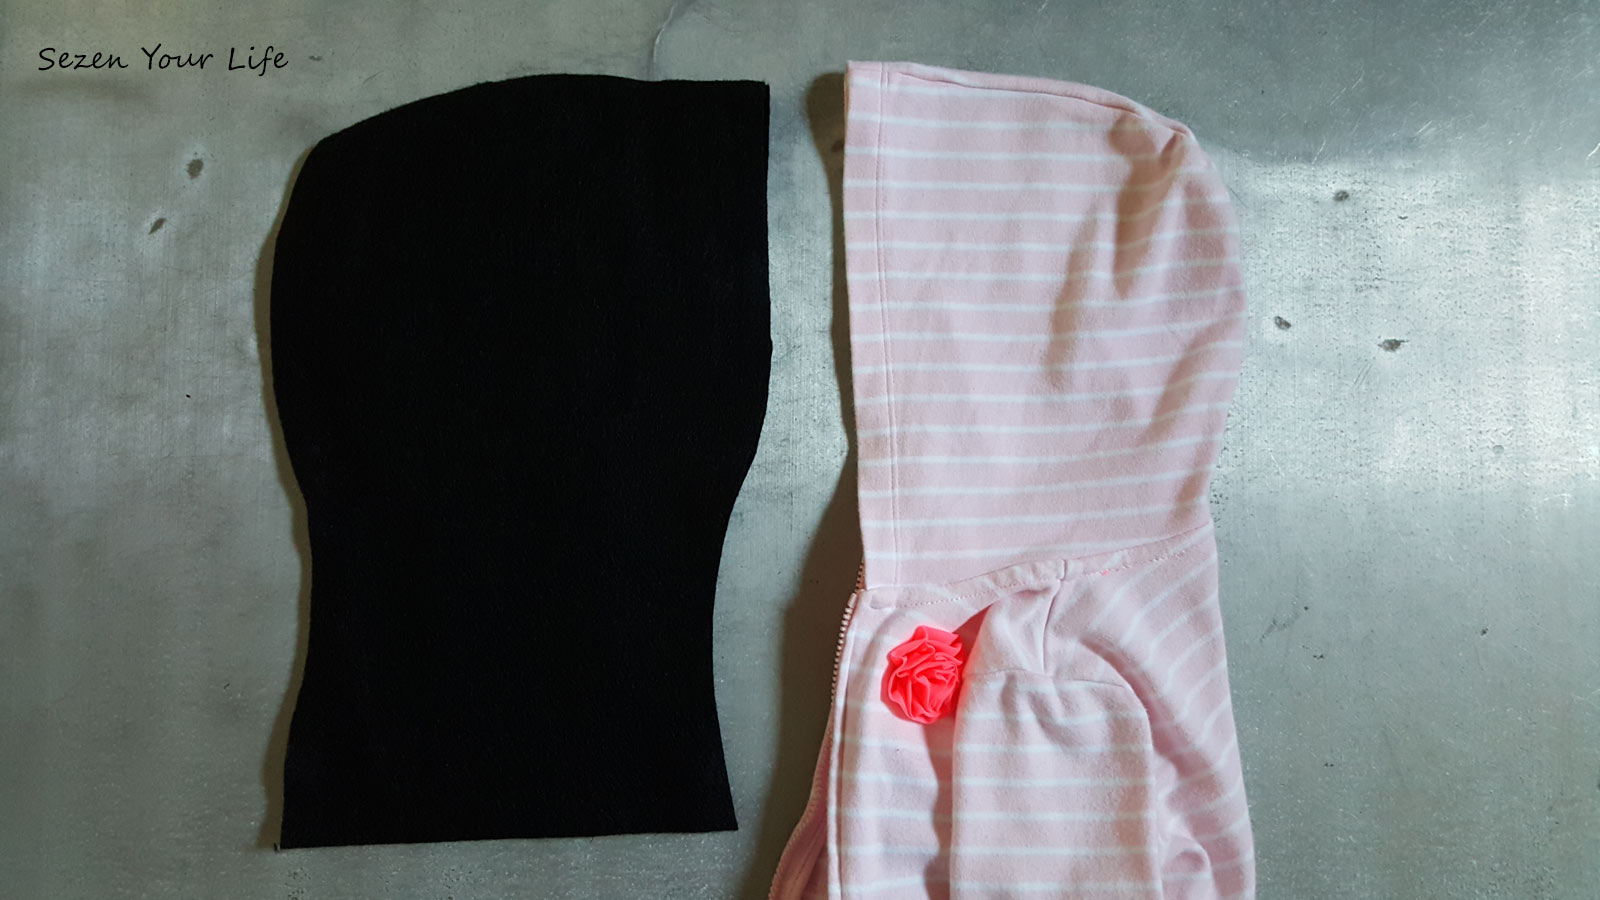
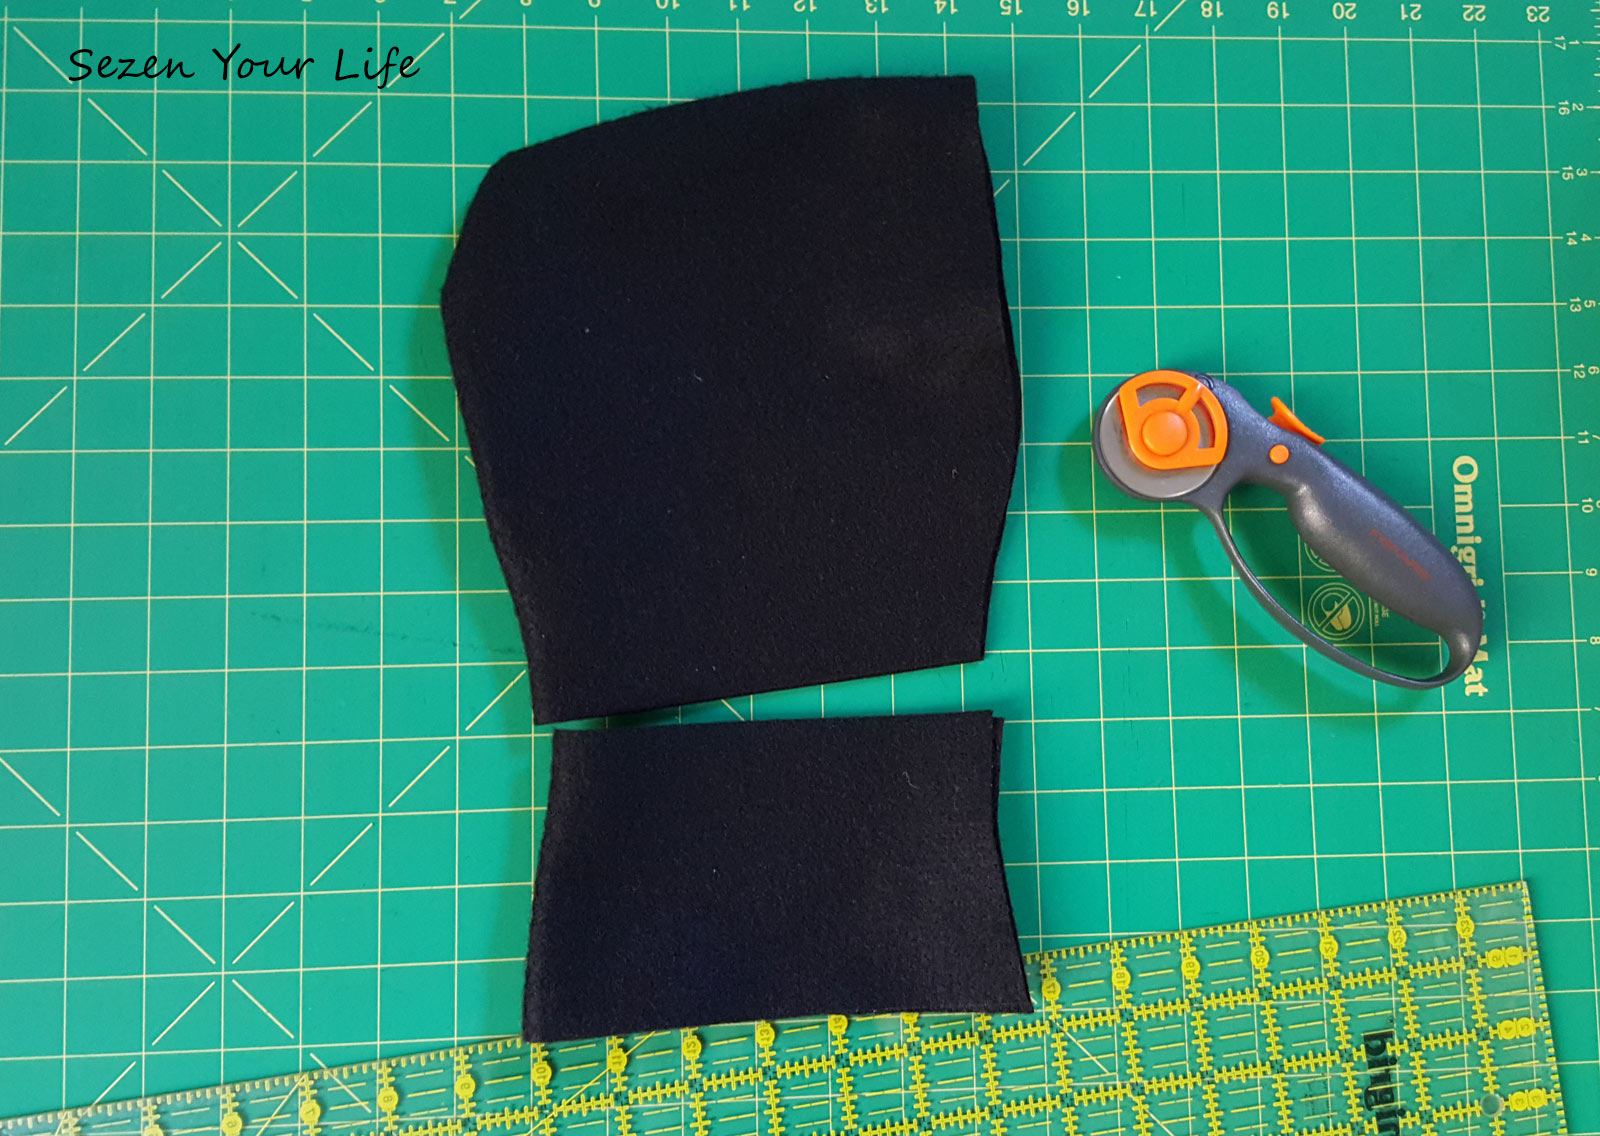
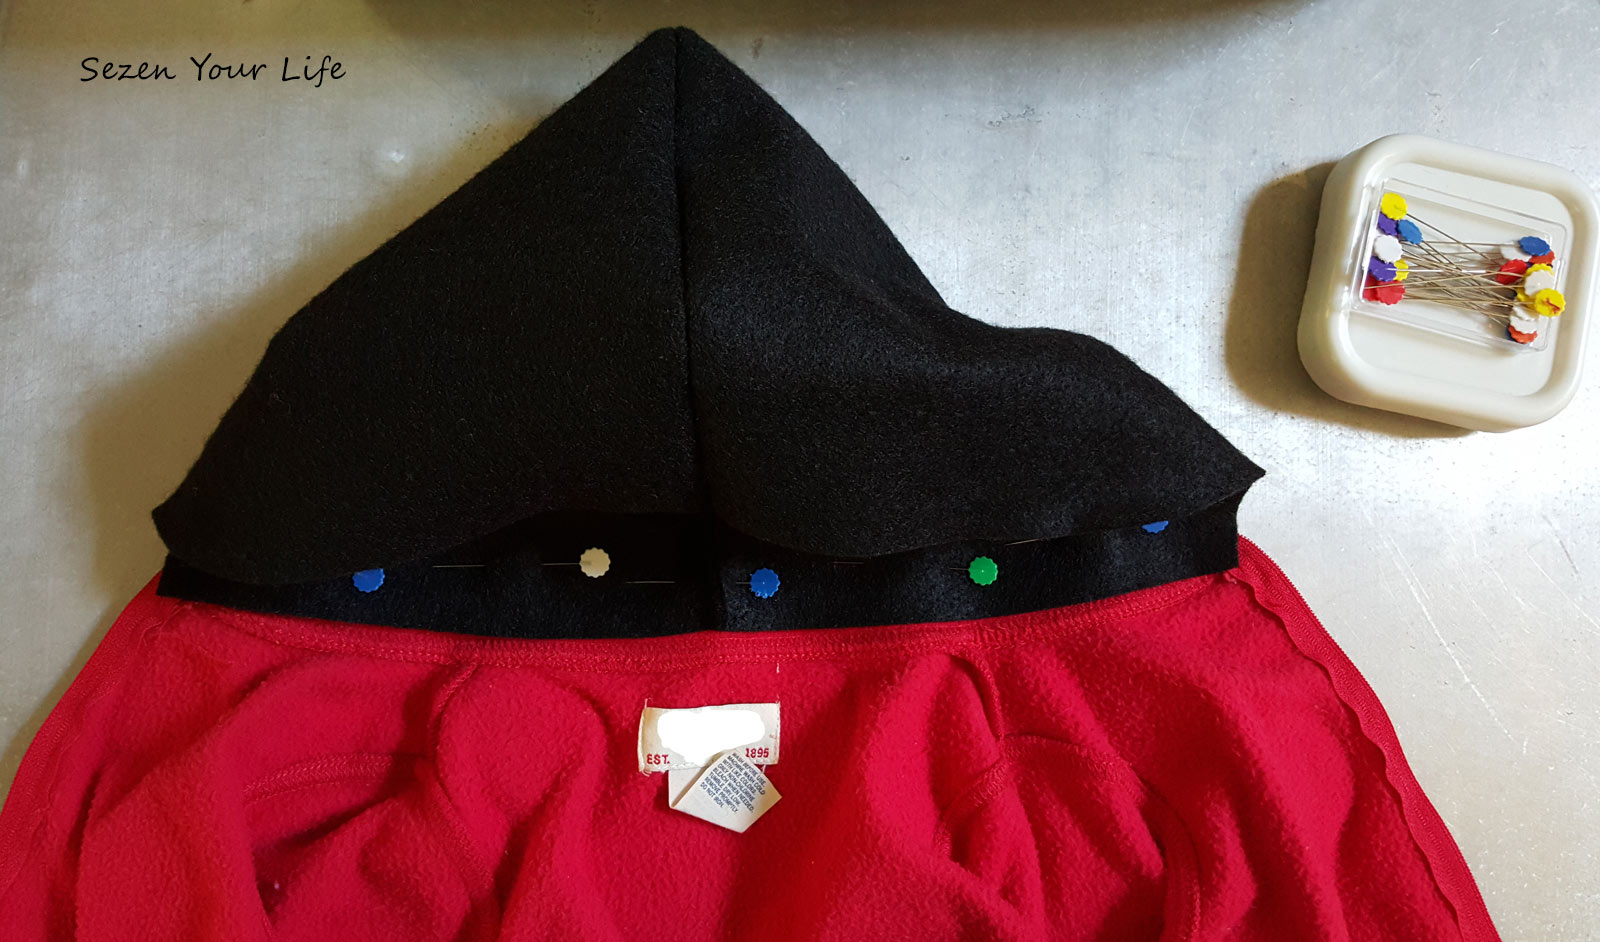
The pink jacket on the right in the picture below is one C wears often and always lets me keep up the hood, so I used it for my pattern. I cut through 2 pieces of black felt, leaving a bit extra all the way around for seam allowance and trimming around the face as needed.
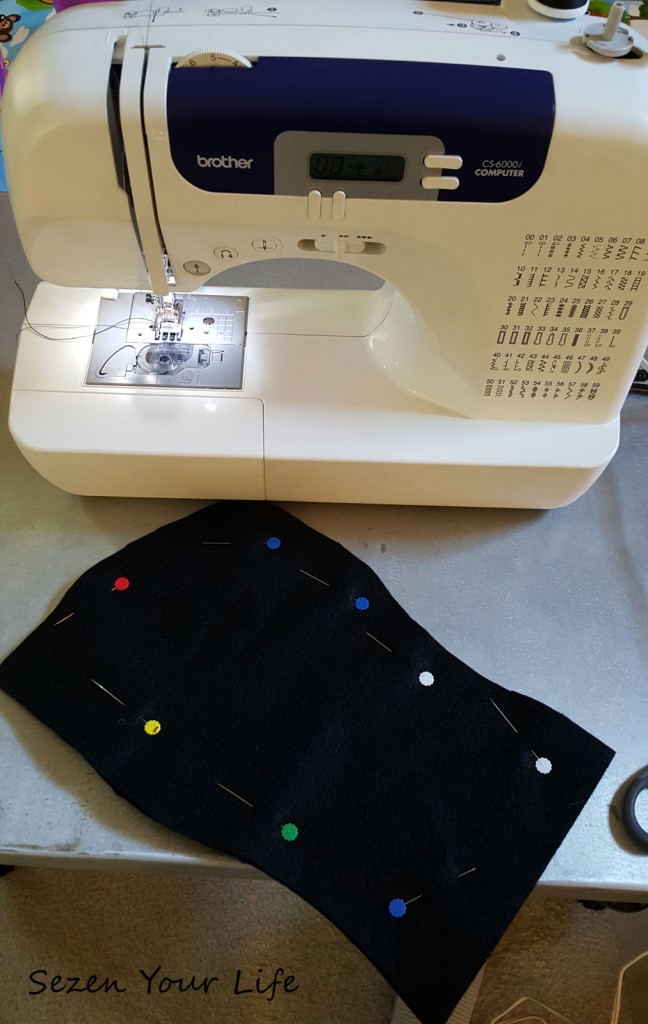
Then pinned and sewed around the back part of the hood.
Turned it right side out, so the seam was hidden; and trimmed off the excess.
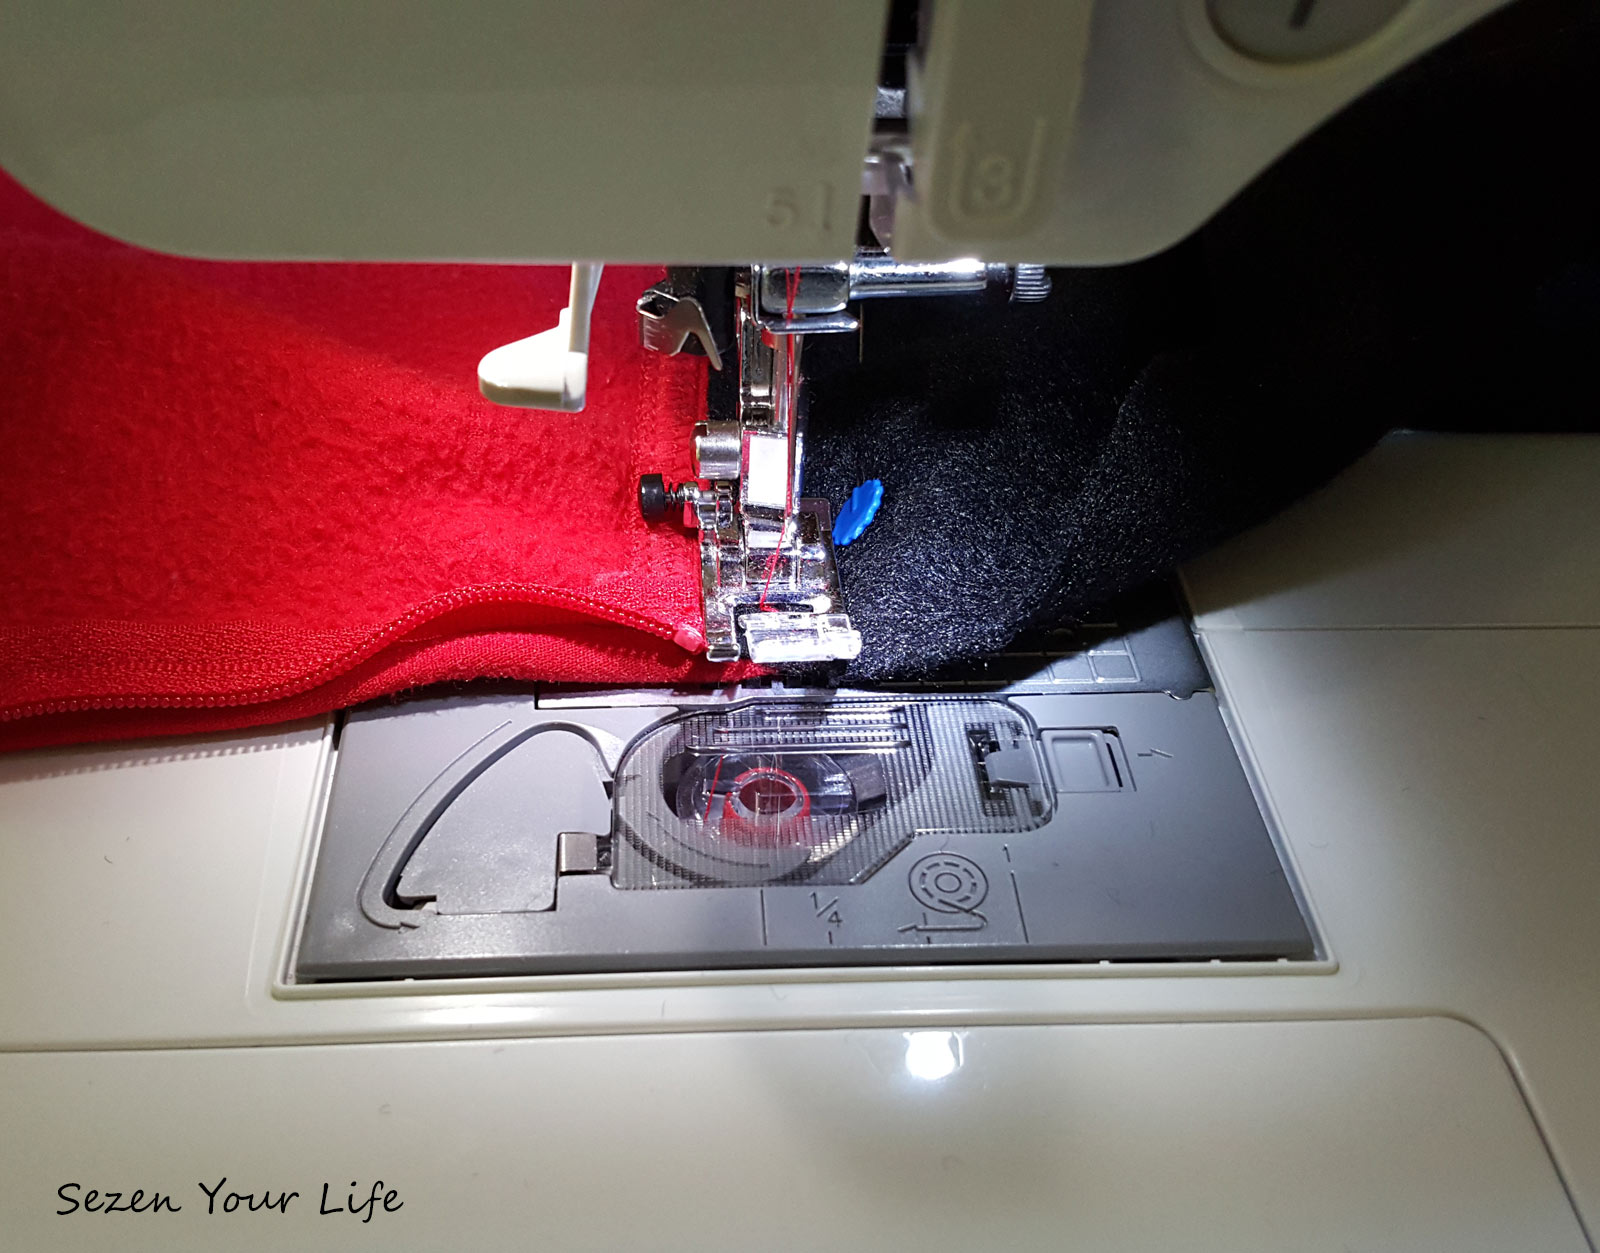
Pinned it to the jacket and sewed it on
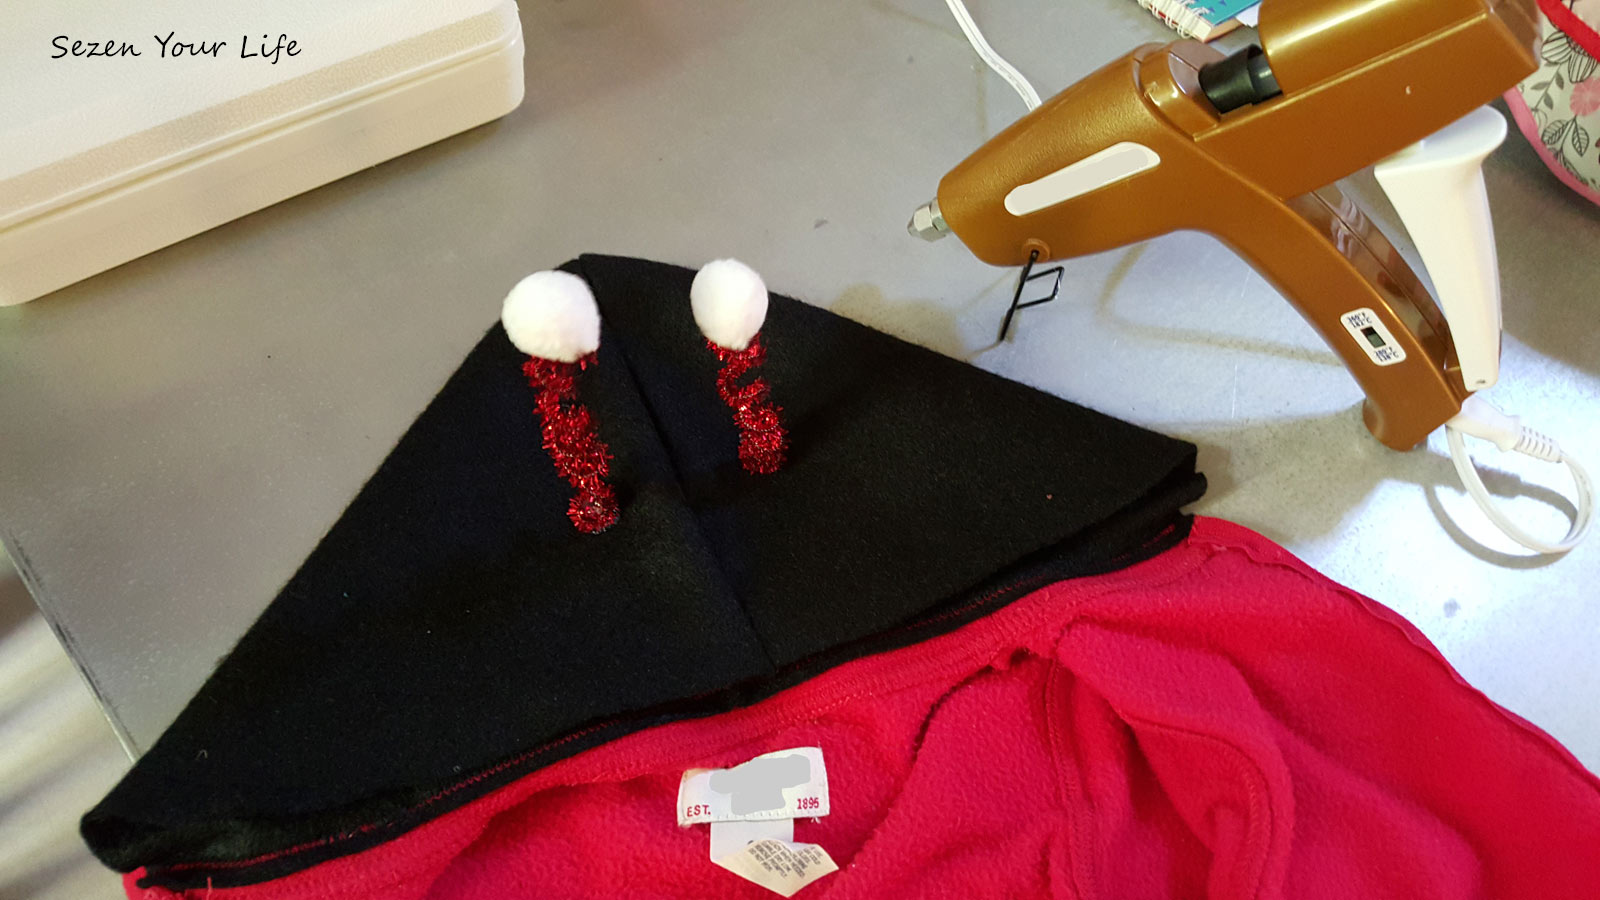
For the antennas, I used pipe cleaners and pompoms and glued them on with hot glue.
C loves it and has no issues wearing it with the hood up. Both girls are happy and look adorable. Mission accomplished!
You Might Also Like:
Autumn in New Jersey, Complete with Angel Food Pumpkin Cake
Children’s Christmas Tree
It Feels Good to be Thankful






2 comments
1 ping
Your girls are so cute. They are really growing up fast. It has been a while since I have heard from you.
I hope you and your family are doing well. I really can’t believe it time for Thanksgiving and Christmas again.
There isn’t must going on her these days. We are pretty slow for it being the holiday time. The weather her is better good. I hope the snow doesn’t come this year. I just wanted to say hi.
God bless you all.
cindy
Author
Hi Cindy,
Thank you so much. We are very blessed and the girls are lots of fun. They definitely keep me busy! We are doing great, busy as usual, especially with the holidays right around the corner. I hope you have a wonderful season and not too much snow 🙂
Miss you lots, much love!
Sarah
[…] sezenyourlife […]