
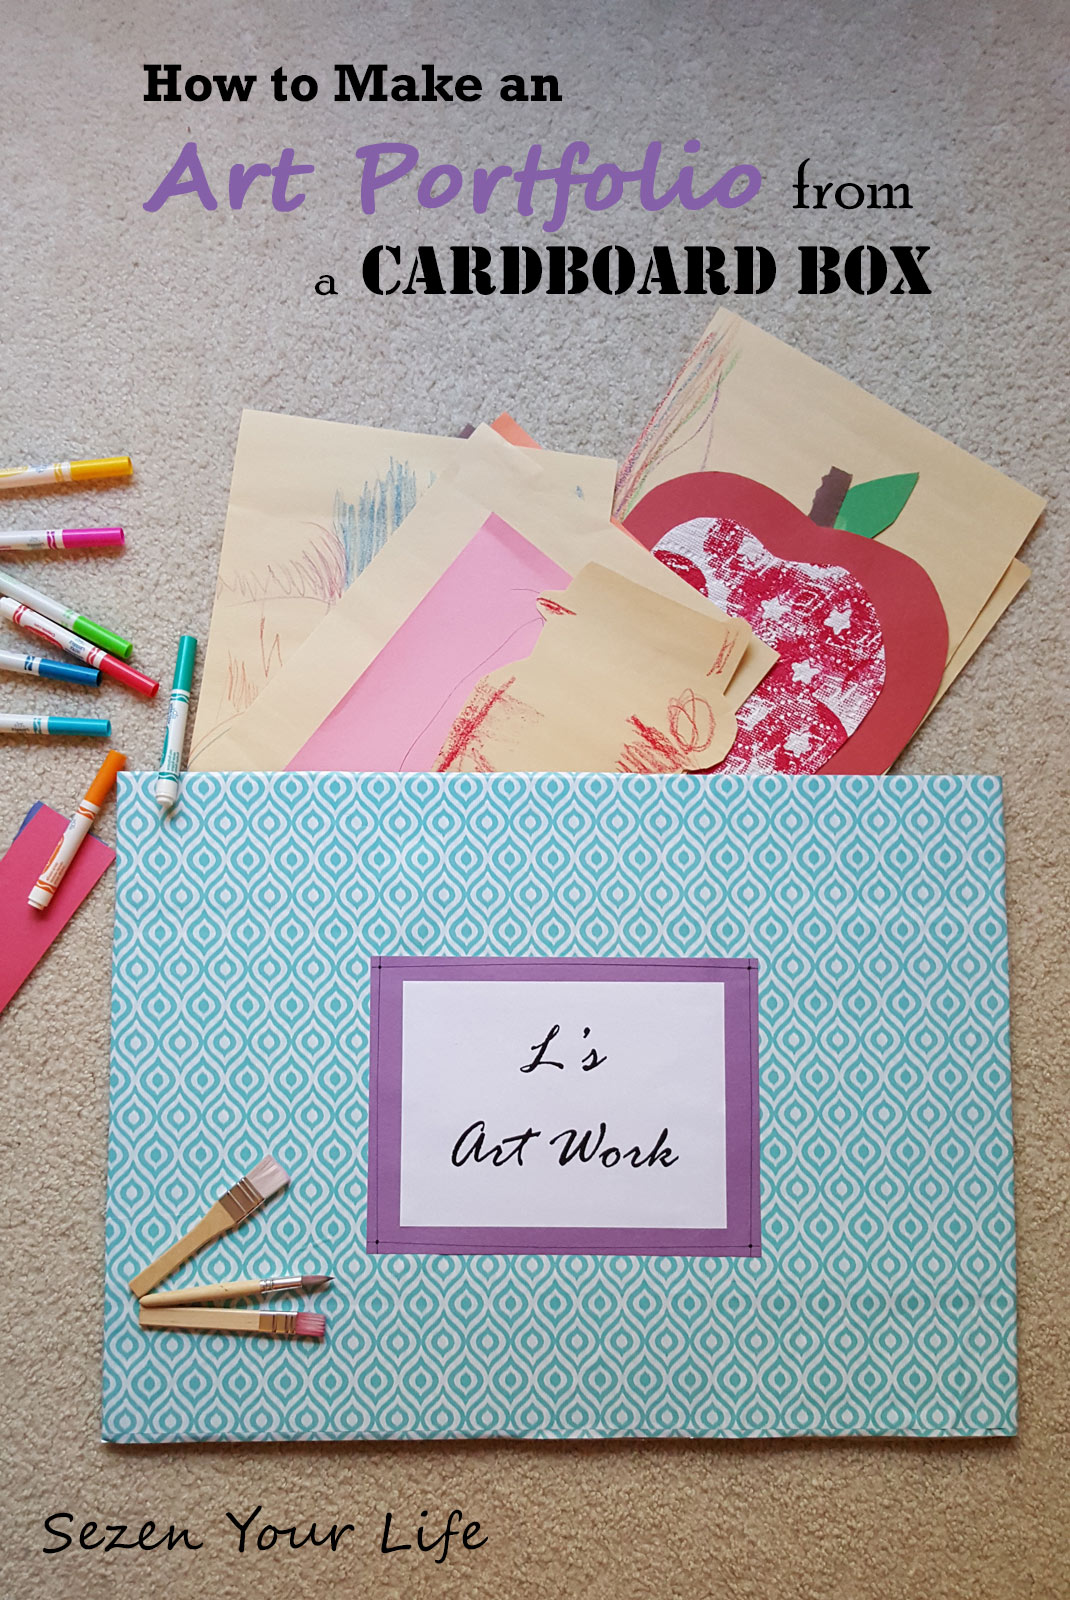
Shortly after L started preschool, I realized I had severely underestimated the amount of artwork my little one would bring home. As much as I would like to save every precious painting and sketch, it’s unrealistic. However, for those special ones I needed a good way to hold on to them. I already have a keepsake box where I save most of the girls’ things, but I had no idea every project would be gigantic. I had held out by hanging the adorable projects on my fridge and magnetic board until mid-October. Then I broke down and added “portfolio for L” to my shopping list.
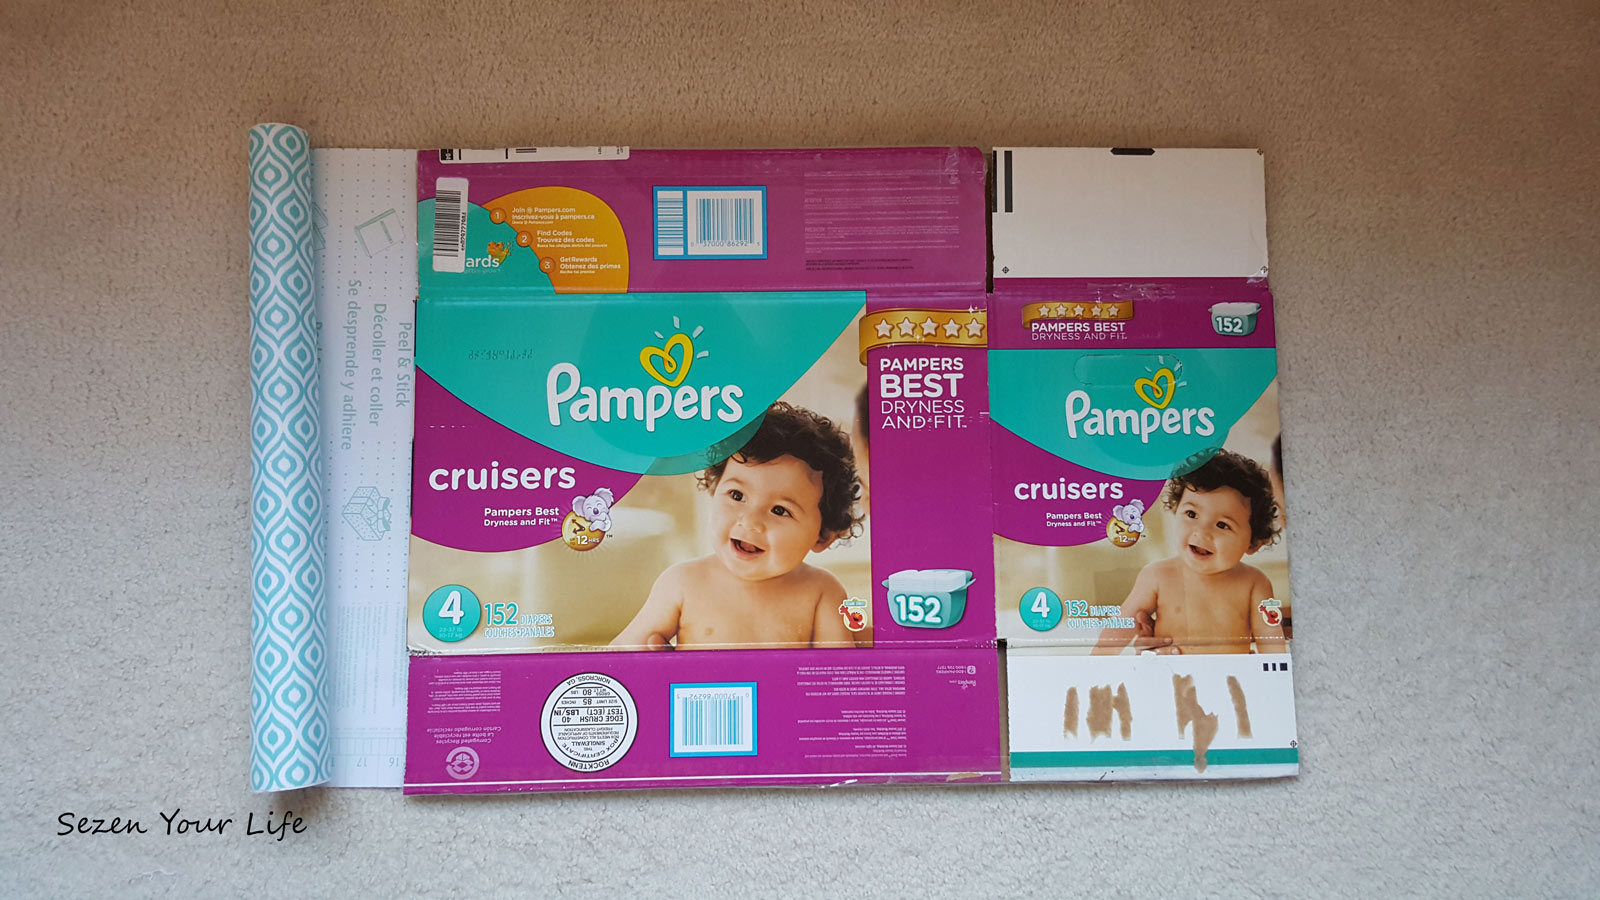
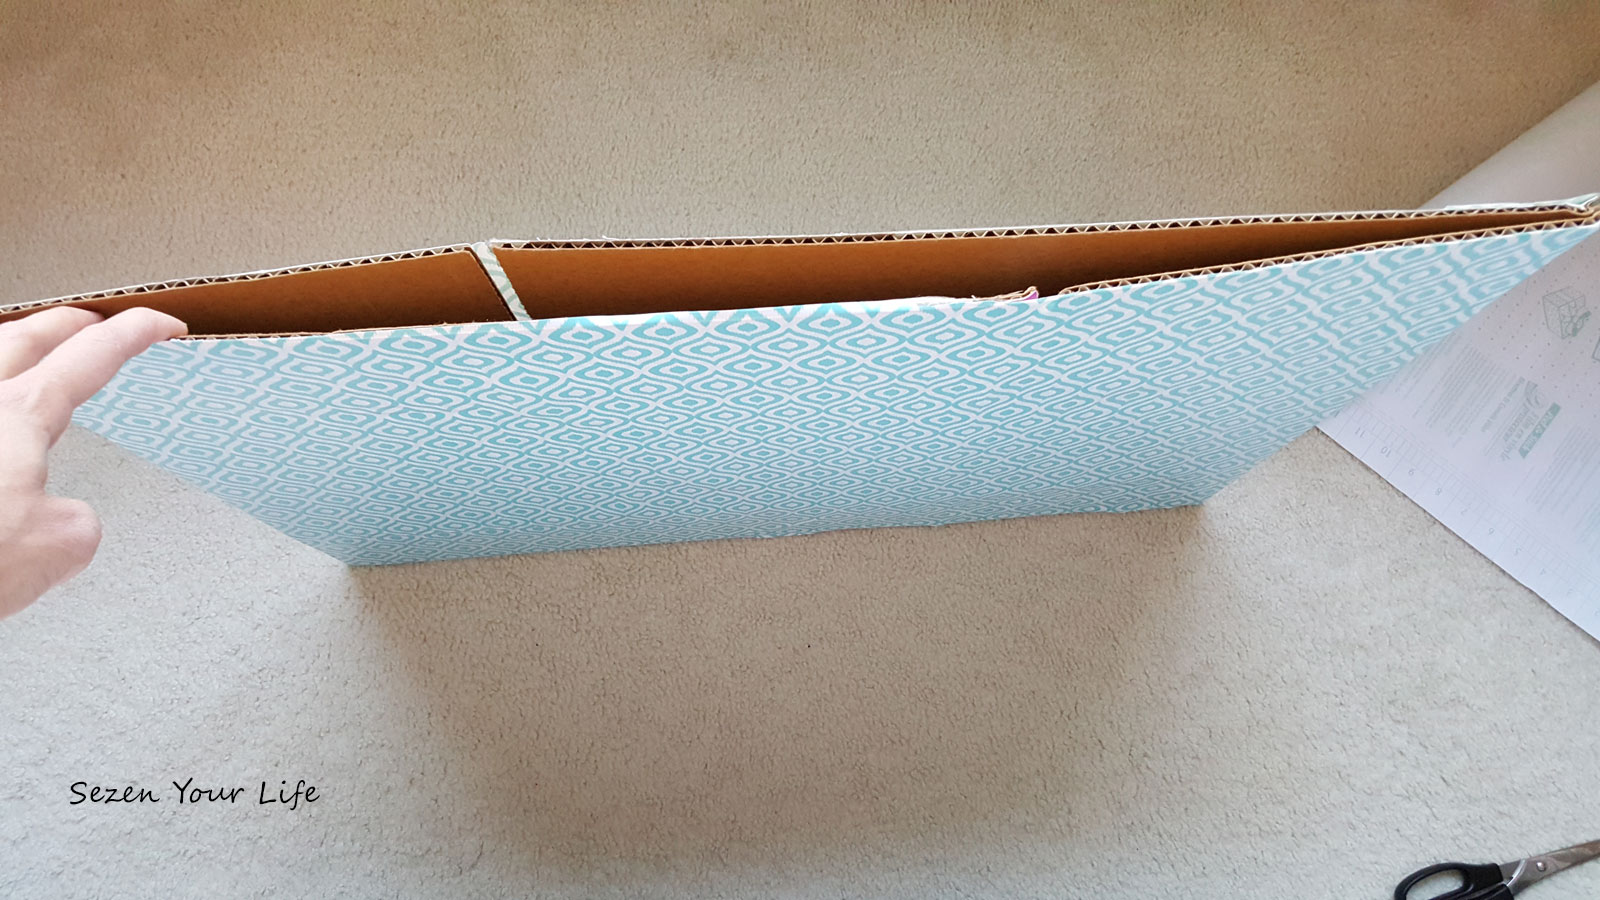
But hark! I looked over at a diaper box, ready to go to recycling and had an epiphany. I could use that, free of charge. Any medium to large size box will do, we just happen to have easy access to large diaper boxes every month courtesy of our one-year-old. (*Update: see comments below – I would suggest using a plain box if possible. The contact paper doesn’t always cover the graphics, especially if you’re using a light colored paper.)
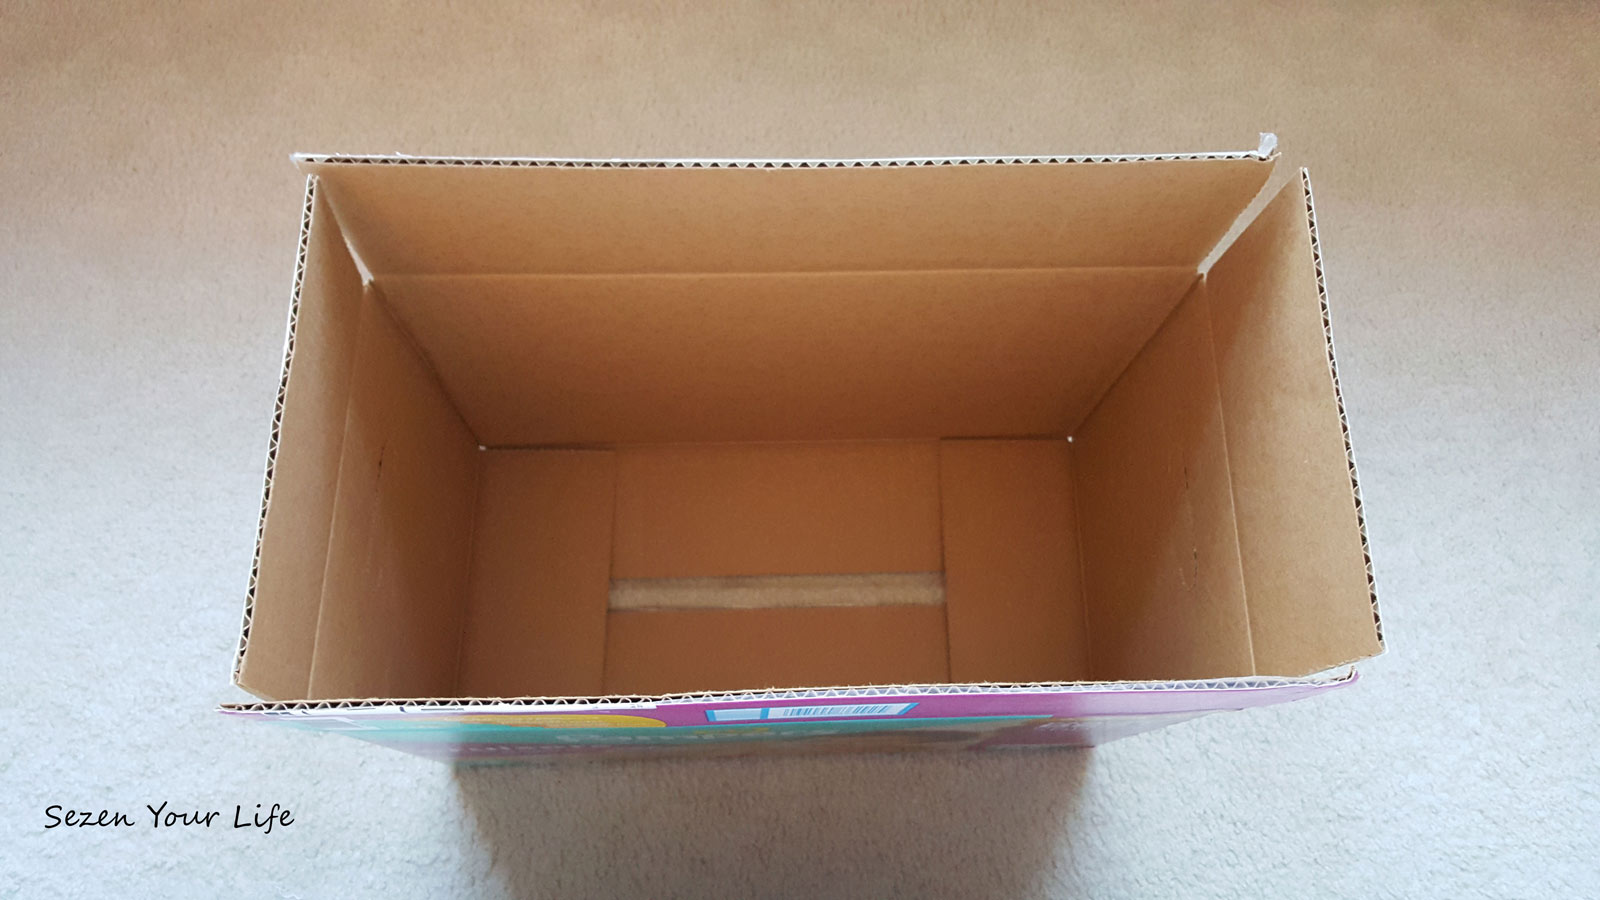
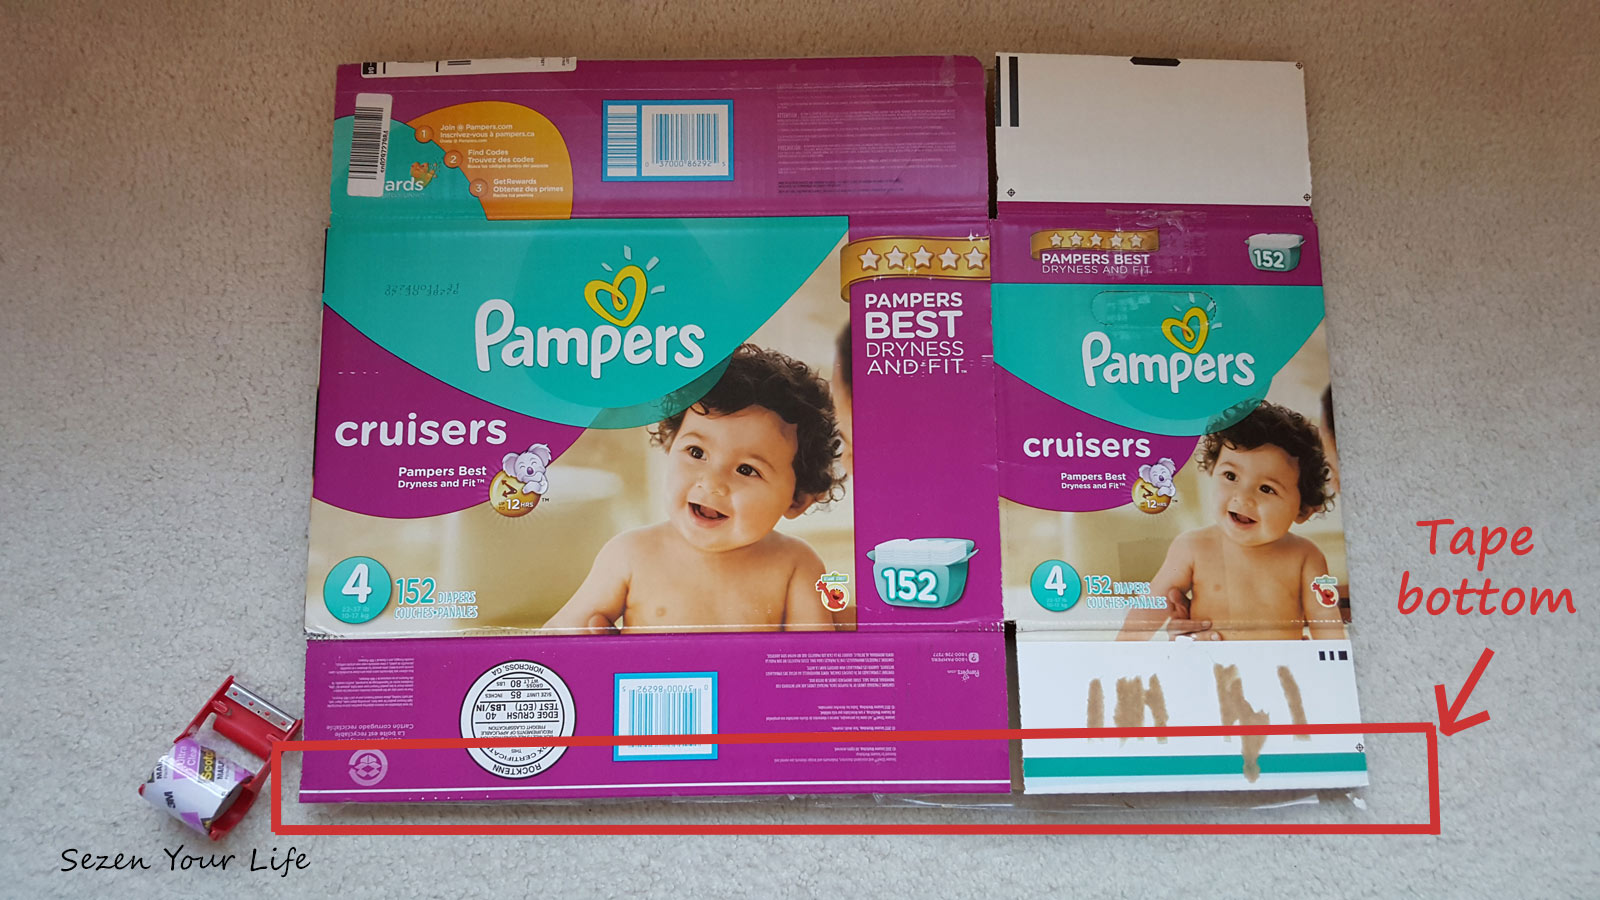
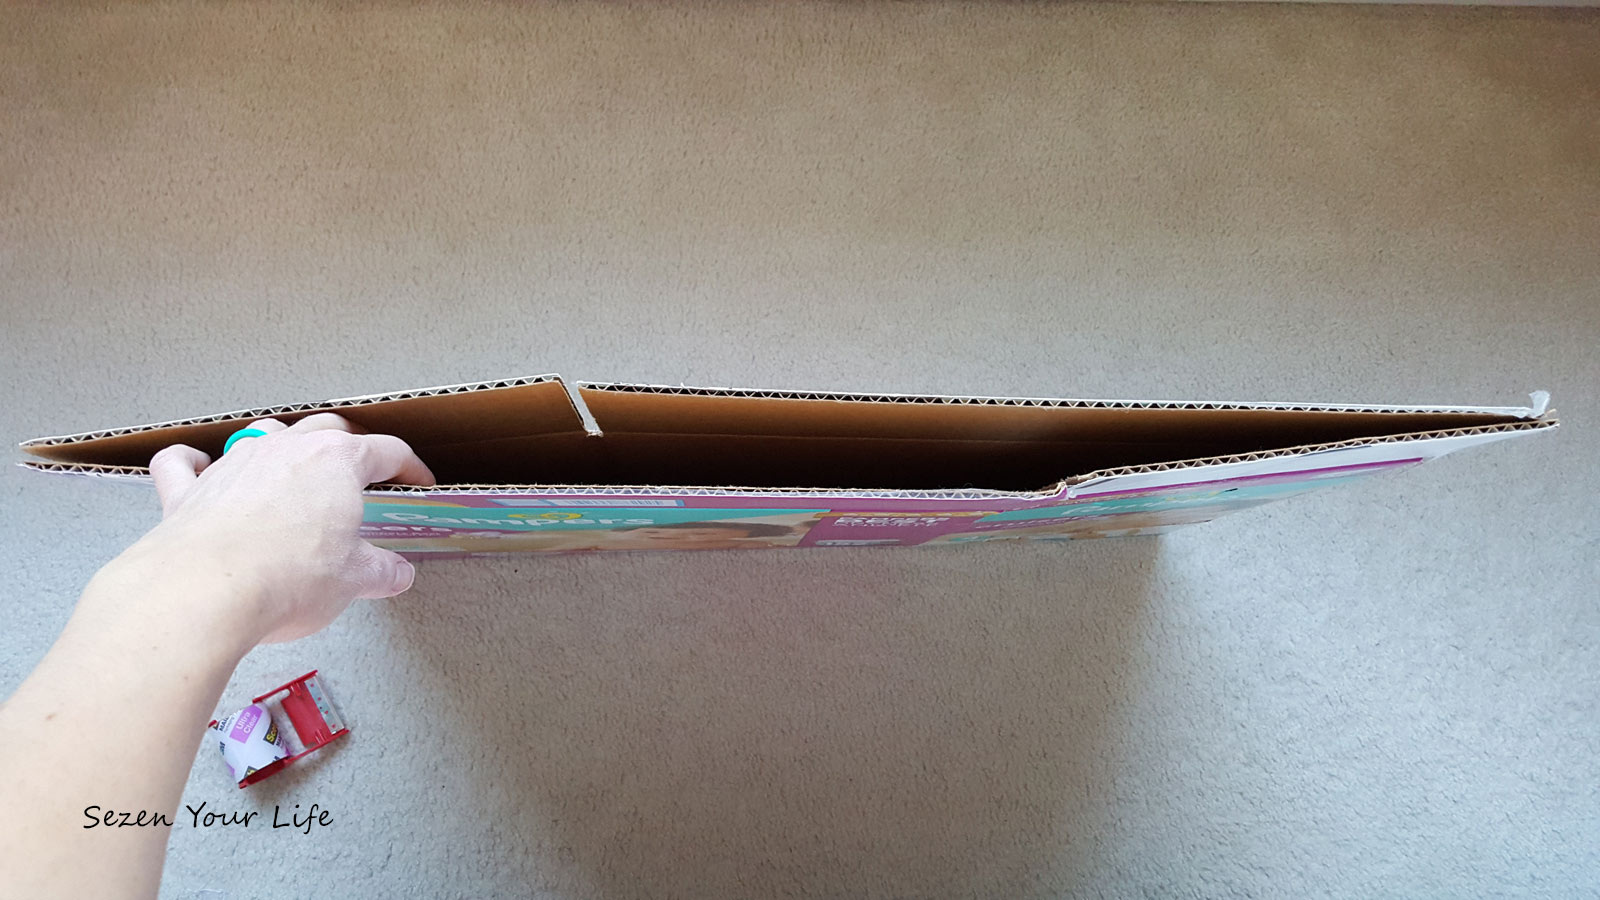
Break down the box so it’s flat. With the diaper boxes you just have to undo the bottom for it to collapse. Leave the sides in tact.

Tape the bottom shut so it remains flat. You’re essentially trying to make a large envelope.
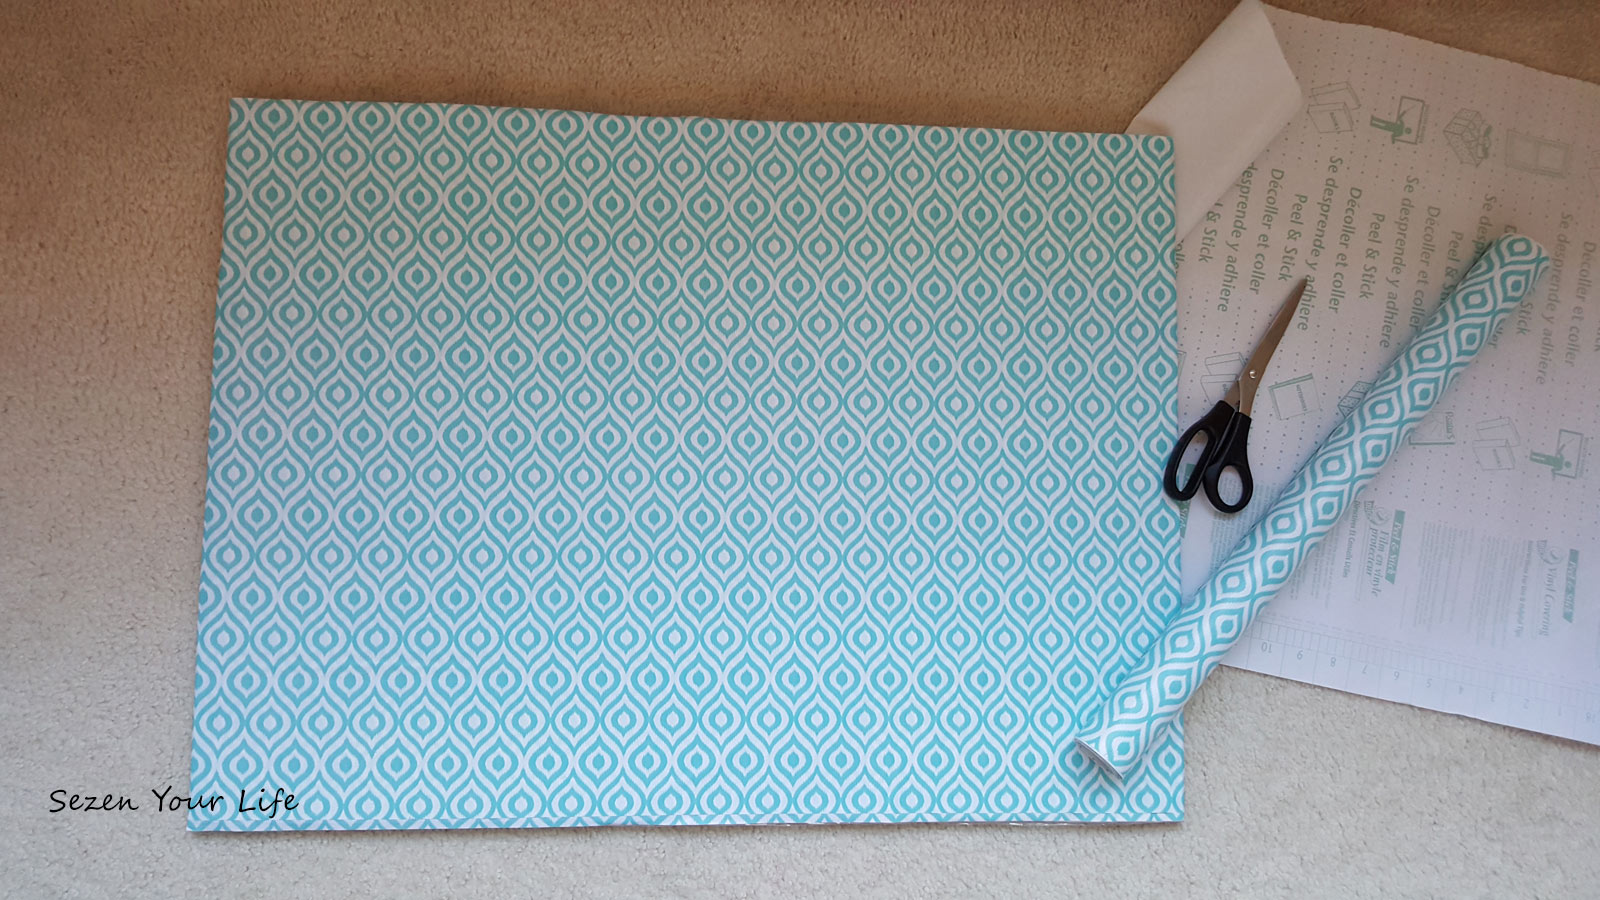
You could just use this if you’re limited on time. You might be storing it under your bed or somewhere that you’ll never see it anyway. I wanted to dress up mine a little because it’ll sit behind our craft station, but the edge might be partially in view, and more importantly, L wanted it to look “pretty”.
So I grabbed my trusty shelf liner (contact paper). If you’ve never used this, you’re missing out. Someday I’ll do an entire post on all of the random things I’ve covered with contact paper. It’s a self-adhesive vinyl paper that works wonderfully not only to line shelves, but also for many craft projects.
I added a sign and slid in L’s special little masterpieces.
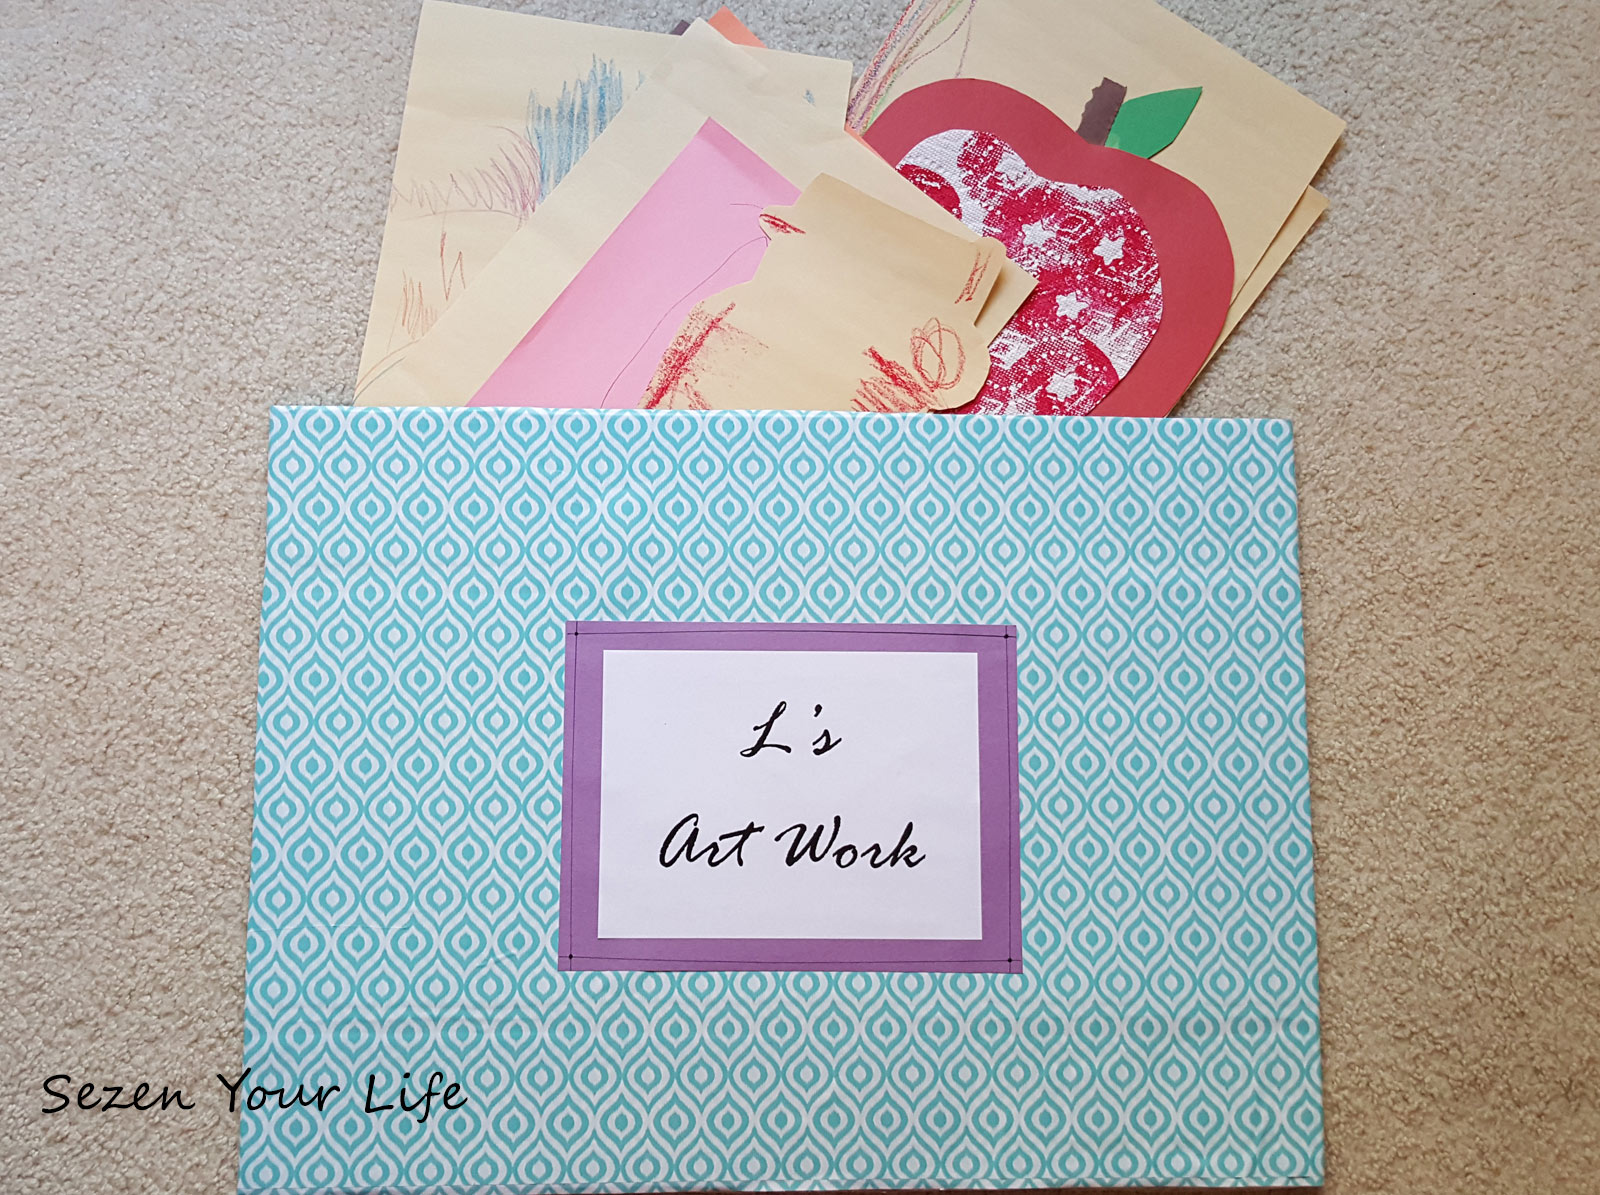
This is working great to keep everything flat and safe. L loves having her own special place to hold her art, too.
You Might Also Like:
Amazing Acini de Pepe Salad

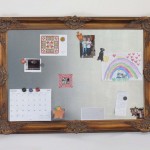
Magnificent Magnet Board
Fun and Easy Ways to Keep in Touch

2 comments
Super cute idea. Did the contact paper cover the printing on the diaper box or did you have to cover the printing first? I have been meaning to cover some boxes for coordinated storage, but haven’t yet as I was afraid the graphic on the box would show through.
Author
Thank you, Cindy. Yes, unfortunately it can be an issue with the graphics on the box showing through. I lucked out with this one. With one layer there were spots you could see the picture trying to show through, but I was able to wrap the contact paper around twice and the pattern of the paper still lined up. Otherwise I would suggest using plain boxes or peeling off any labels if possible. (Looking back, all of the other contact paper projects I’ve done have started with plain boxes or containers.) You could probably hit them with spray paint first too. It wouldn’t have looked horrible with just one layer of contact paper, but if you really looked you would have been able to tell it was a Pampers box.