
Living a great distance from our friends and family members, I want to make sure they are as much a part of our future baby’s life as possible. I have also been wanting to make something special for our child that she could cherish for years to come, so I decided to combine the two. A few months ago I set out to make, what I am calling, a Blessings Blanket (which is actually a quilt).
This is a work in progress, and I want to share the experience; so I’m doing a series of posts to show the steps and what I learn along the way. This is the first time I have made a quilt without a specific pattern and of this size, so there is sure to be some trial and error and lots of knowledge gained.
The first step involved contacting everyone to see if they had anything they wanted to contribute to the quilt. Aunts, cousins, grandparents, they were all delighted to be a part of this gift for the baby. I am fortunate to have a few shirts and pieces of old material that belonged to past generations, as well. I have heard of people doing contribution quilts and asking everyone to supply a certain sized block ready to be stitched in; but I felt like I was already asking a lot for people to mail in material and didn’t want to burden anyone. I also know that few members of our family have access to the supplies needed to create such a block and thought that the easier I make it, the more likely they will be to participate. So they all had free reign of what they provided. I just asked for a piece of fabric that could represent them in the quilt.
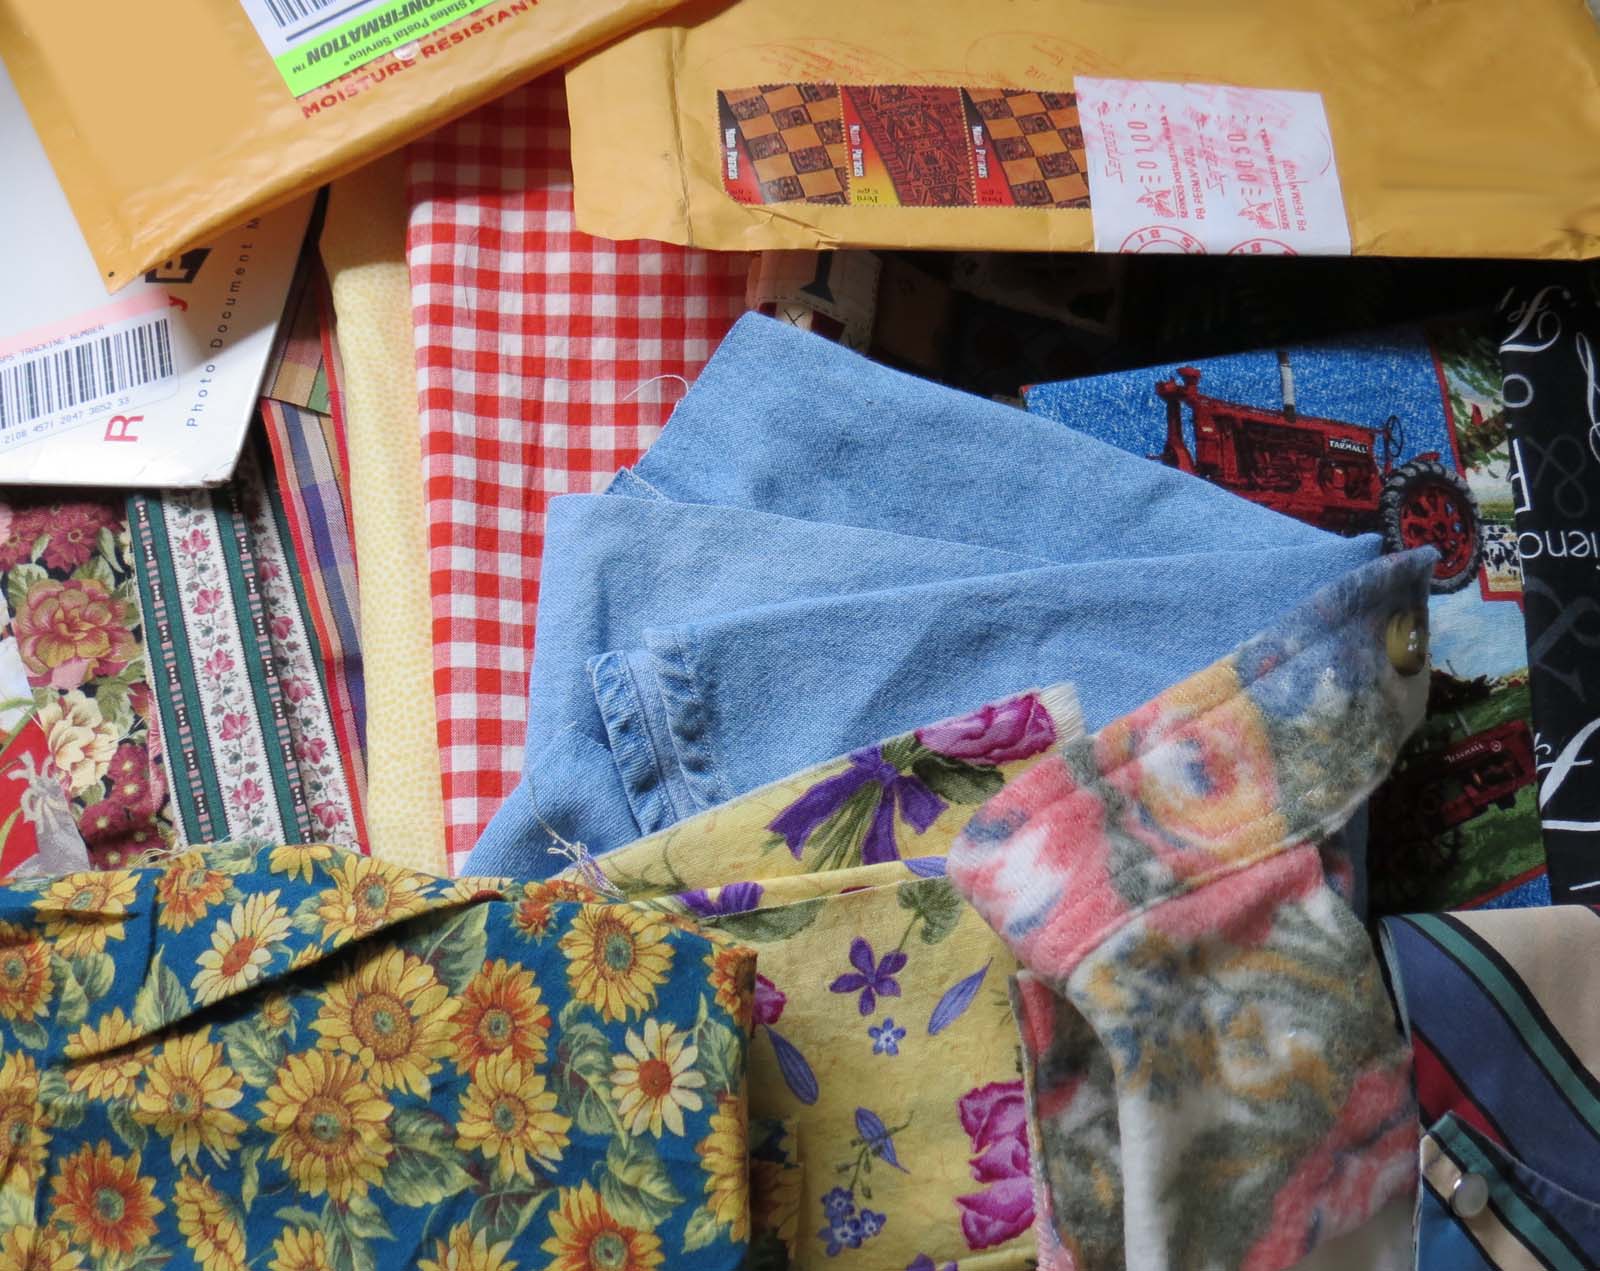 It has been so much fun seeing what everyone chooses and was like Christmas getting padded envelopes in the mail. Some sent t-shirts from activities they had participated in or places they had visited, some sent baby-themed prints, and others went to the fabric store and picked out material that best fit their personalities. With no stipulations on color, texture, or size the pieces that arrived are as beautiful and unique as the people who sent them, just what I was hoping for.
I made sure to document where each one came from so I can keep a list for reference and add a chart in her baby book. When she looks at it, or years from now if she is feeling a little homesick at college, she can wrap up in the quilt and see how many people care about her and were already sending their love and prayers even before she was even born. There is no substitute for amazing family members and friends, and I hope that this Blessings Blanket can be a physical sign of how important they are in our lives. Despite distance and differences, may we never take them for granted.
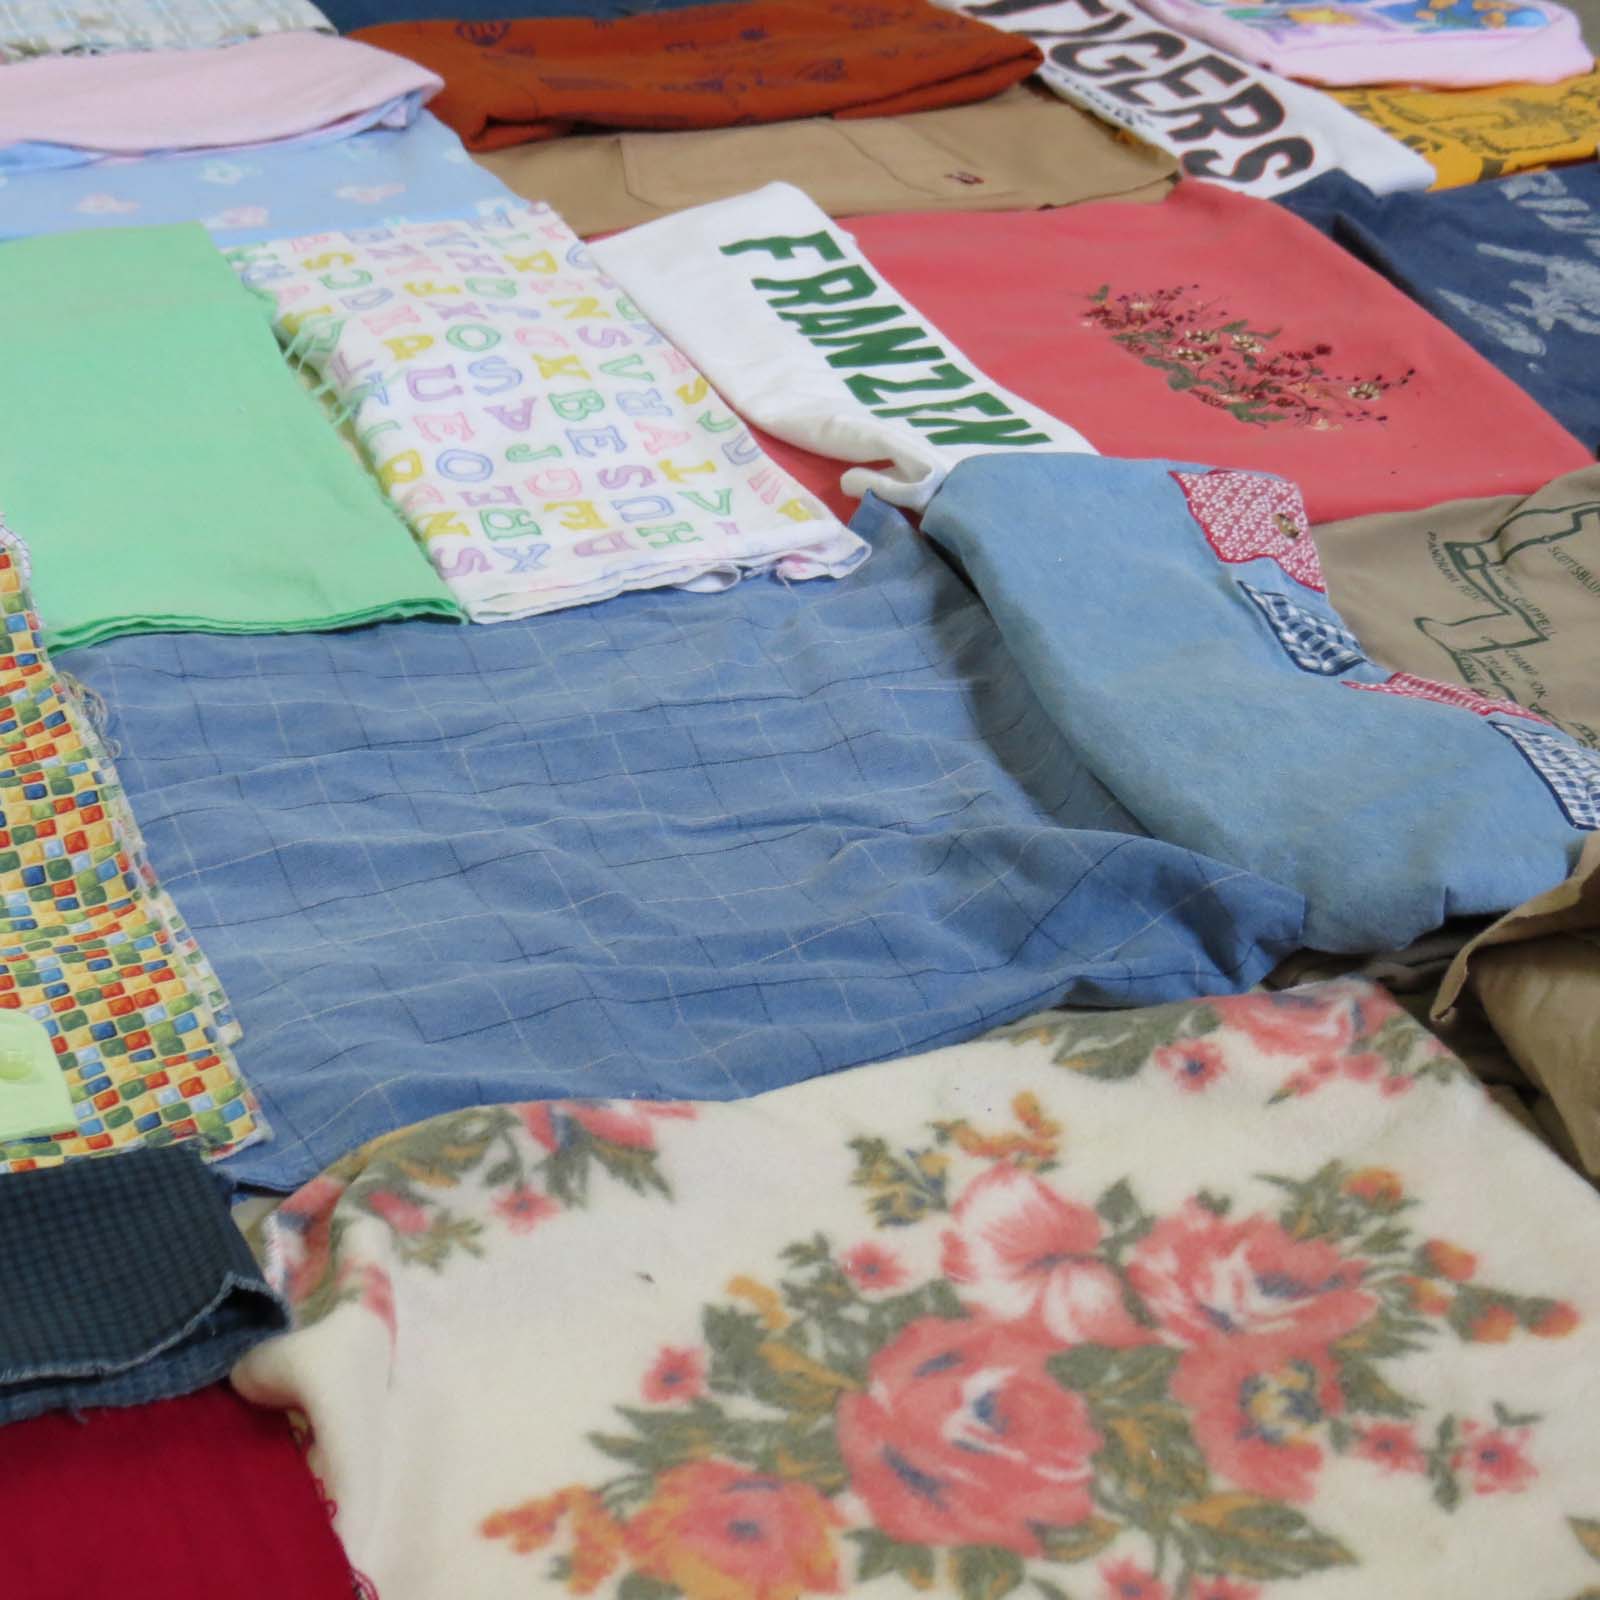
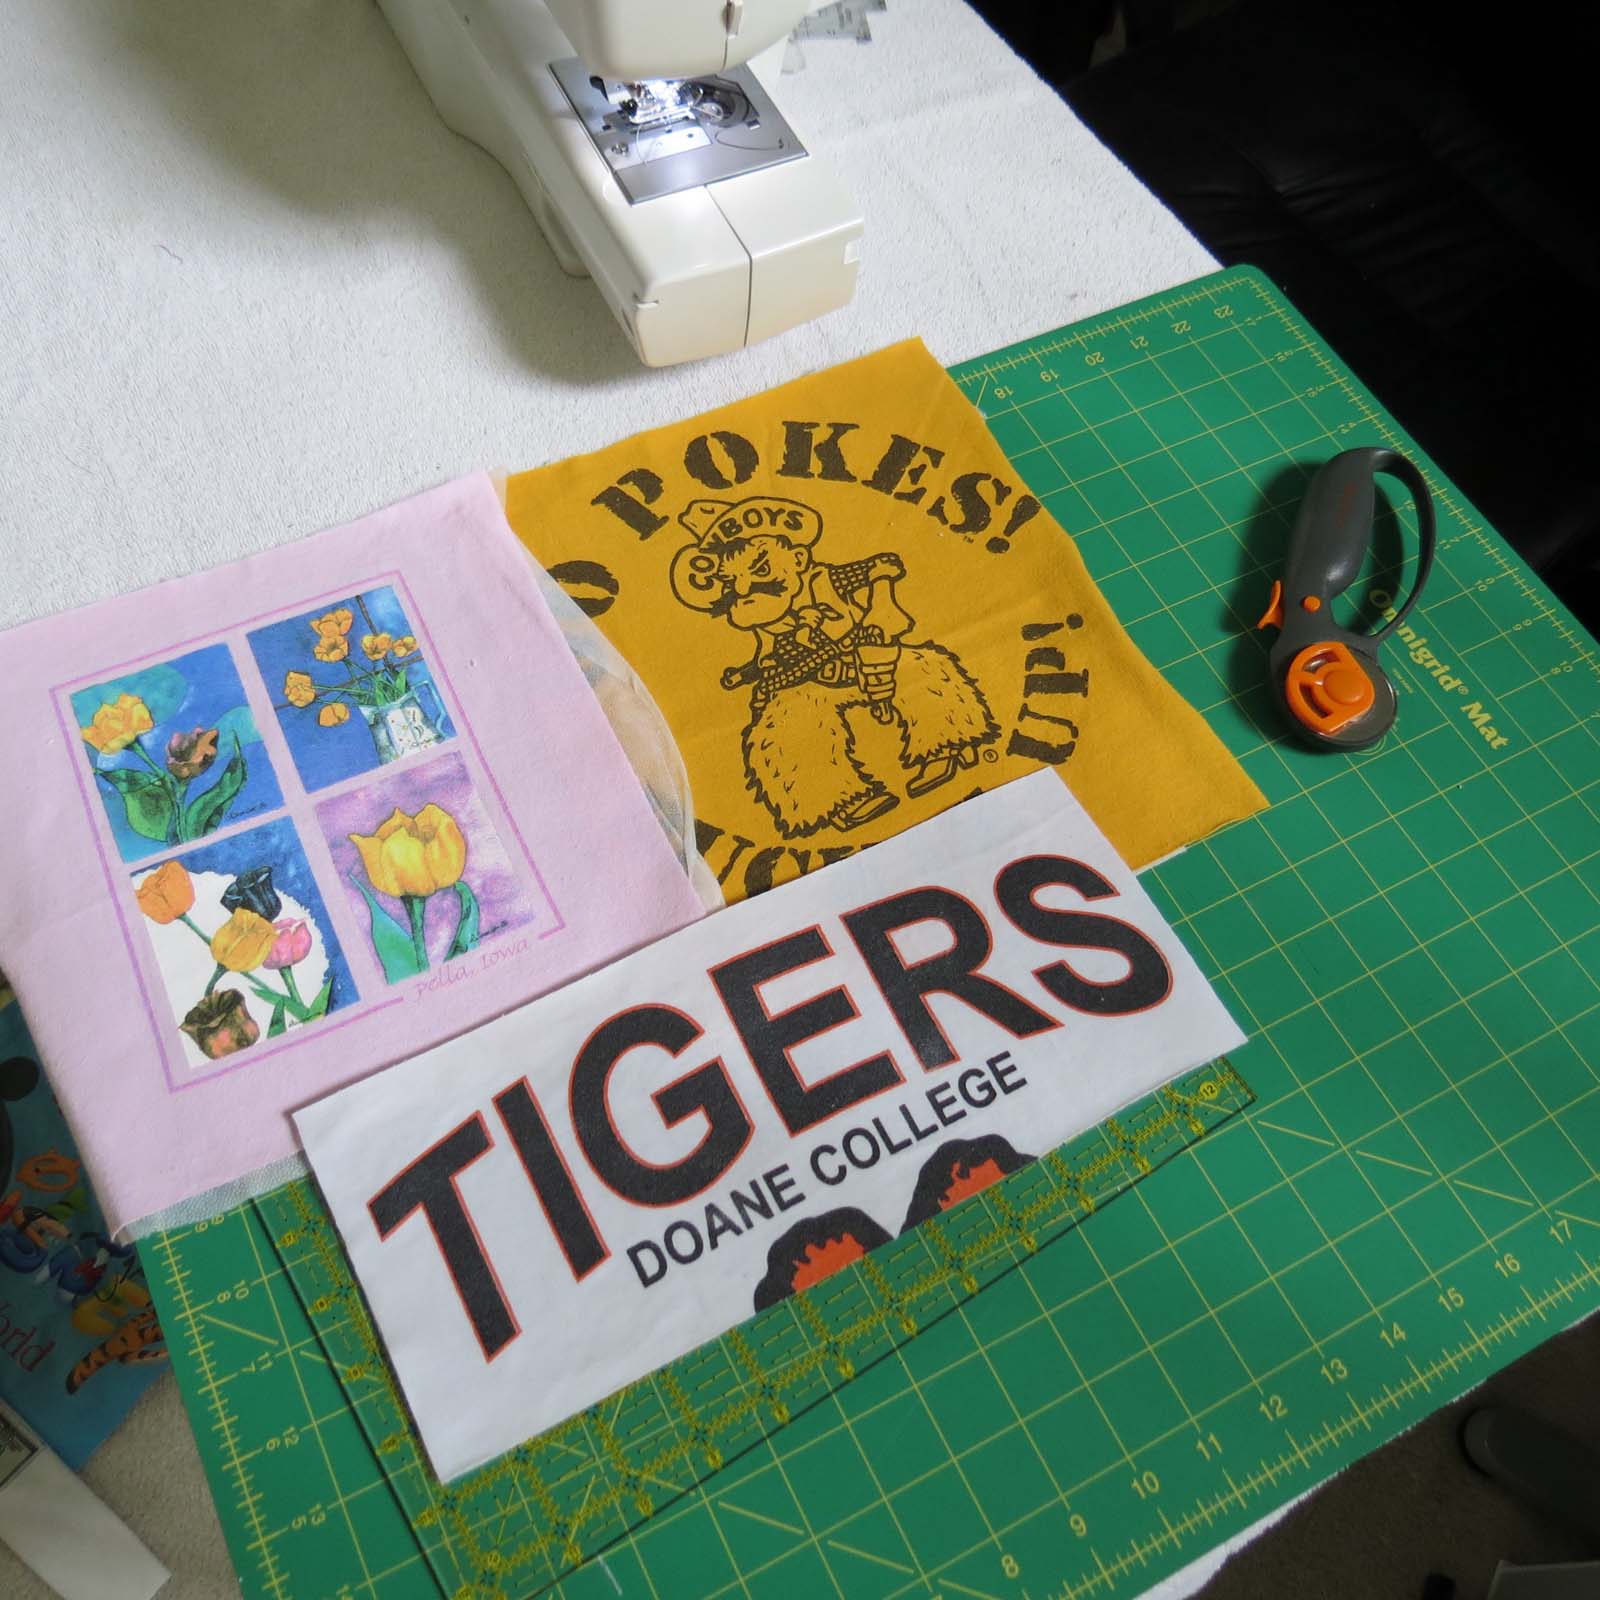
It took a couple of months to get all of the pieces gathered together. I’m very thankful I started early to allow people time to search for the right material that they wanted to send. After everything arrived, I began laying the pieces on the floor to see what I was dealing with and try to plot out some plan of attack. Once I had a general idea of how I wanted it to look, I used fabric shears to trim away major excess material (for example on t-shirts I cut along the seams to remove the sleeves, collar, and back of the shirts).
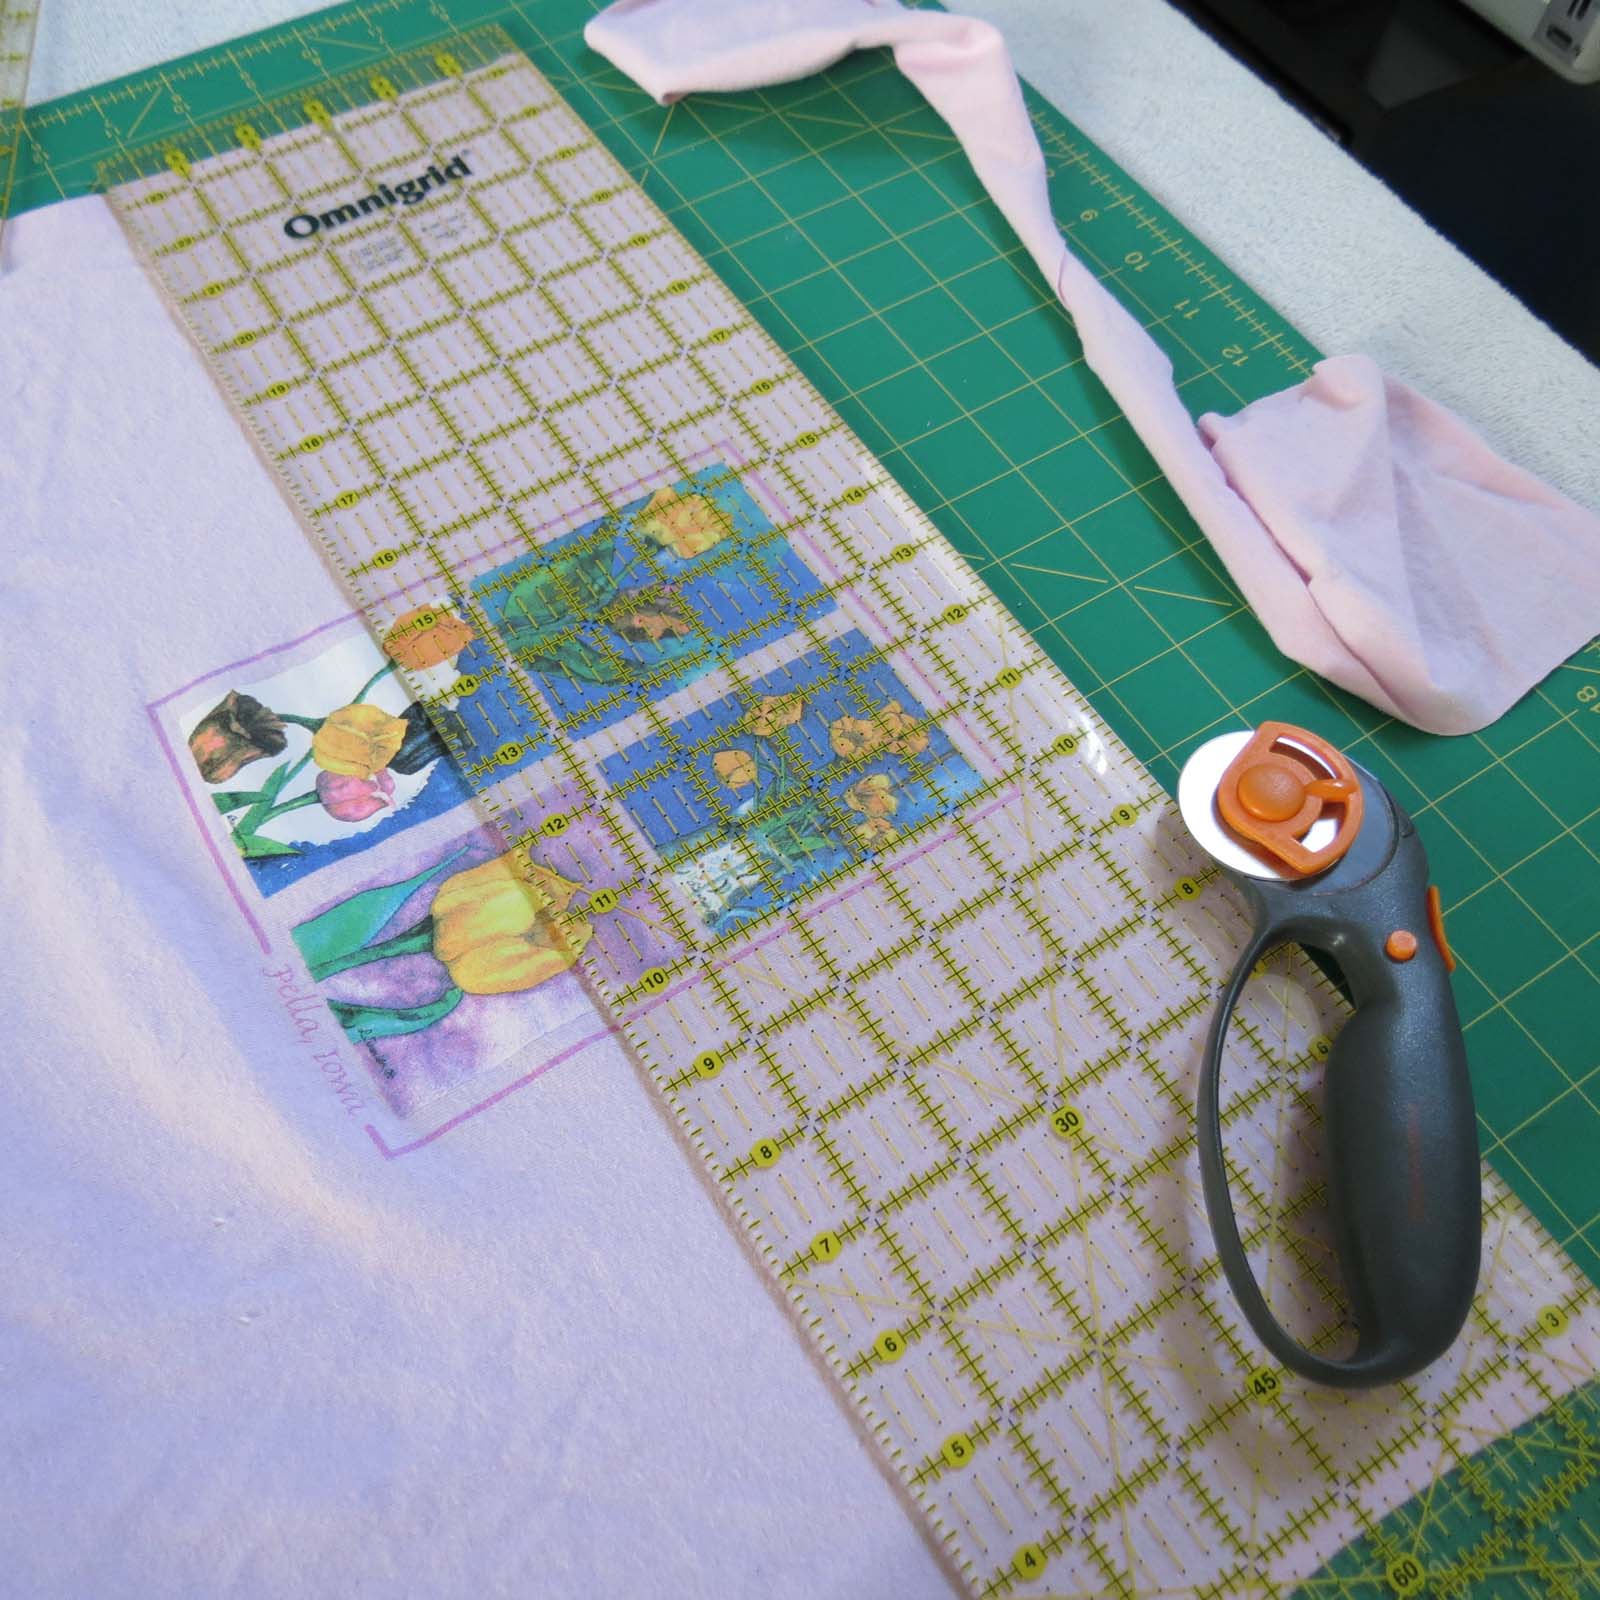
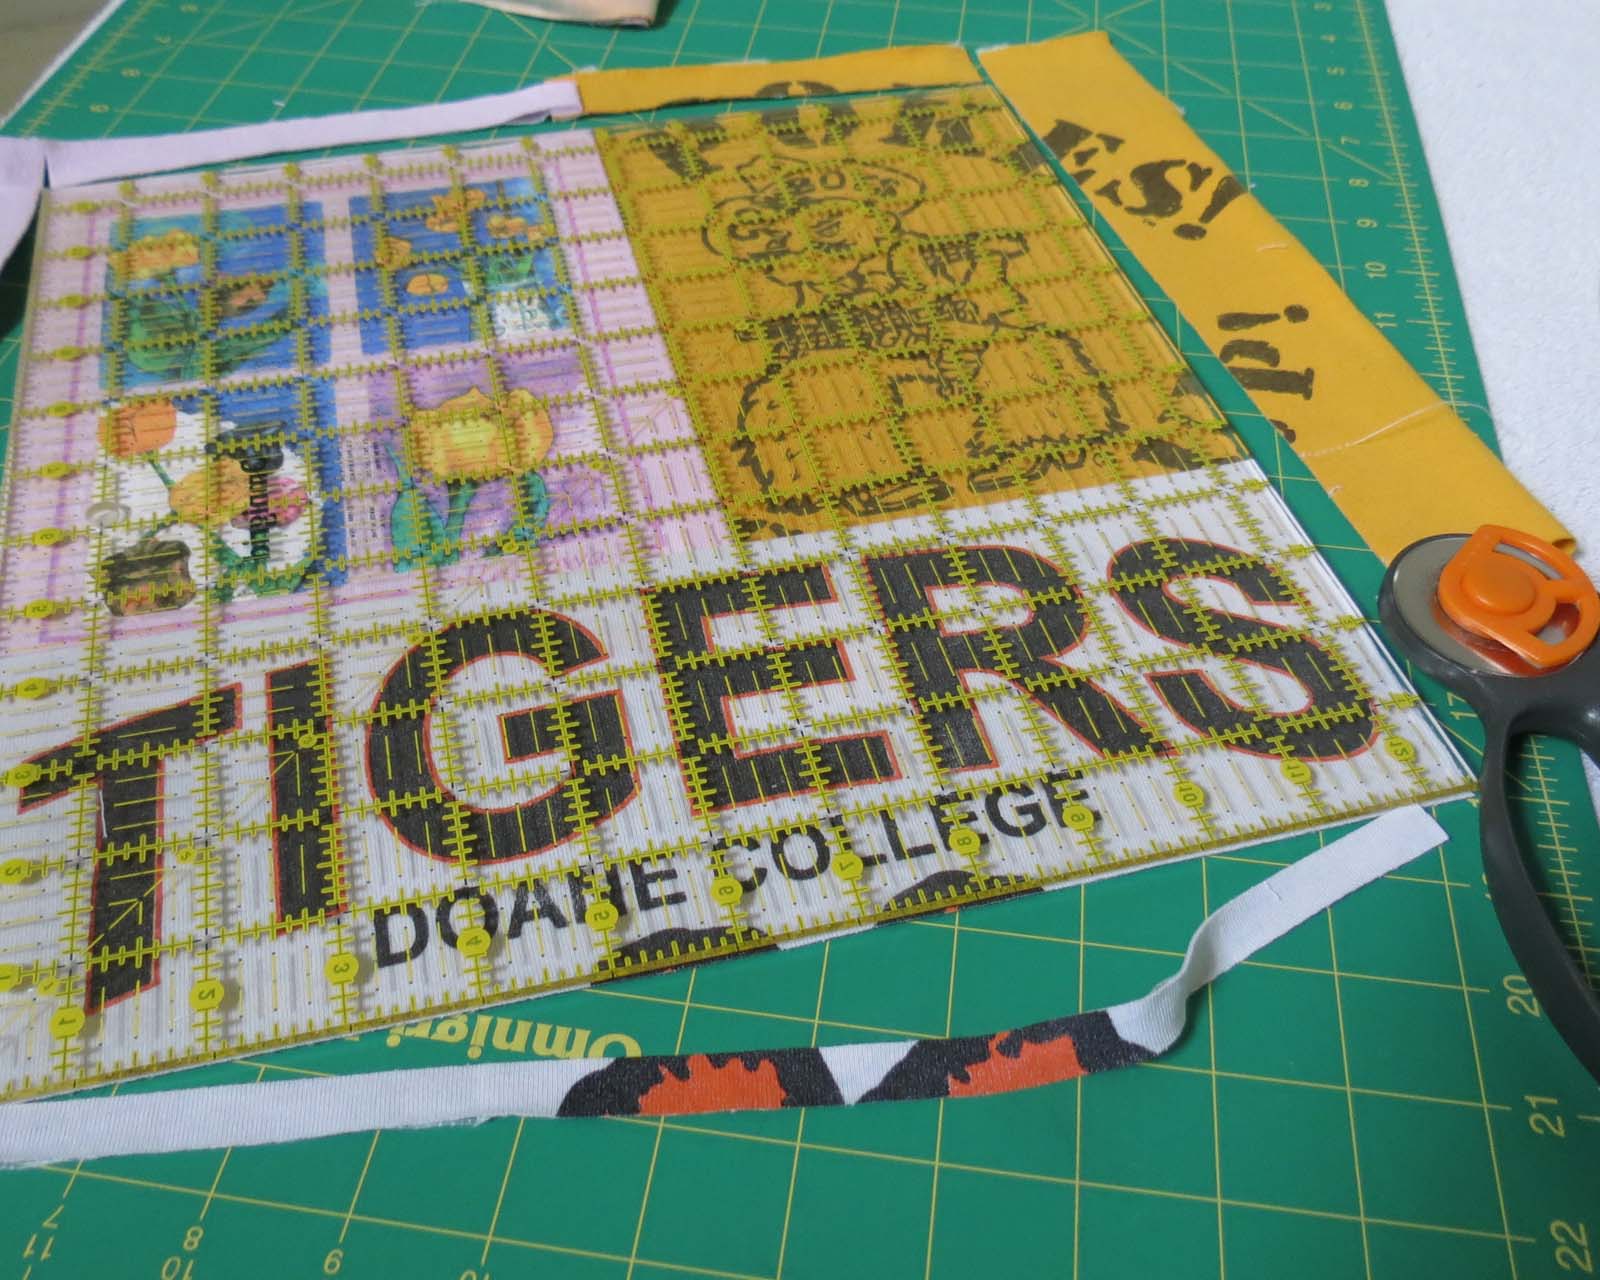
Originally, I was going to do a crazy quilt type of assembly where all of the pieces are different shapes and sizes, and often attached with various stitch types. However, to simplify it a little and give a bit of consistency, I decided to get everything into 12×12 squares. If you do any amount of quilting I would highly suggest purchasing a cutting square for this purpose. The square is actually 12.5” by 12.5” to accommodate the ¼” seam used in quilting. Made from durable hard plastic, it gives you a template to trim the fabric and ensure all of the pieces are exactly the same size.
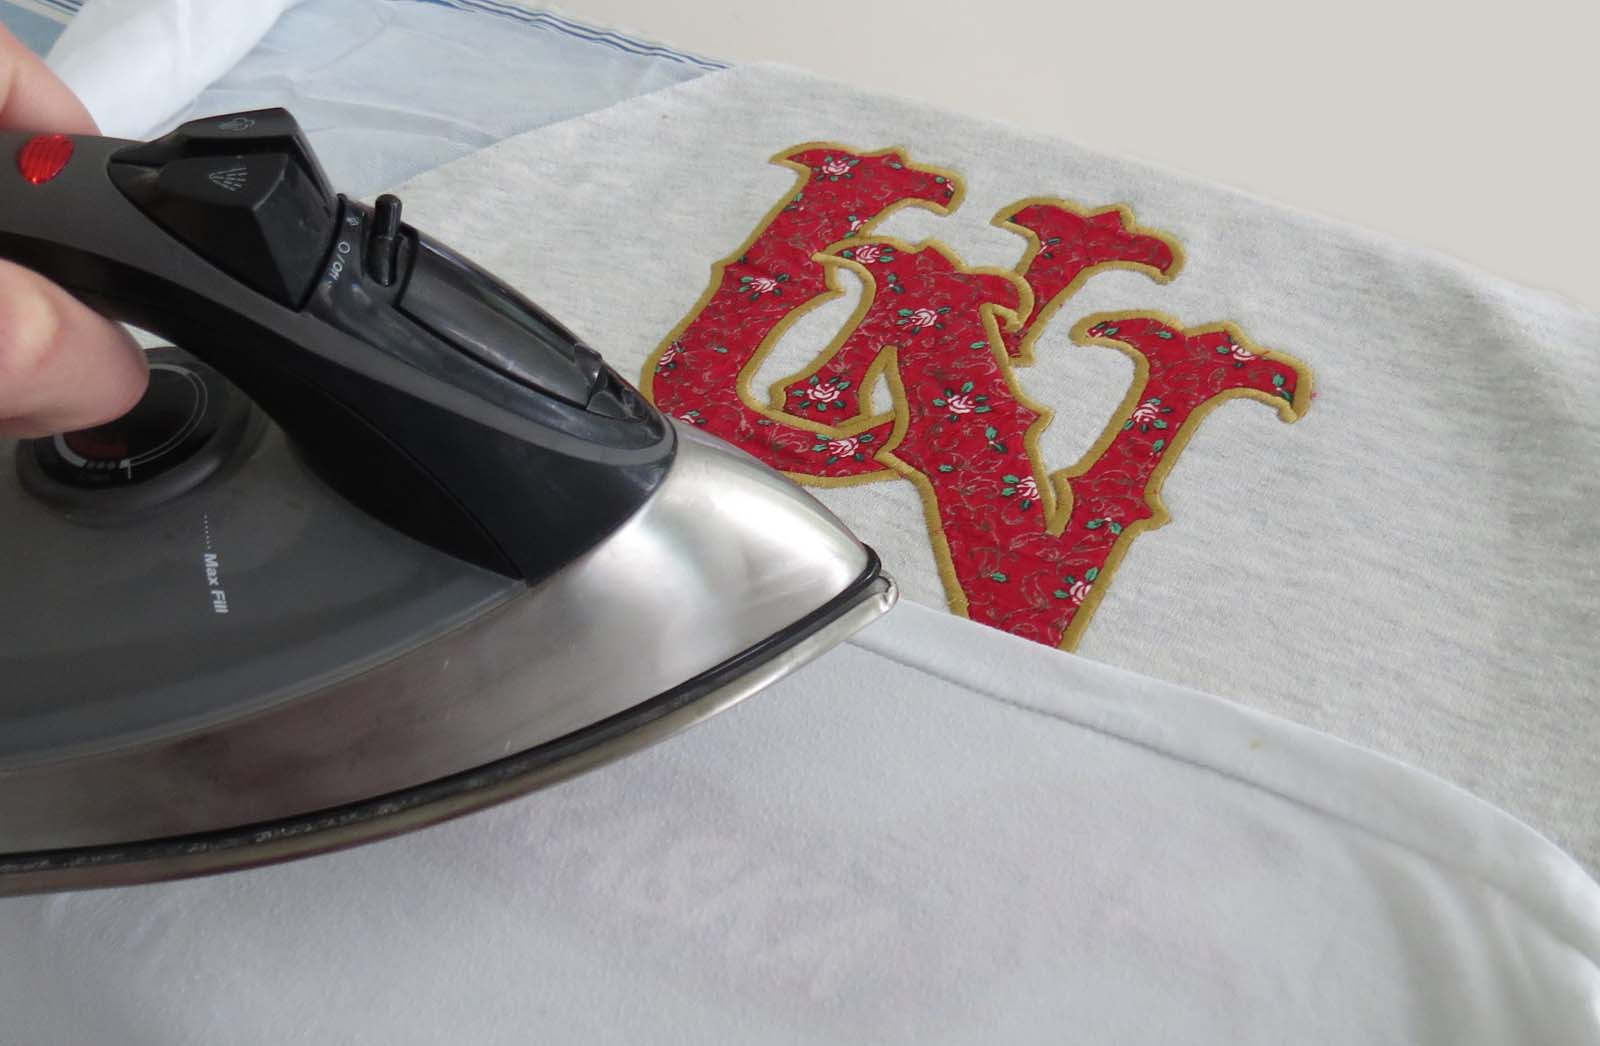
Before I could start squaring up the blocks, however, some of the fabrics needed to be stabilized to prevent stretching and causing issues down the road. Material such as that used in cotton t-shirts is not ideal for quilting. Attaching a fusible interfacing is an important and relatively easy step. Most of the products are fairly inexpensive, too. Here is a great link to a YouTube video made by the Missouri Quilt Company that does a quick walk through of this process.
Simply roll out the fusible interfacing with the rough side up, place your piece of material on top, and use a warm iron with steam to attach the two.

If you are using a shirt that has screen printing on it, lay down a scrap piece of material on top, then iron to ensure it does not does not stick and ruin the picture or lettering.
Also, try to keep the material sizes slightly larger than the stabilizer so the iron does not touch the raw fusible interfacing. It will gum up the bottom of your iron. (*One last side note that I learned – the interfacing that I used required it to be soaked in hot water and air dried prior to use to prevent shrinking. When you are immersing the interfacing in the hot water, make sure the rough sides are not touching or, as you would assume, they will begin to fuse to each other, rendering those sections unusable.)

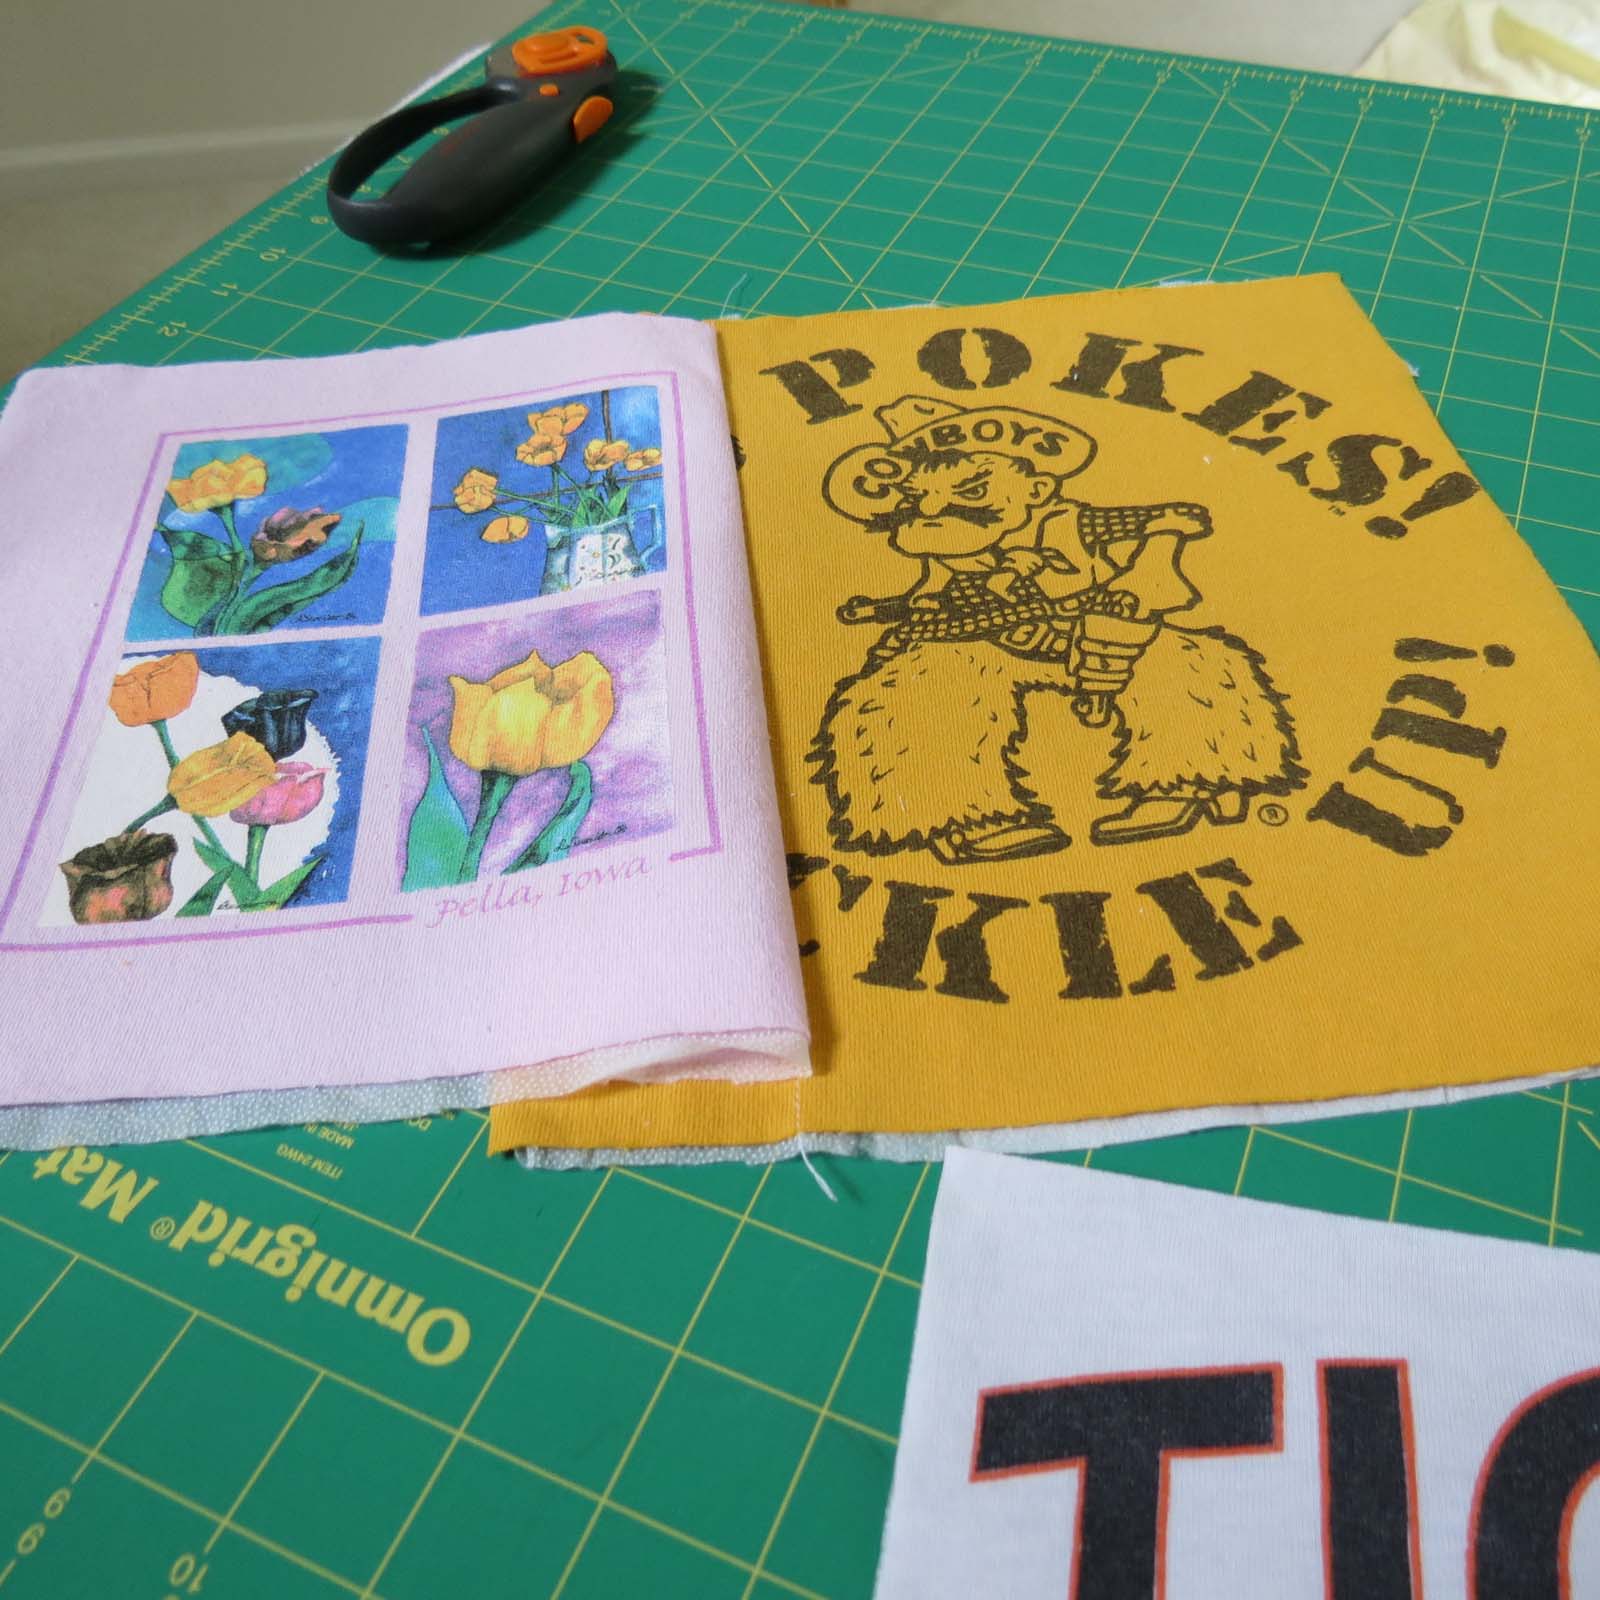
At this point, all of the problematic fabrics were stabilized and now it was time to get the pieces into 12×12 blocks. Some of the blocks were extremely easy since they were made up of one solid fabric. I simply lined up my cutting square and trimmed off the edges with the rotary cutter.
Others, however, are comprised of several parts and took a little finagling to make it all fit right and look good.
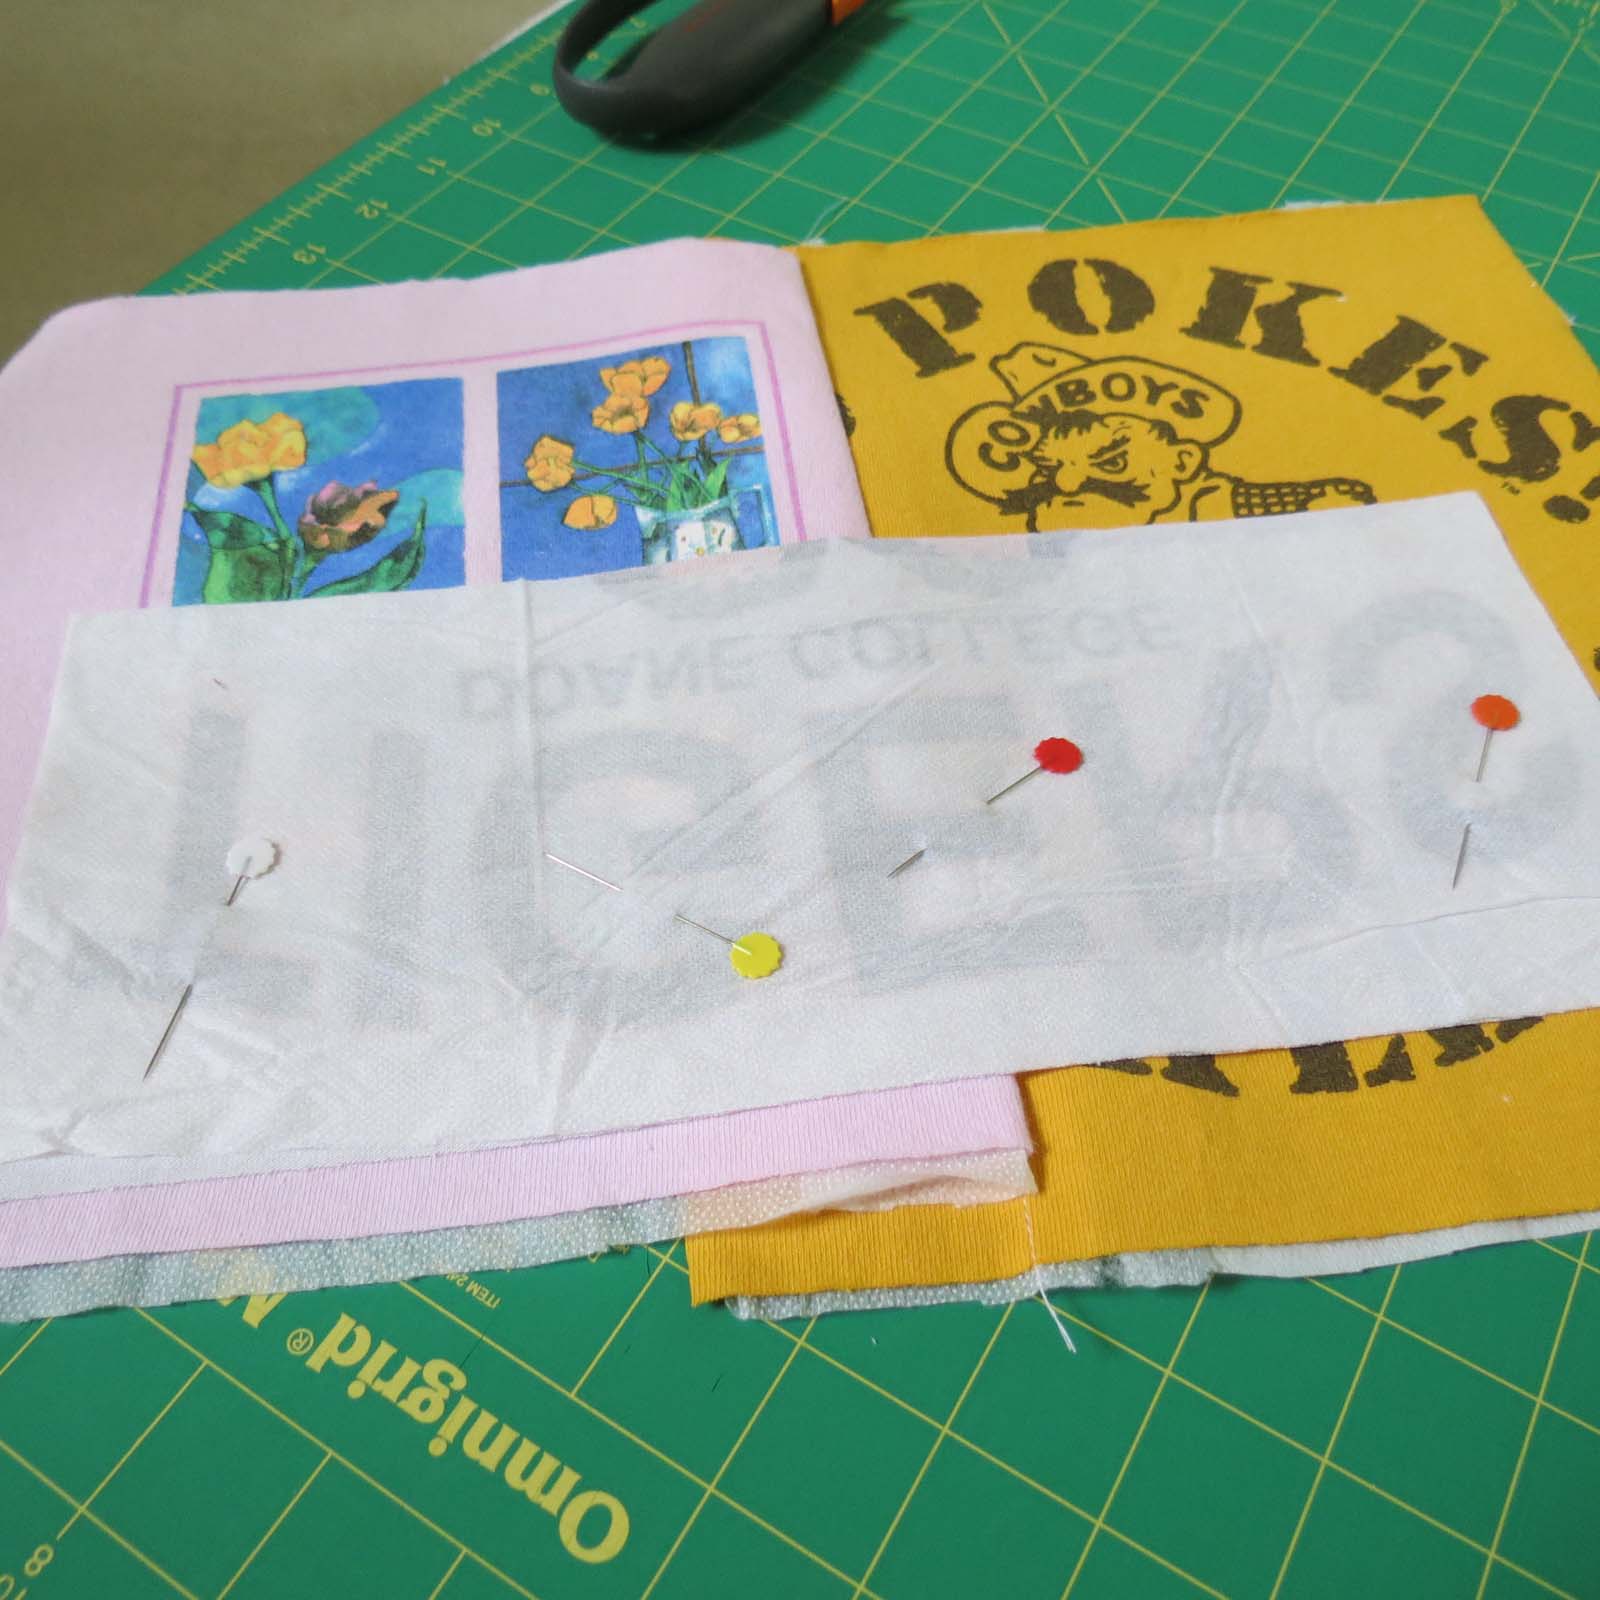
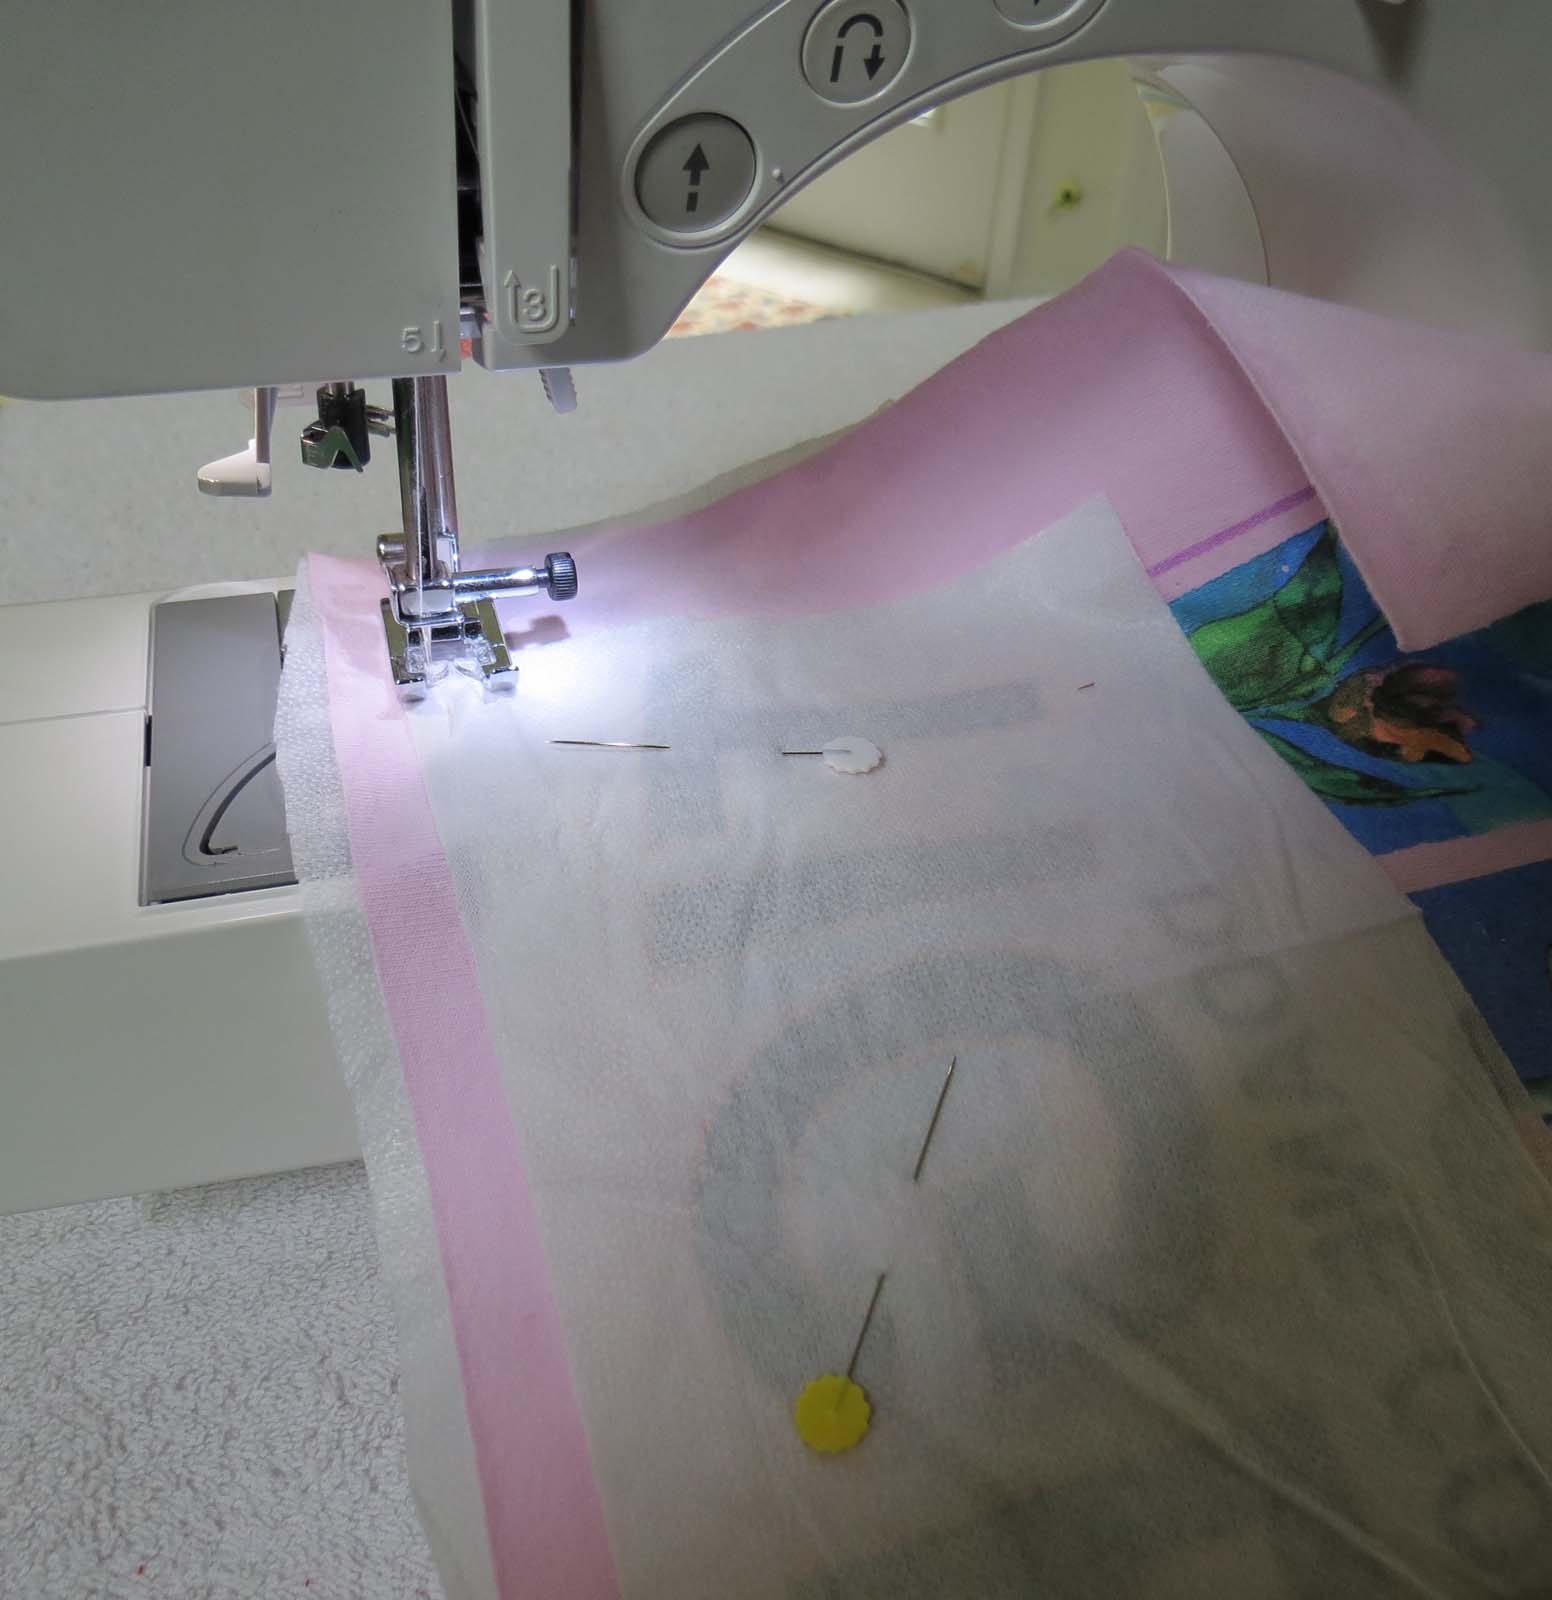
If there are larger pieces I try to sew them together first, trim excess away from the seam and then sew on the final part or parts. When lining up the pieces, especially when using different types of fabrics, I do take the time to pin the items to keep everything lined up when running it through the machine.
Larger Pieces Pinned

Stitched Together
Bottom Piece Pinned
Sewing on Final Piece to Complete Square
Stitched and Trimmed to Size
After the parts are stitched together and the excess trimmed from the seams, I go ahead and use the square and rotary cutter to get them to size. This process continues till all material is cut to 12×12, whether a full piece in and of itself or made up of smaller parts (technically the size is 12.5” x 12.5” to allow for ¼” seam, 12×12 is the finished size). And this is the point where I am now. Everything has been stabilized (if needed) and is cut into the consistent block size. The next step will be stitching the blocks together to start forming the top of the quilt. Watch for that and much more to come as this Blessing Blanket for our soon to be baby girl continues to take shape.

You Might Also Like:
- Repurposing Old Bed Sheets into a New Comforter
- Top 5 for Sewing and Quilting
- Baby Quilt, a Blanket of Blessings; Part II
- Baby Quilt, a Blanket of Blessings; Part III
- Baby Quilt, a Blanket of Blessings, Part IV, the Conclusion

2 comments
Sarah, I found your Sensory Blanket for Alzheimer’s /Dementia Patients and followed the link to your site. My mother is 97 and I am interested in obtaining a pattern so I can make her a sensory blanket. I hope that it will bring her some comfort.
Could you please help me find your link?
Thank you so much.
Joyce from Sullivan, Indiana USA
Author
Dear Joyce,
Here is the direct link to that post, I’ll email it to you as well. I hope this is a benefit and comforting for you both.
Sensory Blankets for Alzheimer’s/Dementia Patients
Many blessings to you and your family, especially in this season of life,
Sarah