Welcome to summer! It officially starts today, and in our neck of the woods the weather is following suit. With temps reaching the upper 90s, lots of humidity in the air, and a high UV index, it’s a good idea to stay inside near the air conditioning.
Many people often think of quilting as a wintertime activity, curled up next to the fire, needle in hand. However, the hot days of summer lend themselves perfectly to fun indoor activities and crafts during the intense hours of mid-morning and afternoon heat. You may not want to think about it, but now might be the perfect time to start in on some of those holiday projects on your list (or if you’re like me, a good time to finish up the ones started last year that never saw the light of day).
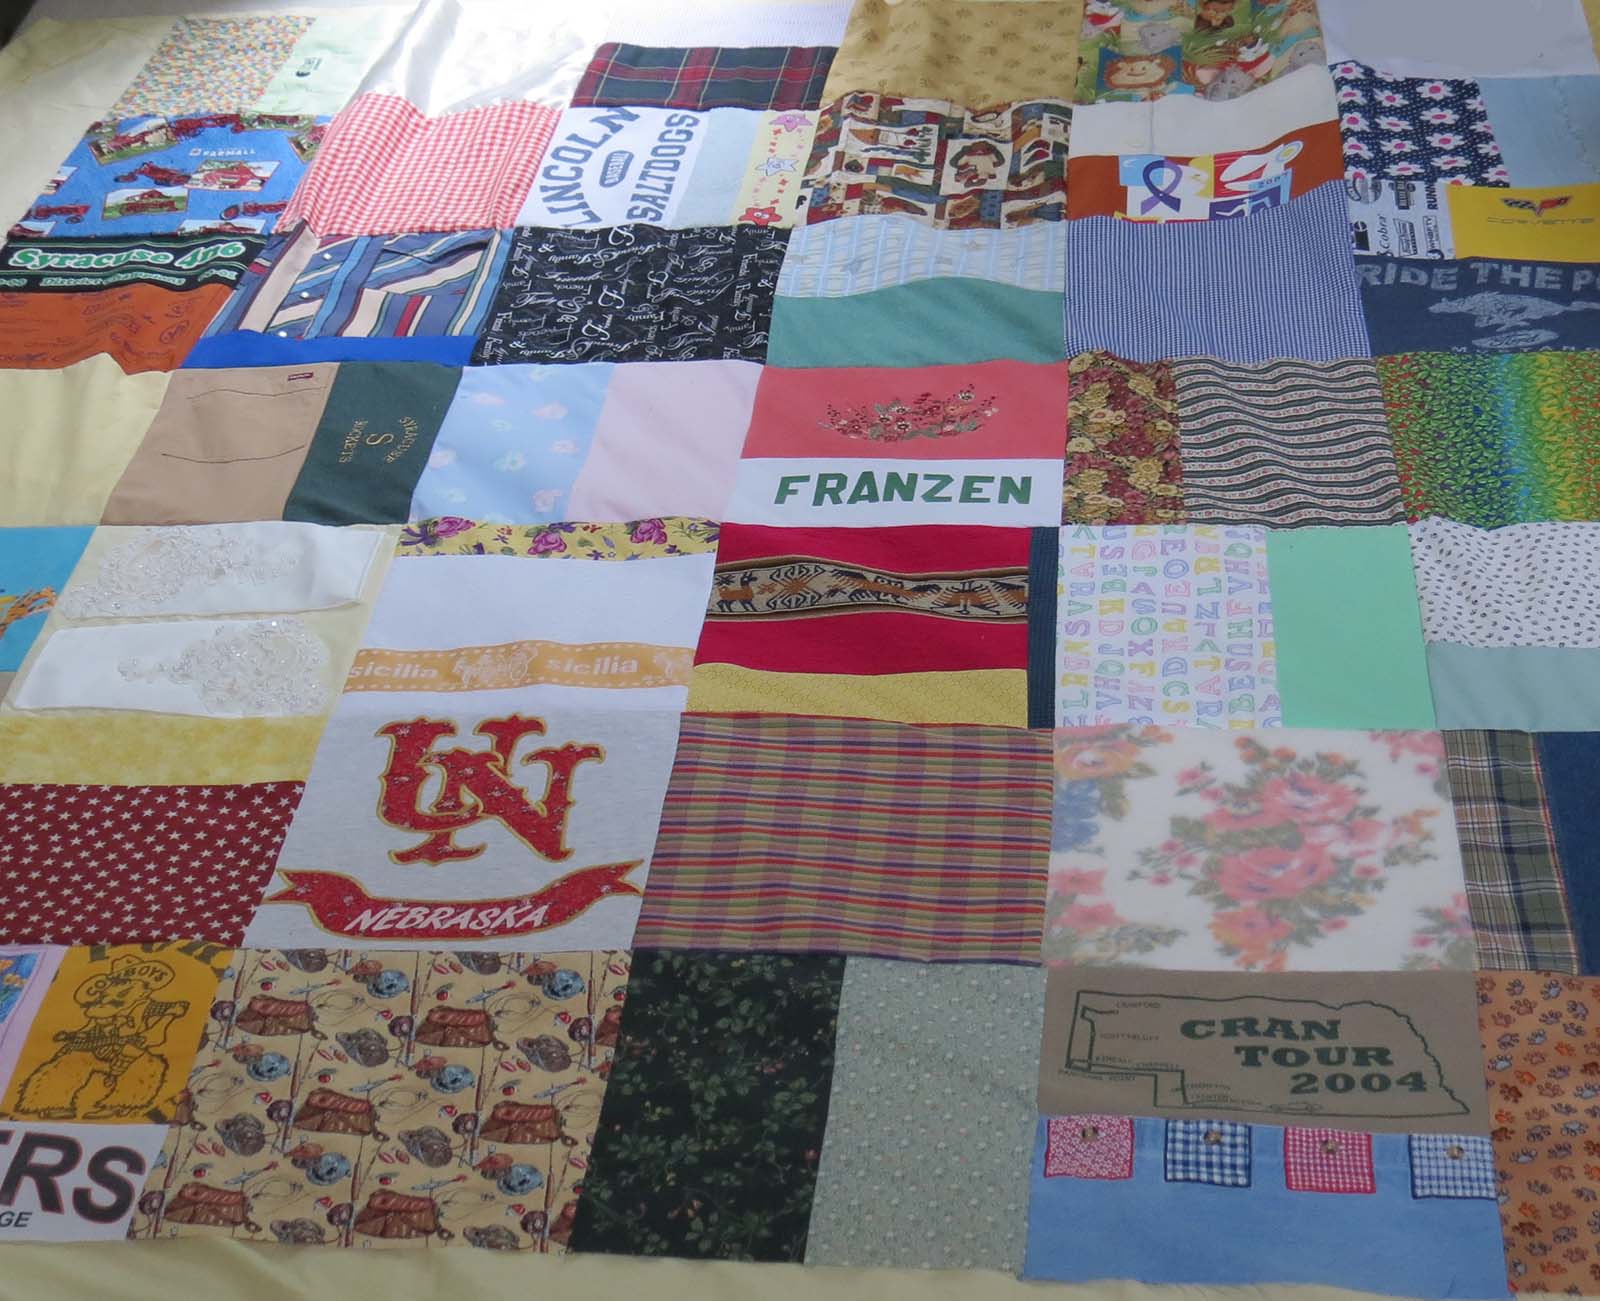
As you know from previous posts, currently my efforts are geared towards finishing a quilt for our baby due to arrive in August. Friends and family members sent in pieces of fabric to make up the top of the quilt. I have already got the materials cut into blocks and partially sewn together. This third installment in the post series focuses on completing the top, prepping the backing fabric, laying out the layers, and pinning for quilting.
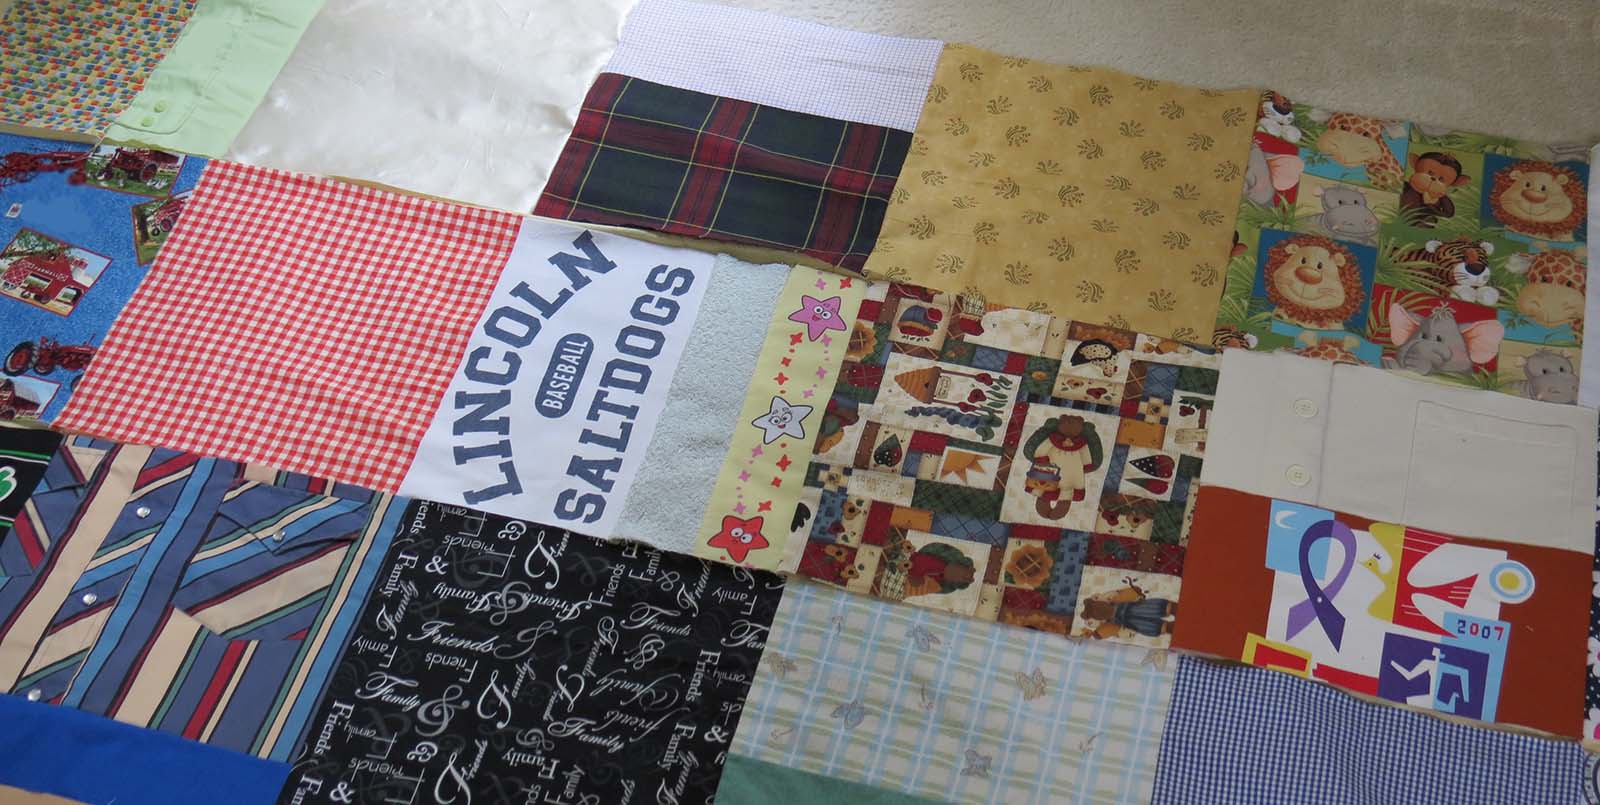
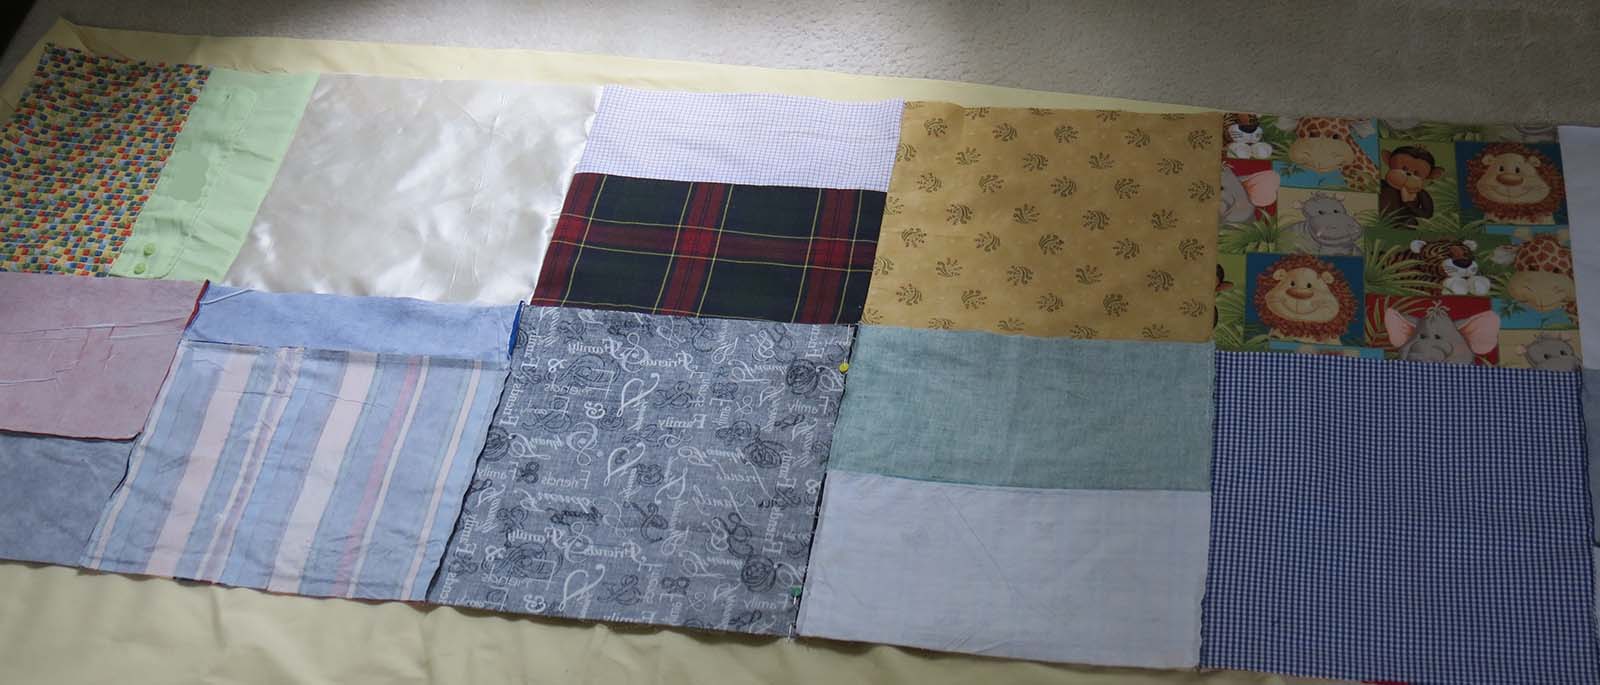
Last week, I had the top partially done and blocks sewn in strips.
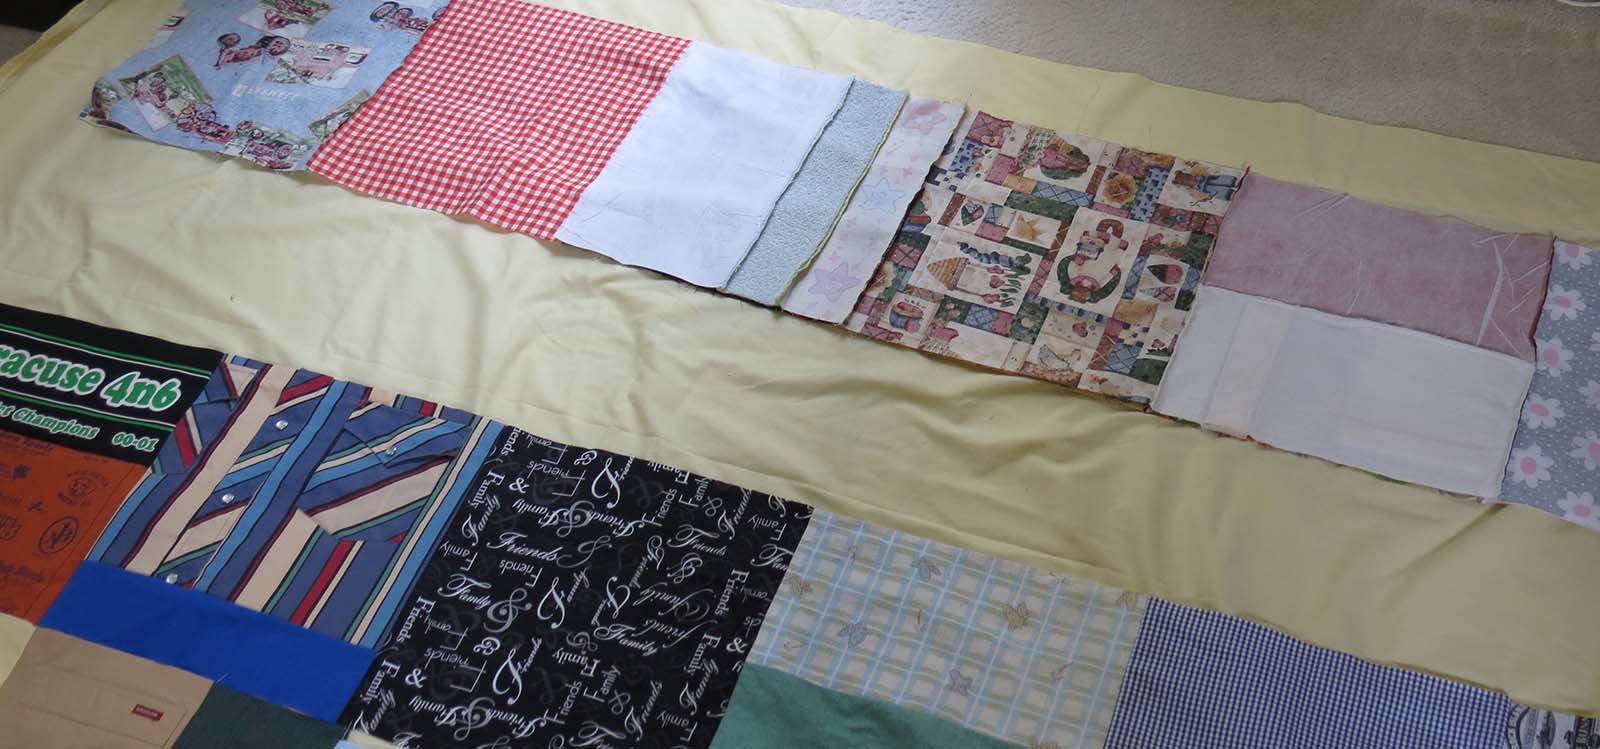
So, picking up where we left off, I started at the top of the quilt and folded up the second row of blocks over the first row with their right sides together.
It is important to take the time to pin the strips at this point before sewing to ensure everything stays lined up. As mentioned previously, don’t just line up the edges, but make sure you are lining up the seams, as well. This will help keep the corners sharp and crisp.
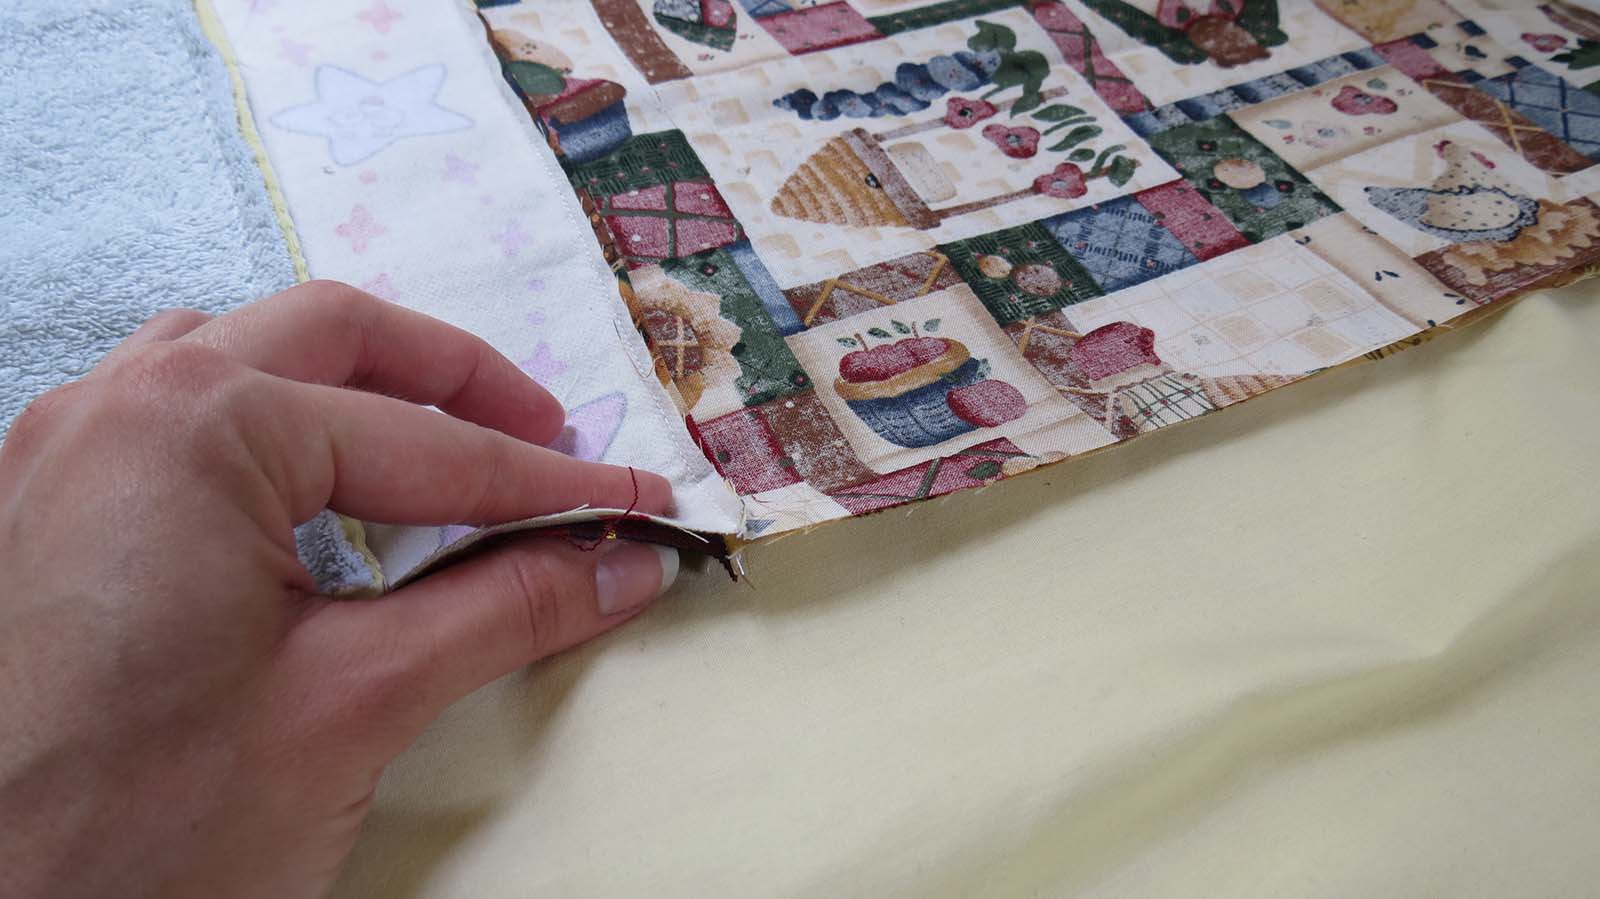
I began pinning from the middle of the strips at the seams and worked out to the edges.
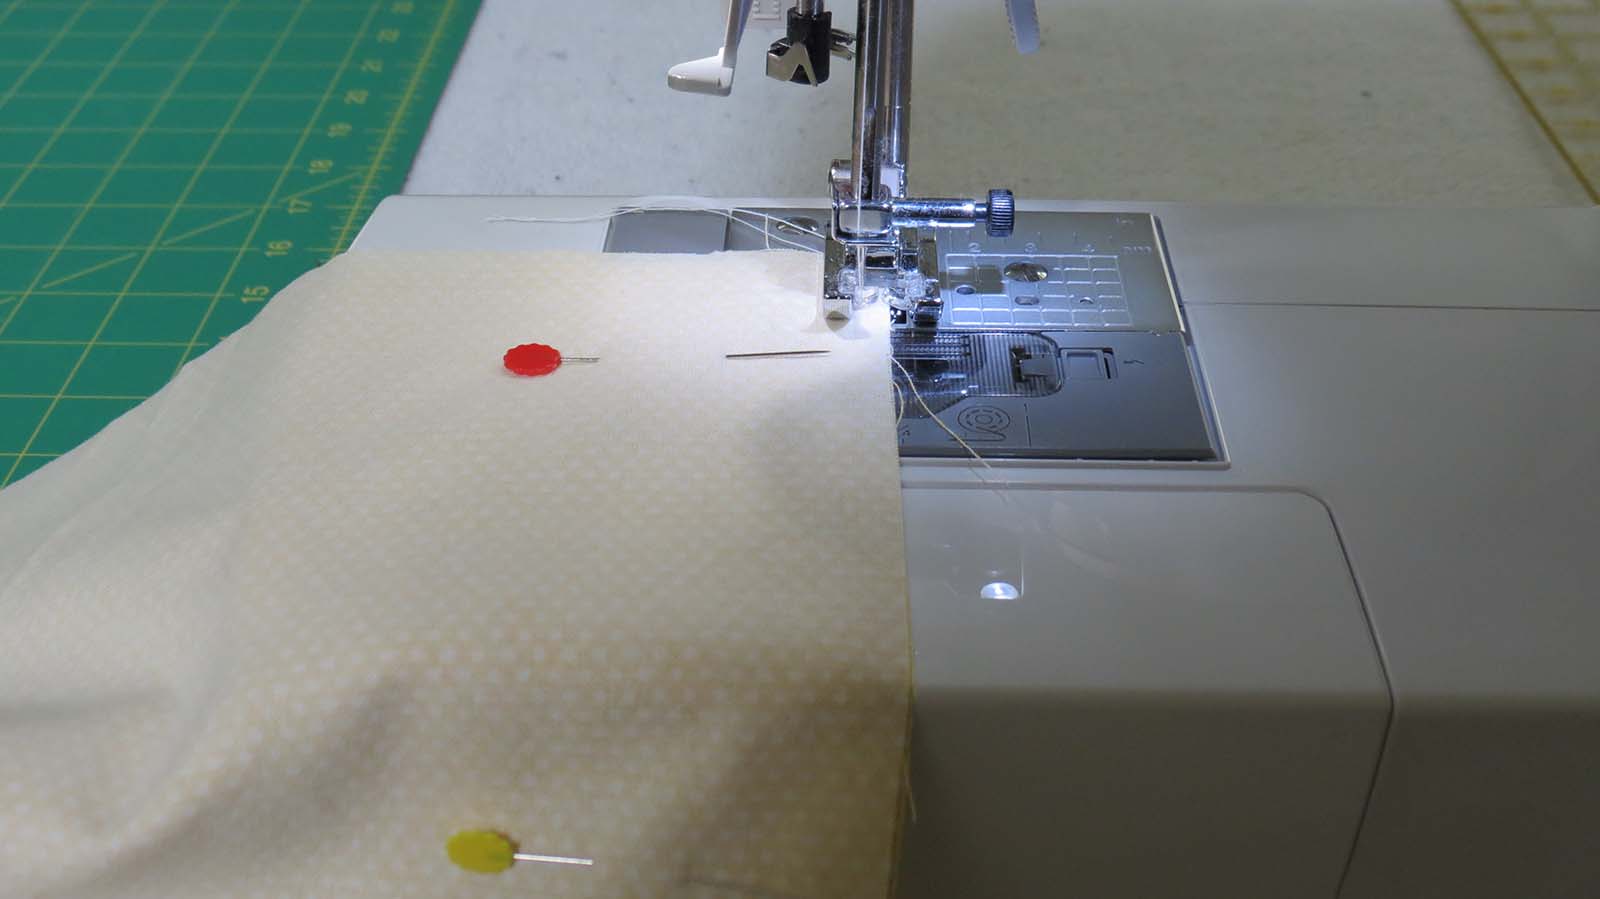
Next, I simply ran the pinned strips through my sewing machine using the standard 1/4 inch seam for quilting with a straight stitch. It is best to go a little slower on this step and not rush or push the material. Let the machine do the work to prevent bunching.
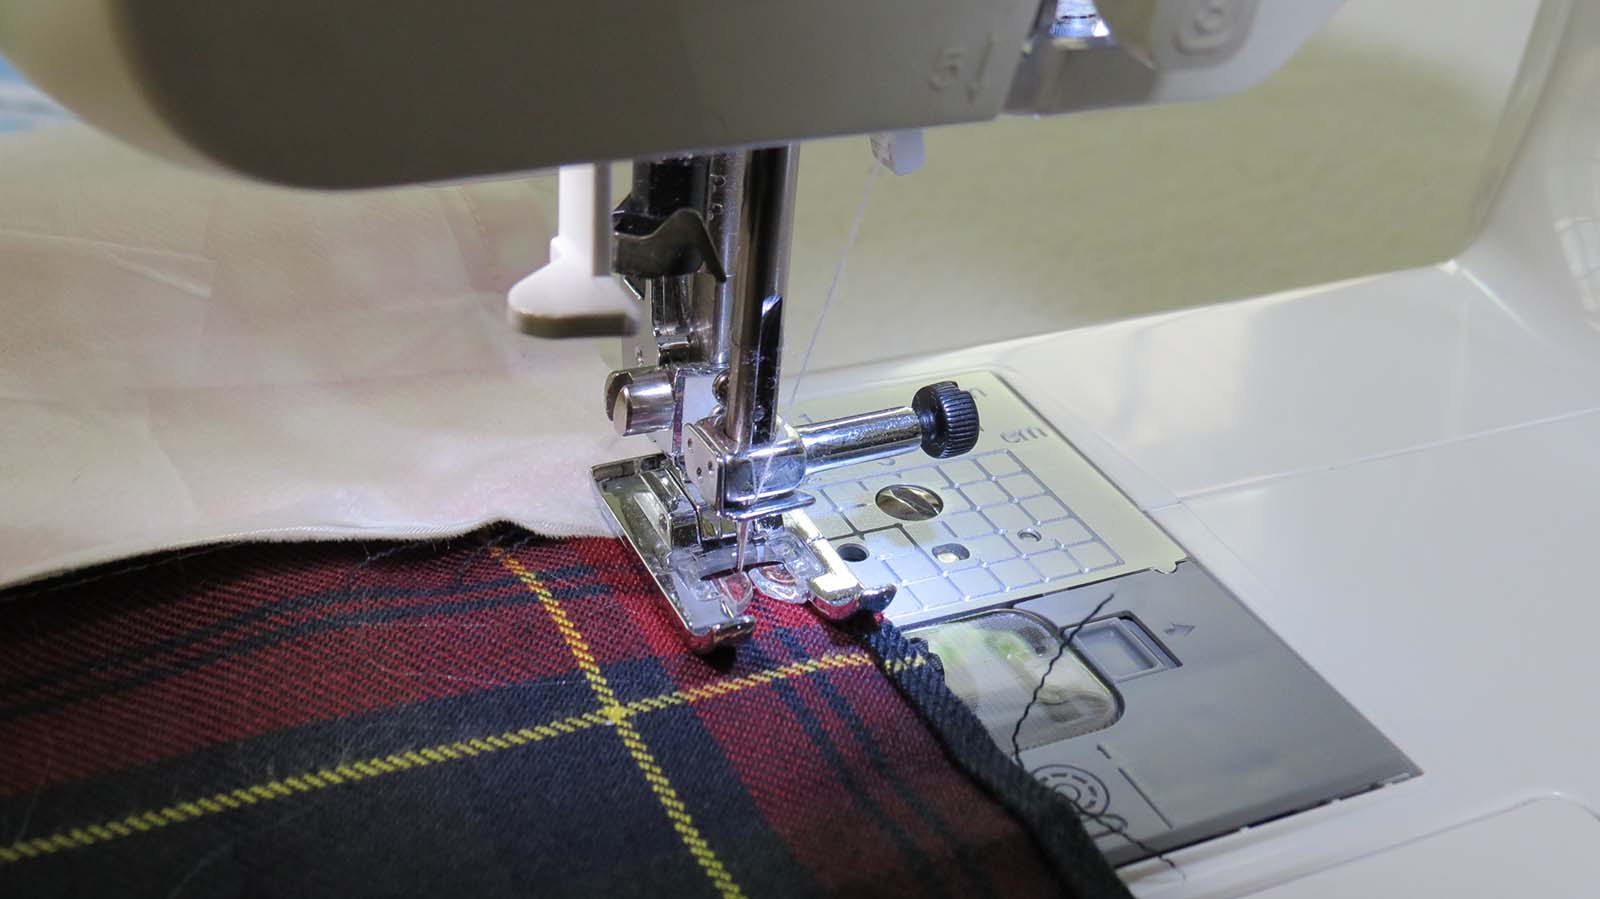
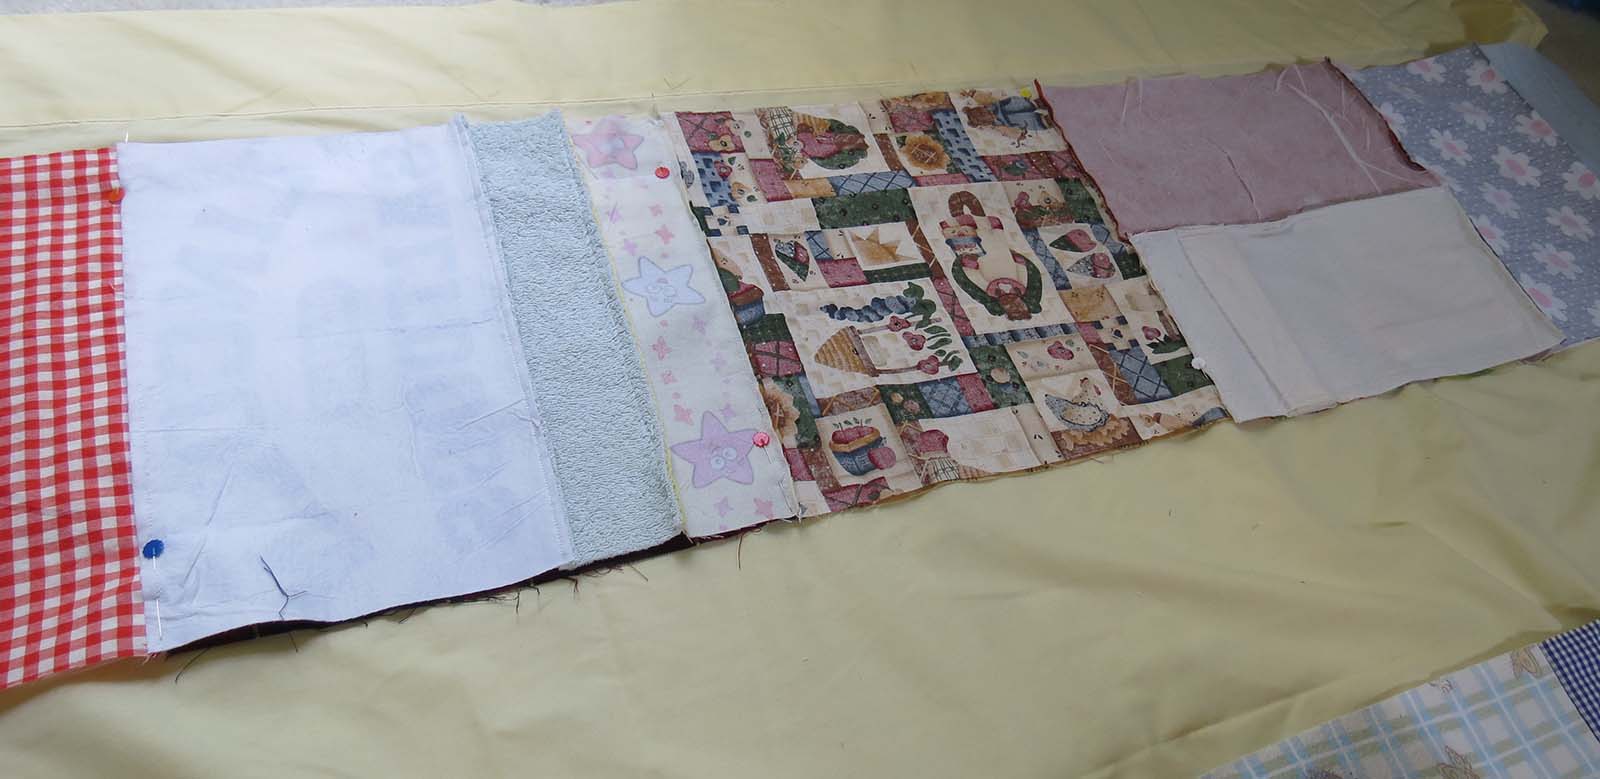
After opening up the two pieces, I checked my seams to make sure things were lining up well. The corners looked pretty good, so I continued with the next set of blocks.

I repeated the last steps pinning on the third strip to the bottom of the second with their seams aligned;
and sewed the edge together as before.
All processes were the same down to the final strip of blocks being pinned and sewn.
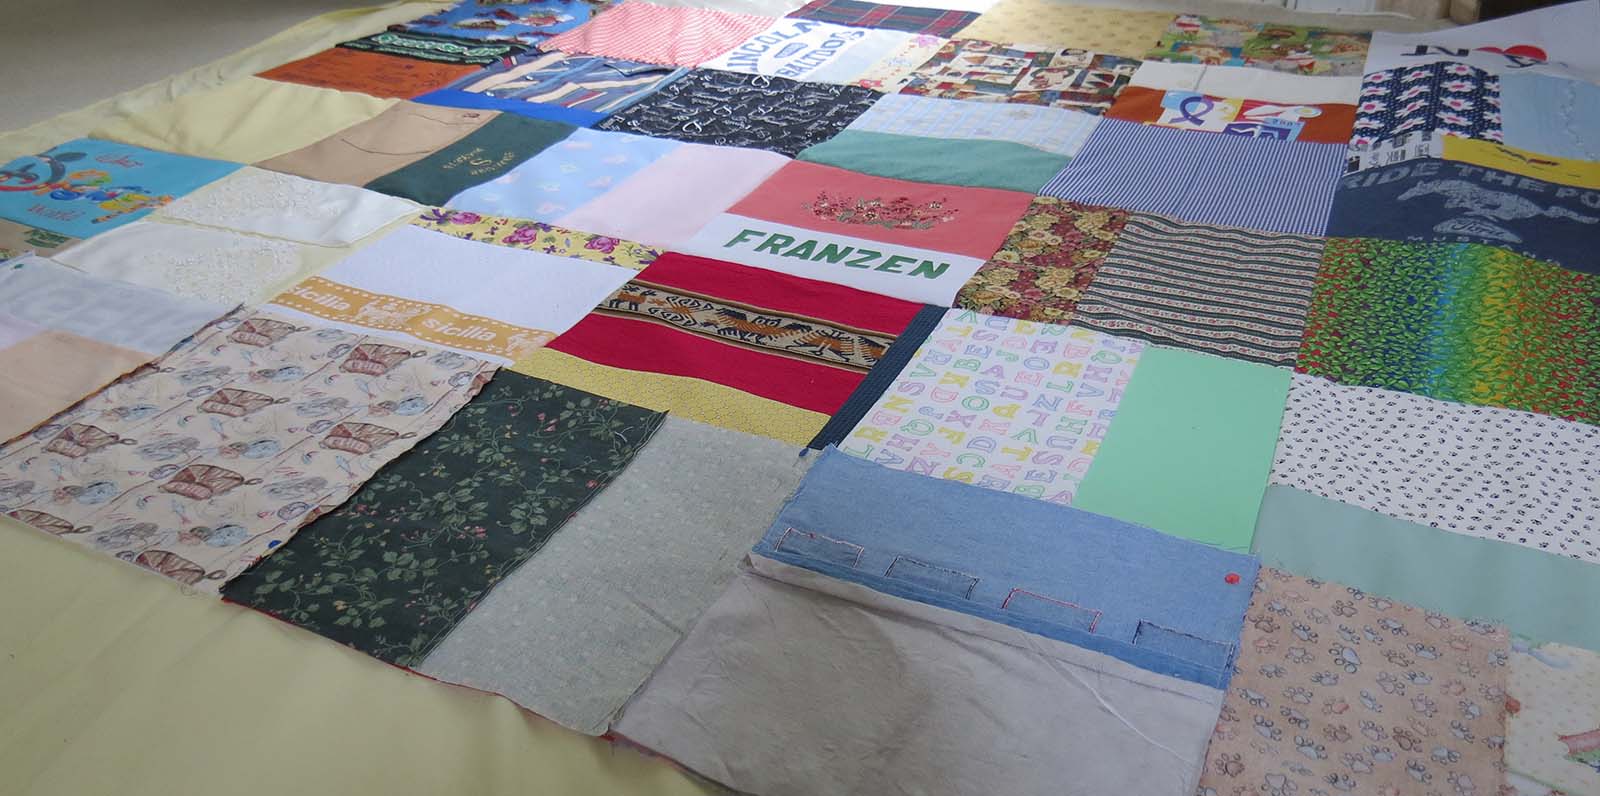
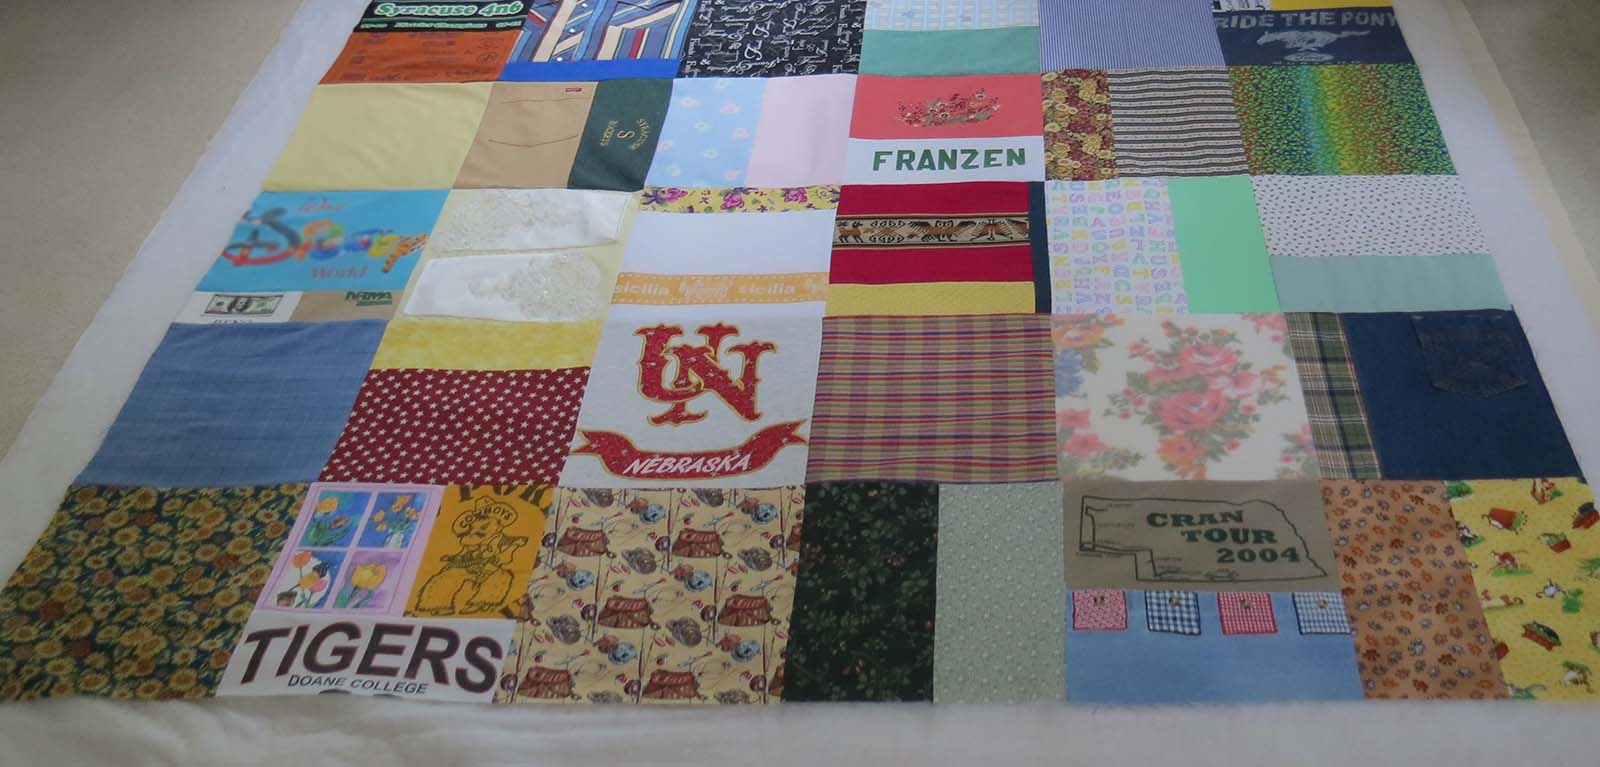
This left me with one solid piece for the top of my quilt.
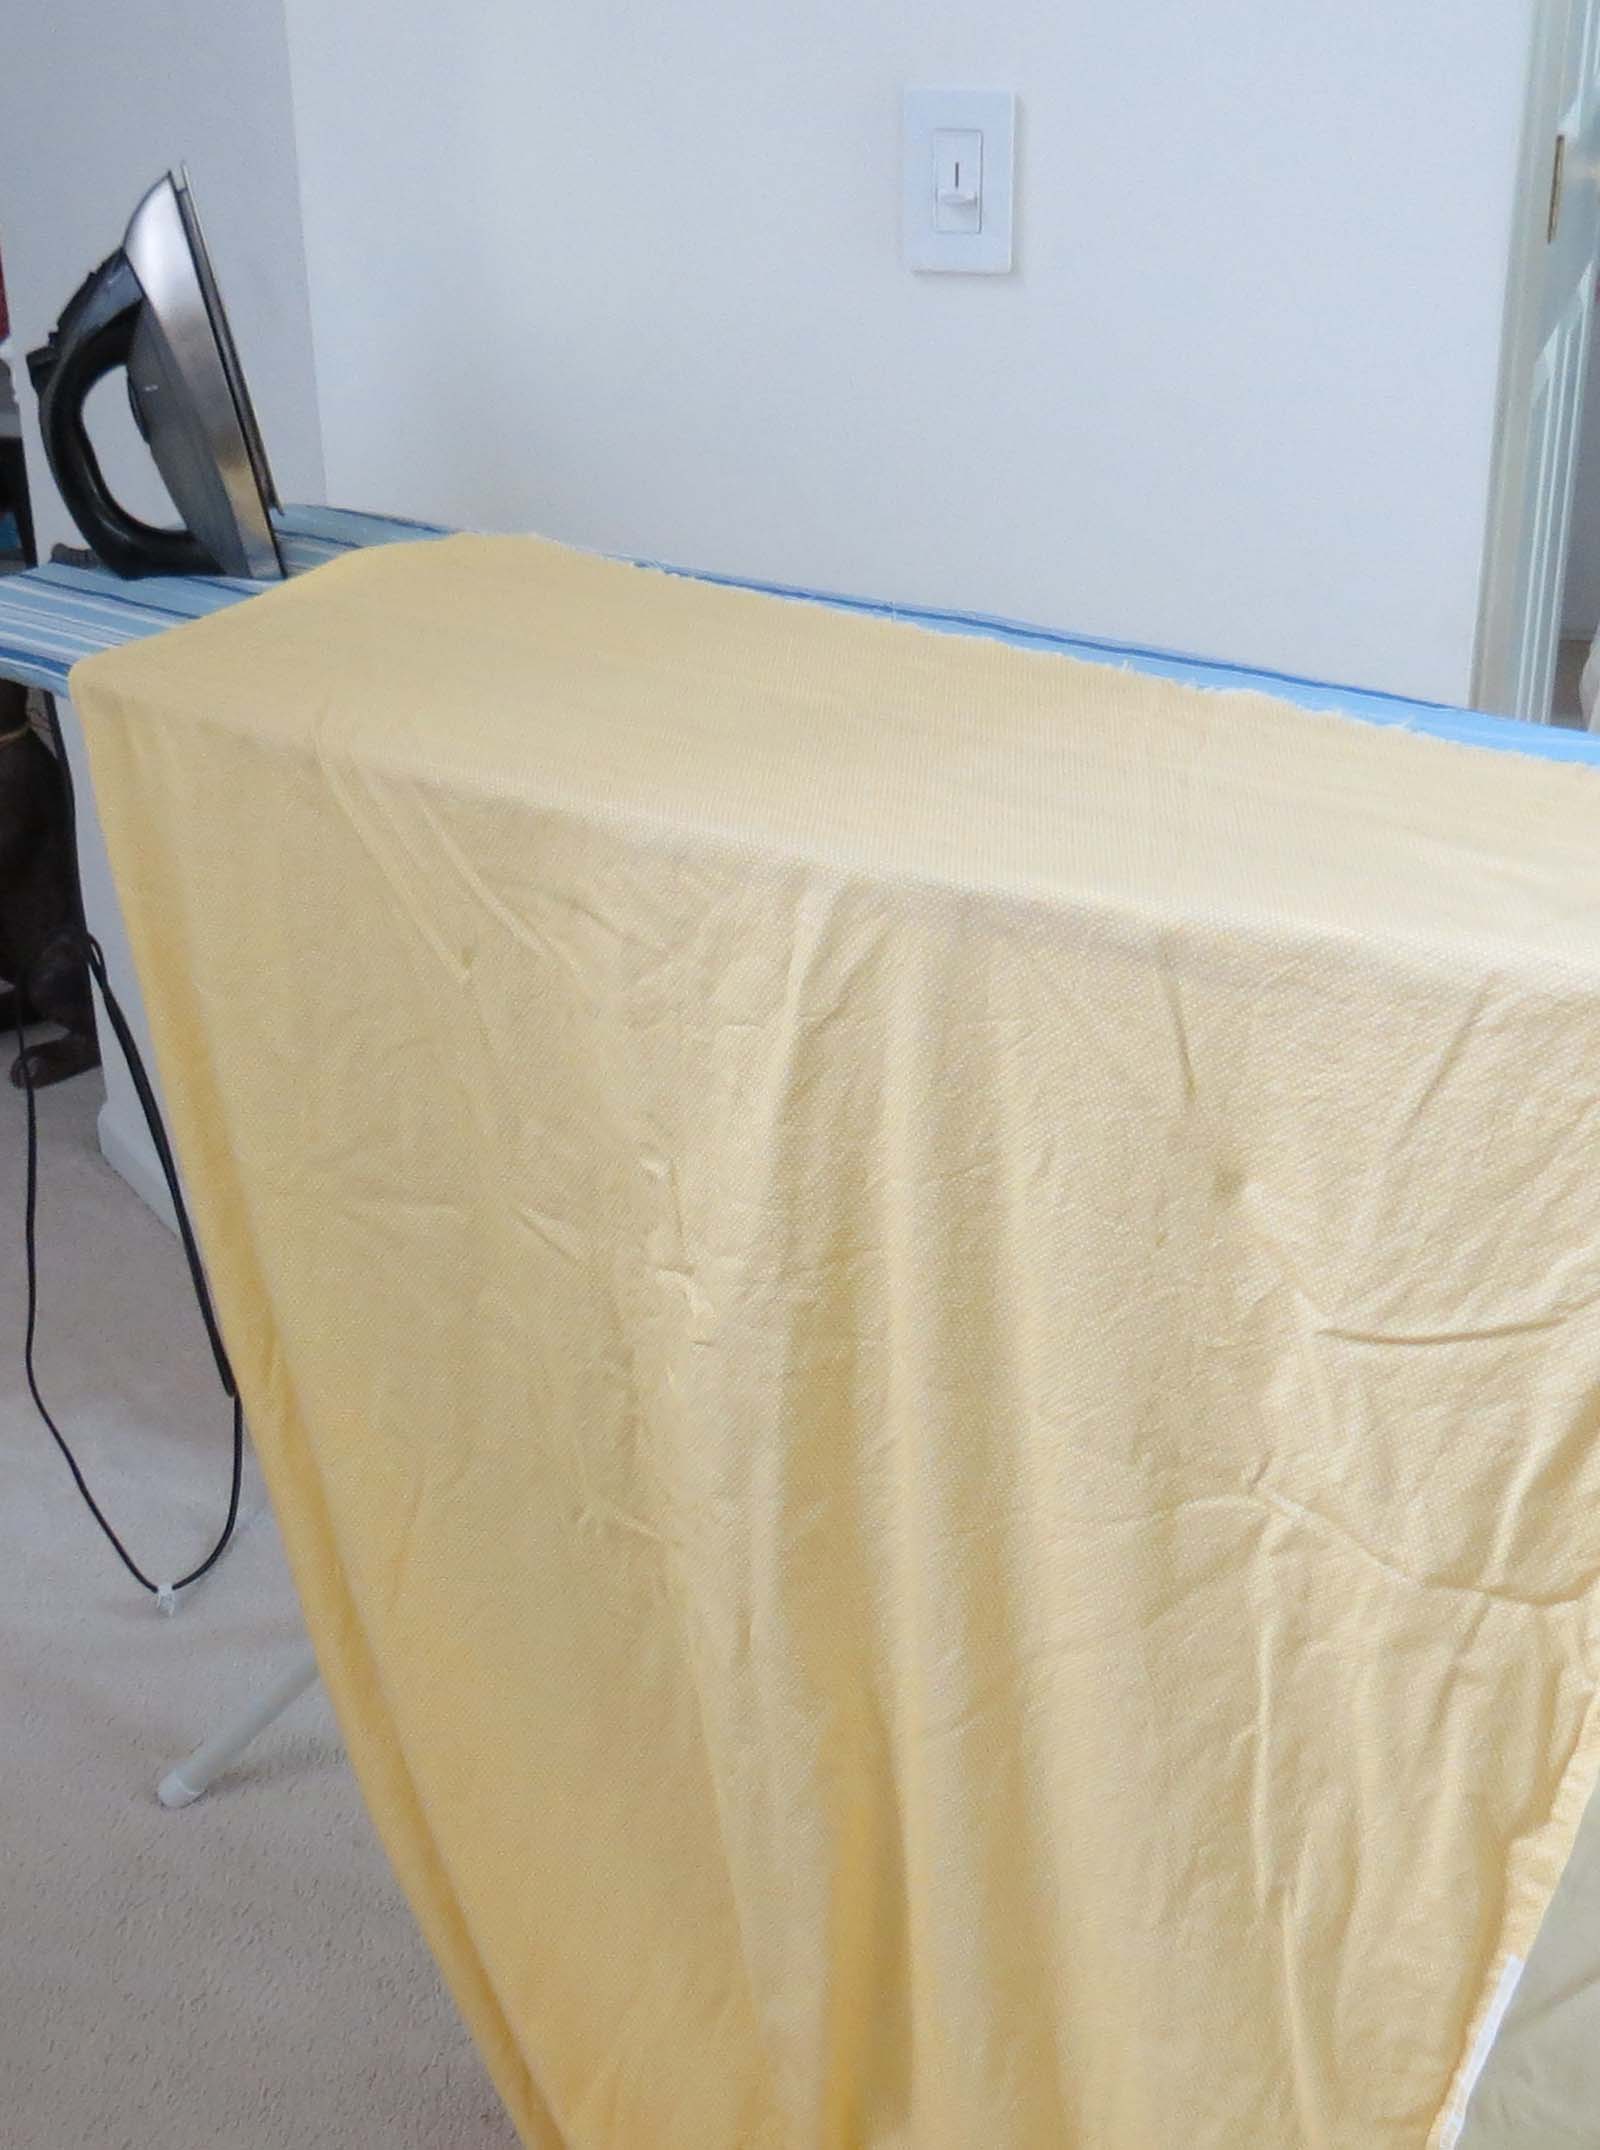
Placing that aside, I now needed to address the back side of the quilt. I am using one solid material for the backing. After washing and drying it to prevent any future shrinking, I ironed the fabric. You can employ the Magic Sizing at this point if it needs a little extra body.
In order to cover the full back of my quilt, I need two panels of this fabric. I simply folded the material over and used sheers to cut it in half.

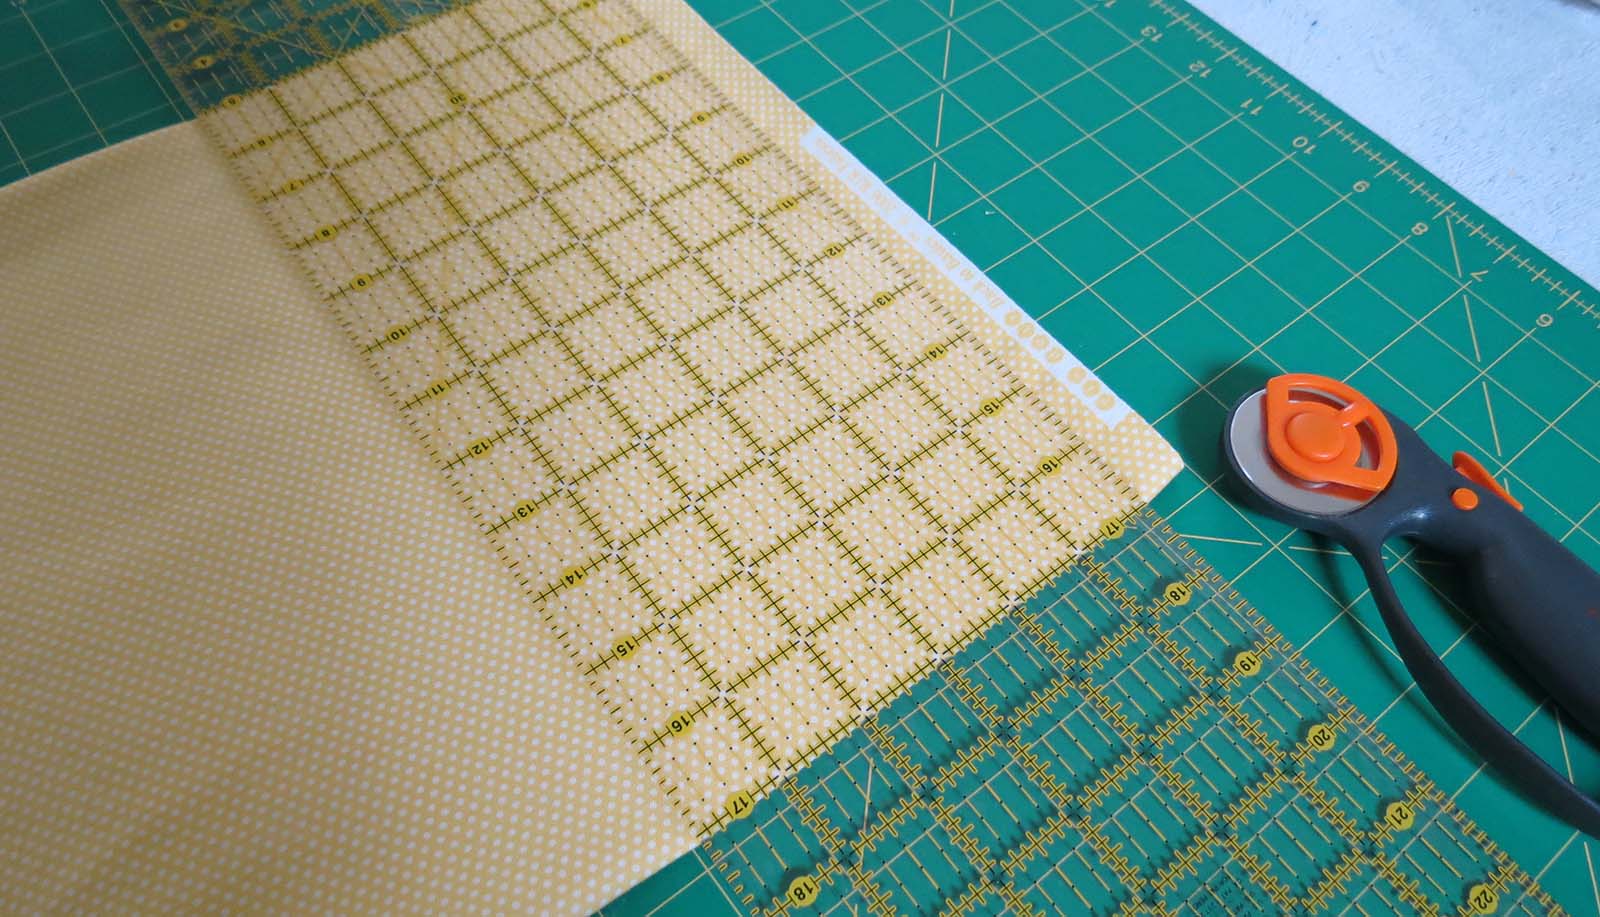
I then folded each piece separately and used my rulers and rotary cutter to square up the ends.
Laying them out on the floor, there were now two large panels. Once joined they would make up the full back side.

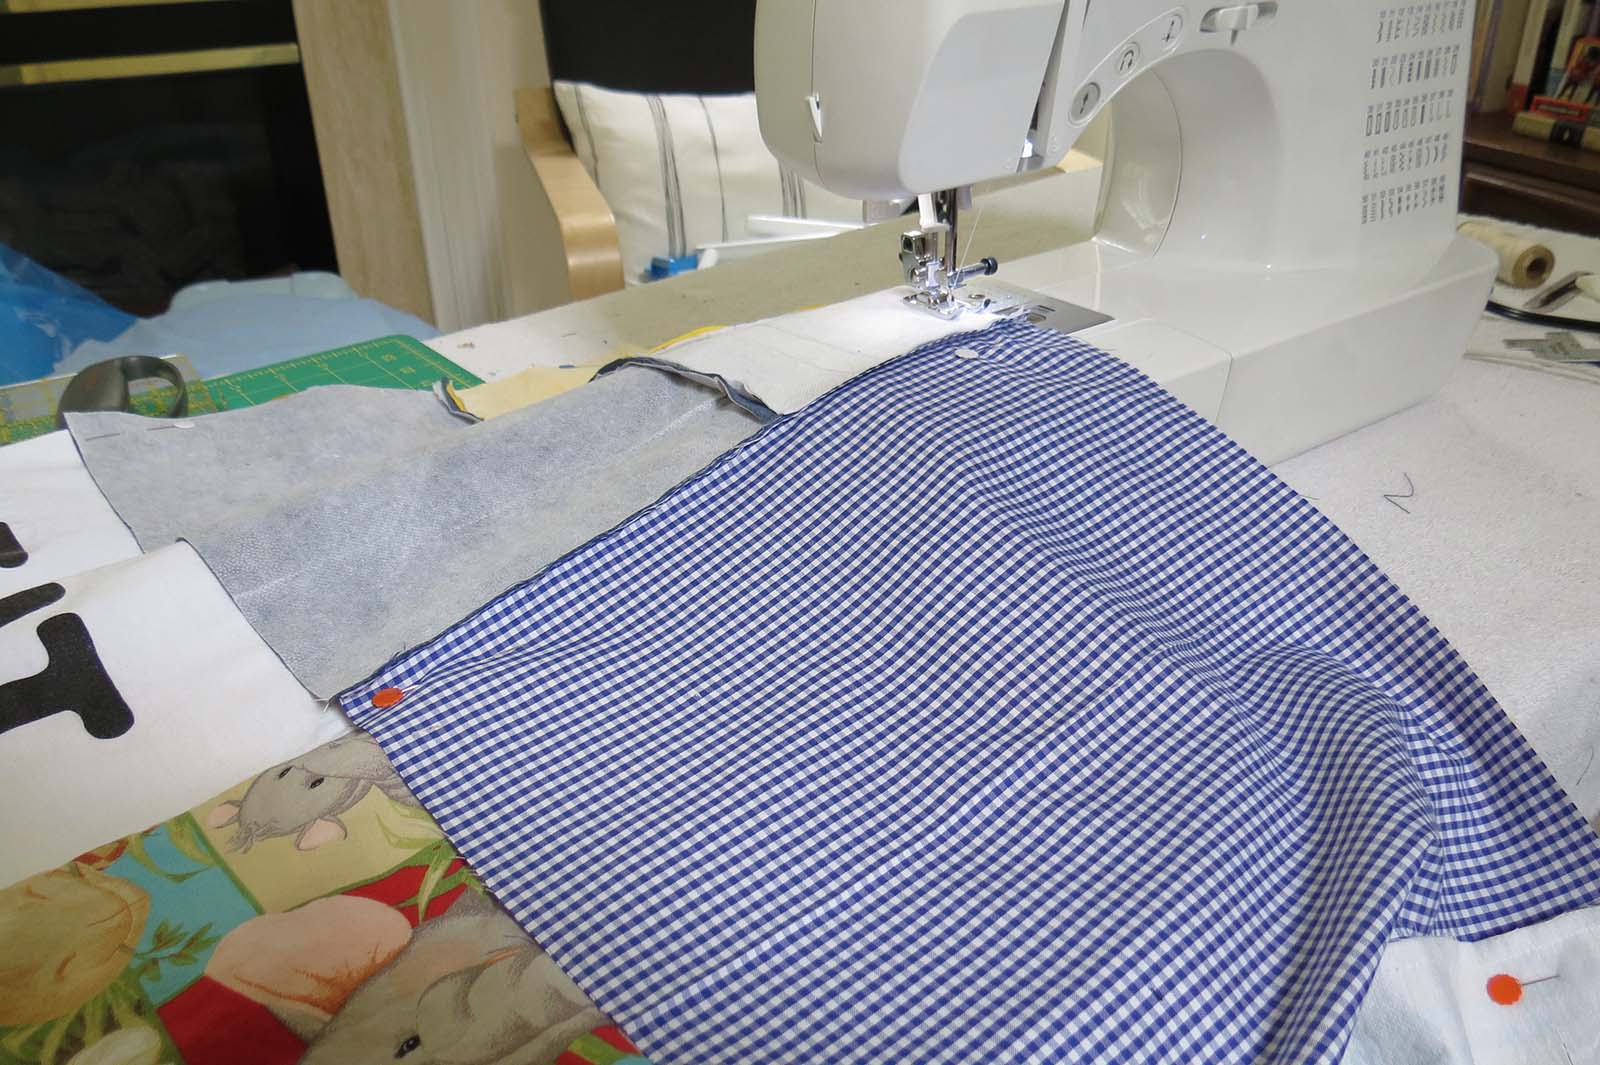
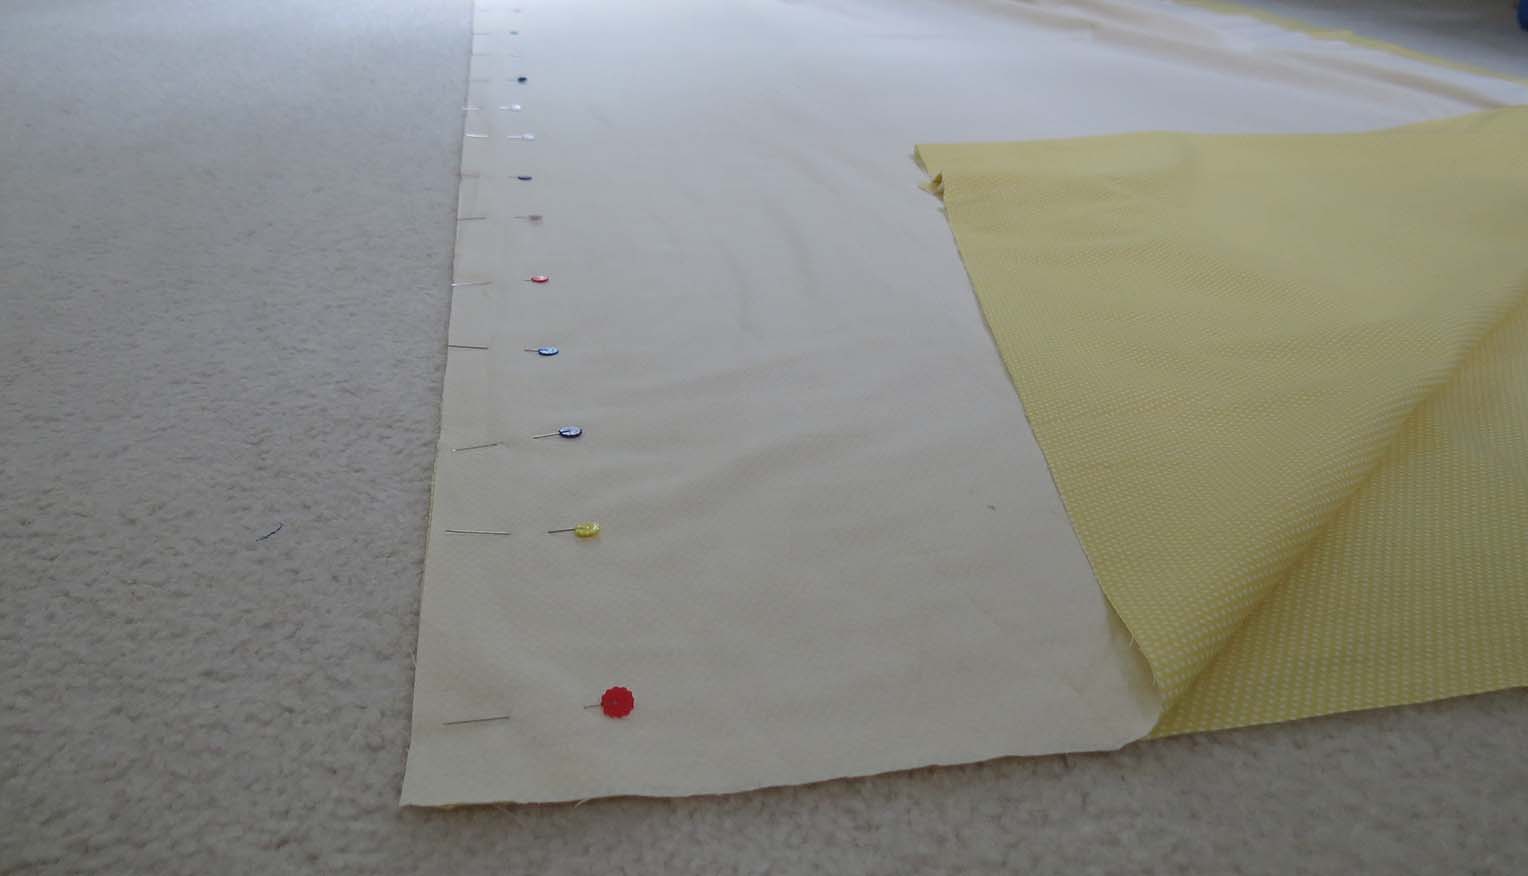
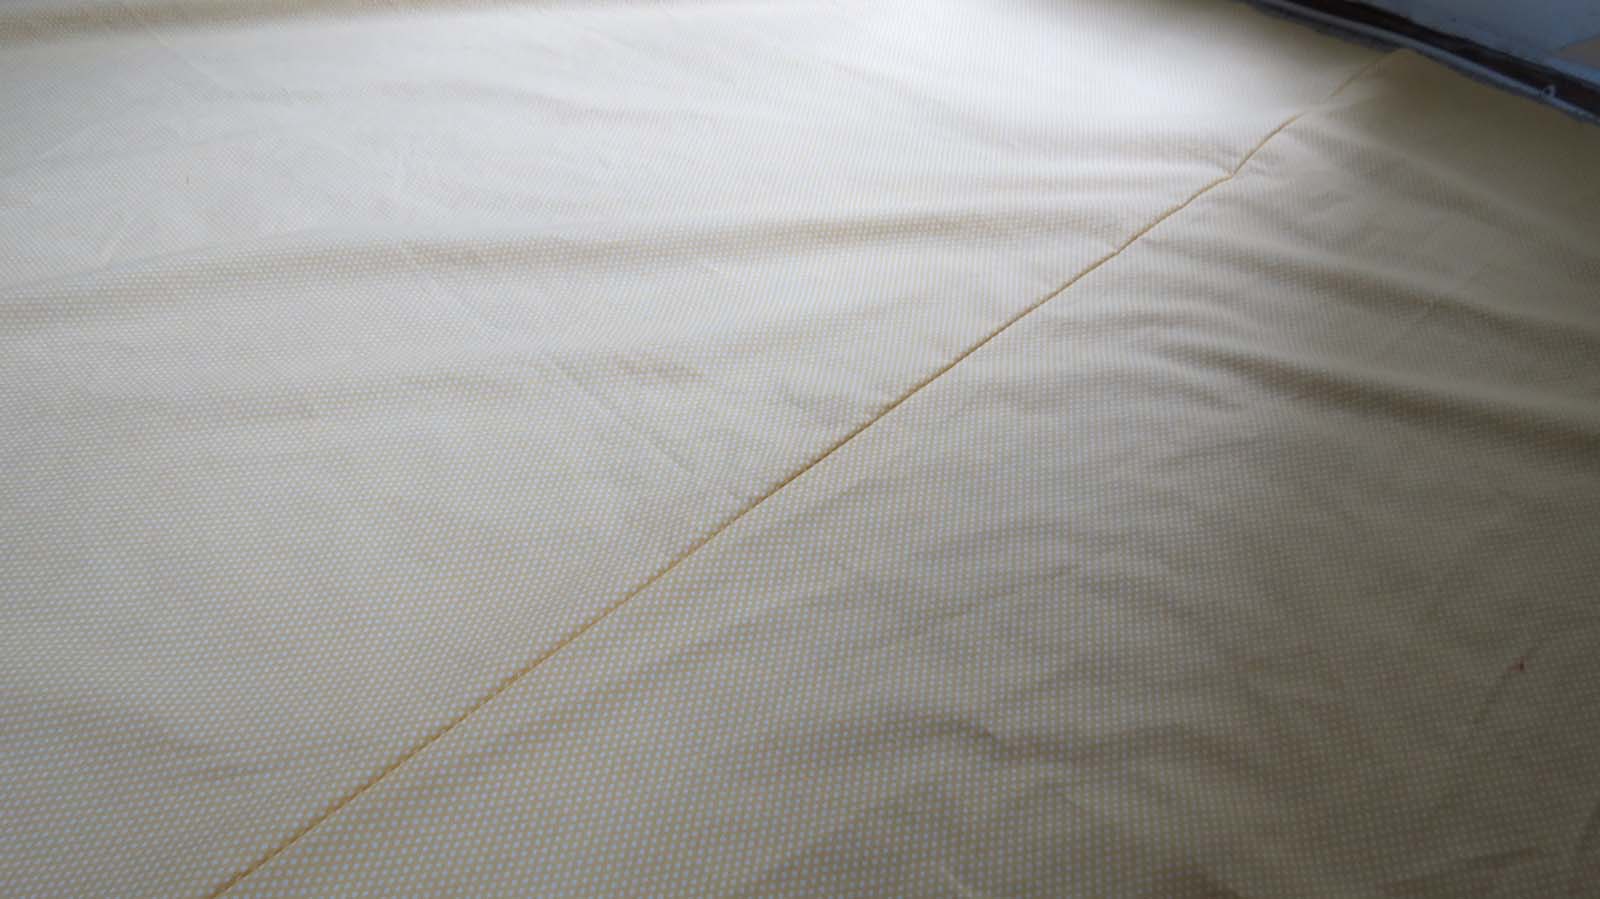
Since I was working was such large pieces of material, I placed the two right sides together and pinned along the entire length before sewing the seam.
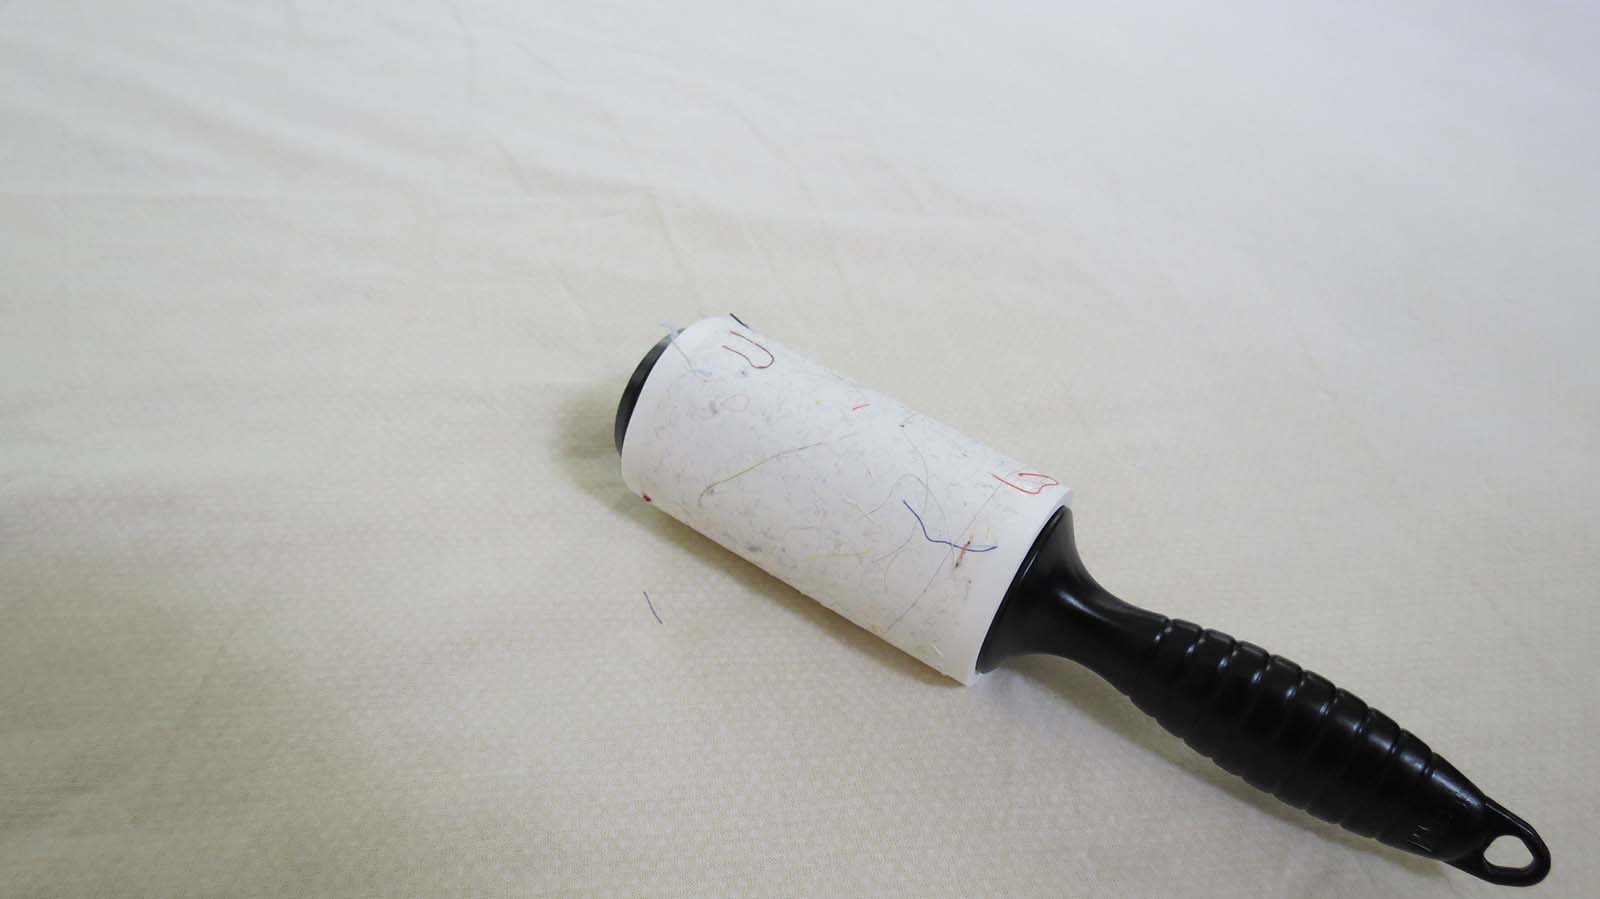
Spread out on the floor with the right side down, I took a quick moment to lint roll the fabric. I didn’t want a dark thread or anything else getting trapped between the material and the batting and showing through after it was all quilted.
Next, I opened up the batting and laid it out on top of the backing.

The final layer is the completed quilt top. Going back to that, I warmed up the iron again to remove any wrinkles and press open the seams. I had pressed open some of the seams throughout the steps, but this was my last chance to check the back of the entire piece and ensure everything will lay smoothly and that there are no remaining issues before pinning. (I lint rolled the back side of the top material at this time too.)
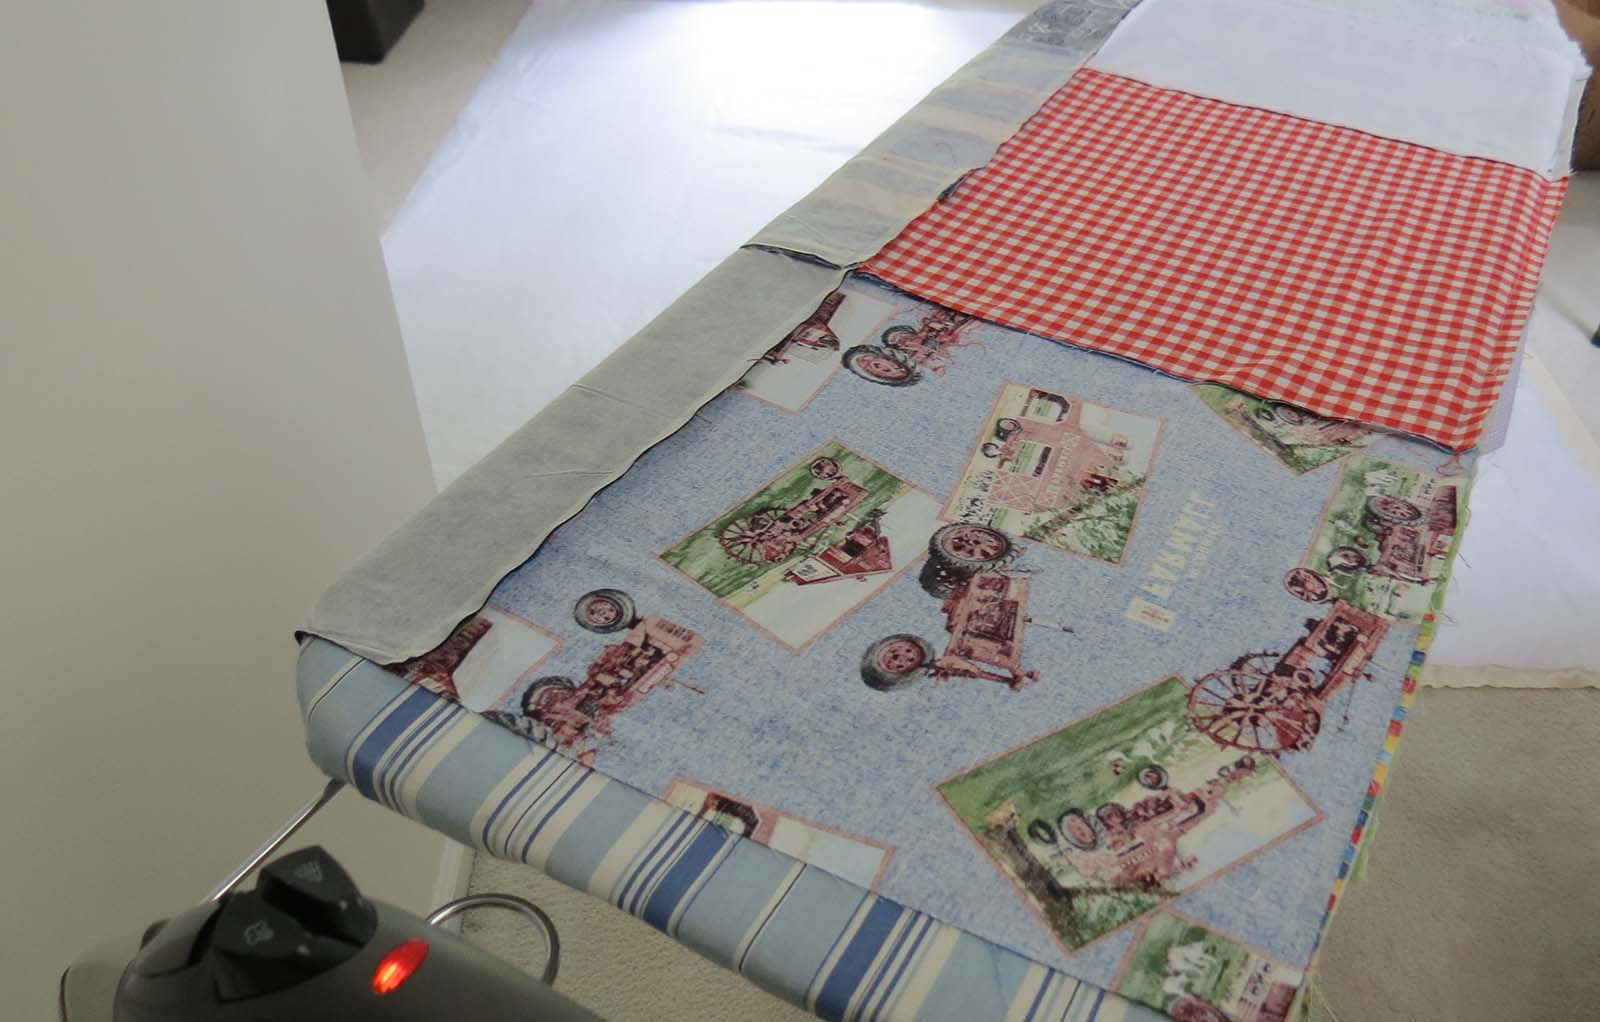
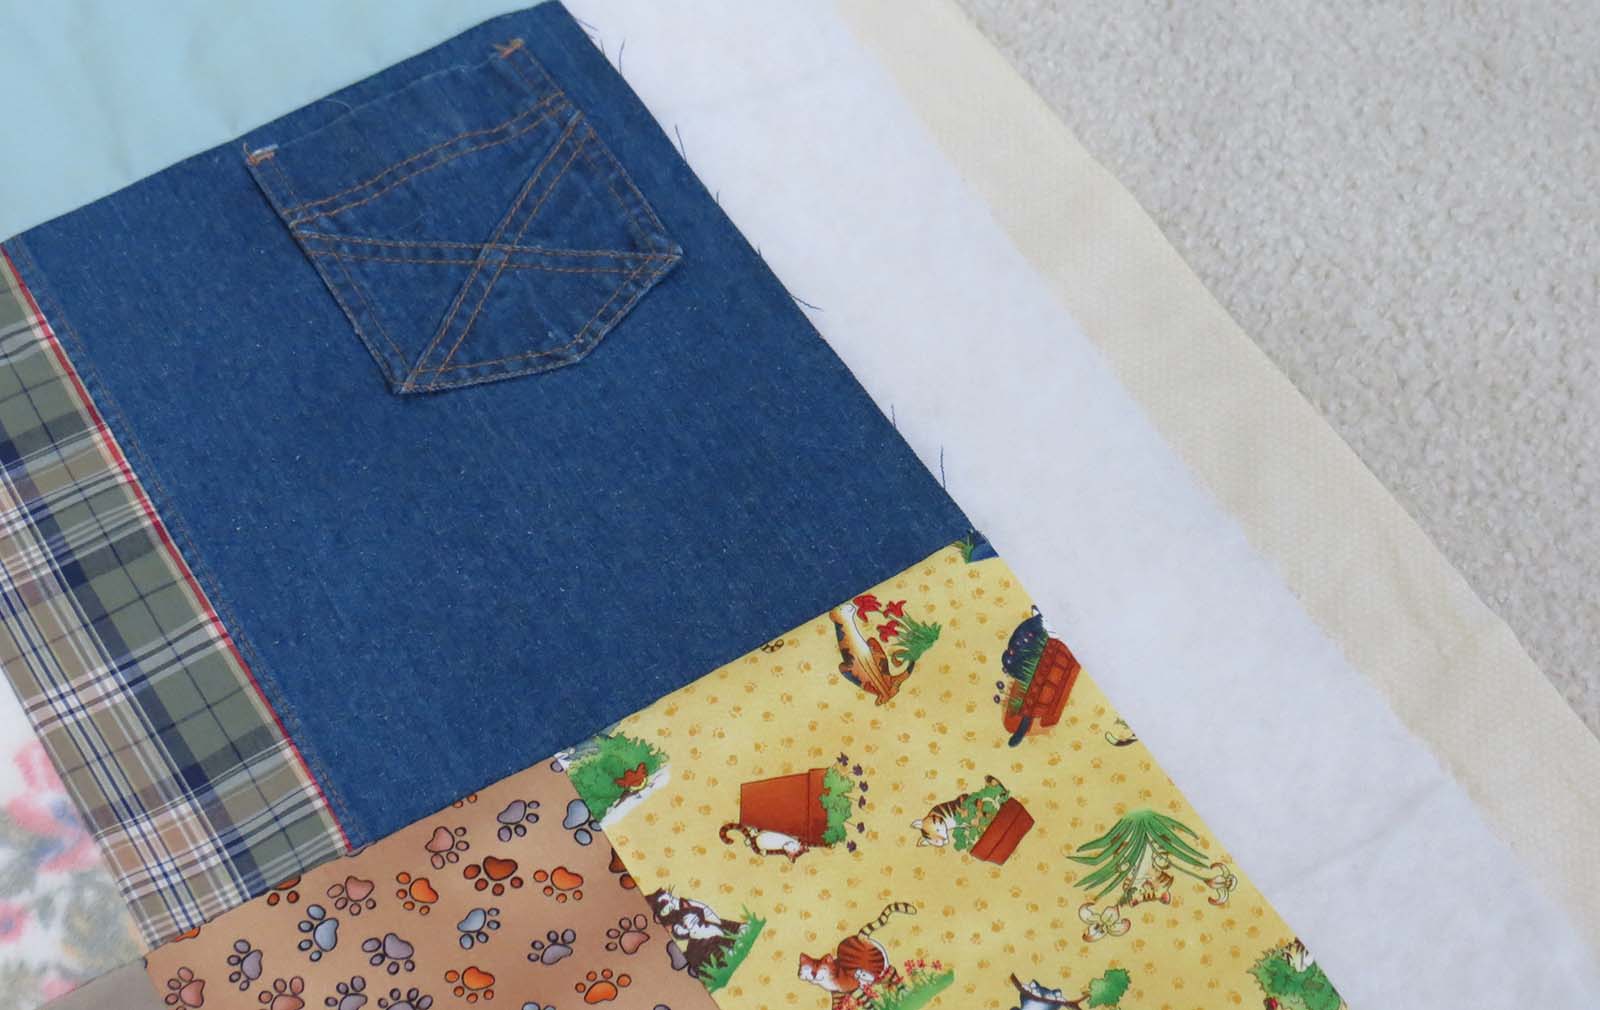
Once it was all pressed and looking great, I laid out the quilt top over the other layers. As you can see in the picture, the bottom is the backing material (face down), then the batting, and finally the top (face up).
Which brings us to our final step before the quilting begins, another round of pinning. It is best and easiest to use quilters’ safety pins. You can be sure they are not going to fall out, they will not rust if your project gets delayed at this point, and they handle much better when you are working your fabric through the sewing machine. Start in the middle of the quilt and work your way to the edges, gathering all three layers in each pin.

As discussed during the comforter project, pinning from the center to the outside and making sure you use an adequate number of pins is essential to keeping everything lined up and resulting in a smooth, pucker-free, quilt when all is said and done. (The rule of thumb when pinning is that if you spread out your hand and it is not touching any pins, you need to add to that area).

We are now heading for the home stretch. Only a few steps stand between you and your finished quilt. If all goes accordingly, I should have the final post up in the next week or two. It will walk us through the end of the process and show the final results. I can’t wait to see the finished product! Stay tuned.
You Might Also Like:
- Repurposing Old Bed Sheets into a New Comforter
- Top 5 for Sewing and Quilting
- Baby Quilt, a Blanket of Blessings; Part I
- Baby Quilt, a Blanket of Blessings; Part II
- Baby Quilt, a Blanket of Blessings; Part IV, the Conclusion