
After a few very busy weeks, it’s good to be back around the house getting caught up and having some time to work on the Blessings Blanket. I would have liked to have had this completed by now, but as we know, life gets exciting and sometimes things get delayed. However, I’m happy to say it’s been a productive few days and here are the next set of steps and progress for the quilt.
In the first post we talked about getting the materials prepared and squares ready for sewing. One of the steps included using an iron-on fusible interfacing for fabrics that tend to stretch, such as jersey. I cautioned against not getting this directly on the iron to prevent a sticky mess, and I was saying this from experience. I took care to place scrap material between the area and the iron to avoid this at all costs. But, by the time all of the interfacing was in place there were several gummy streaks on the bottom of my iron.
I knew during the next few stages I would be using the iron often. Not wanting to cause more work with it continually sticking to the good material and trying to keep it in nice working order, I picked up some cleaner.

Faultless Hot Iron Cleaner is one of my new favorite products. I know it has been around for years, I have just never had the need to use it. Let me tell you, it lives up to its name and the hype. For only a few bucks pick up a tube and try it for yourself; if it’s not already a staple product in your laundry room it probably should be. You simply squeeze a little bit of the gel onto an old rag (I used an old terrycloth towel). Then iron over it and move to a clean part of the rag to remove the excess. It took less than 5 minutes, and my iron looks like new, no trace of the interfacing whatsoever!
So, with that addressed and feeling very happy with my shiny “new” iron, it was time to start getting the quilt blocks sewn together.

First, begin by double-checking your measurements. You probably already have your batting purchased, so note the size and mark the dimensions. Since I’m making a full-sized quilt, I have been using a full-sized top sheet as a general guide for the size. (I still doubled-checked the exact measurements though to be sure I was working with the appropriate number of blocks.) The last thing you want to happen is to get the entire top sewn just to realize you have a 6-inch overhang beyond the batting and backing and either have to piece in parts, or try to trim everything down.
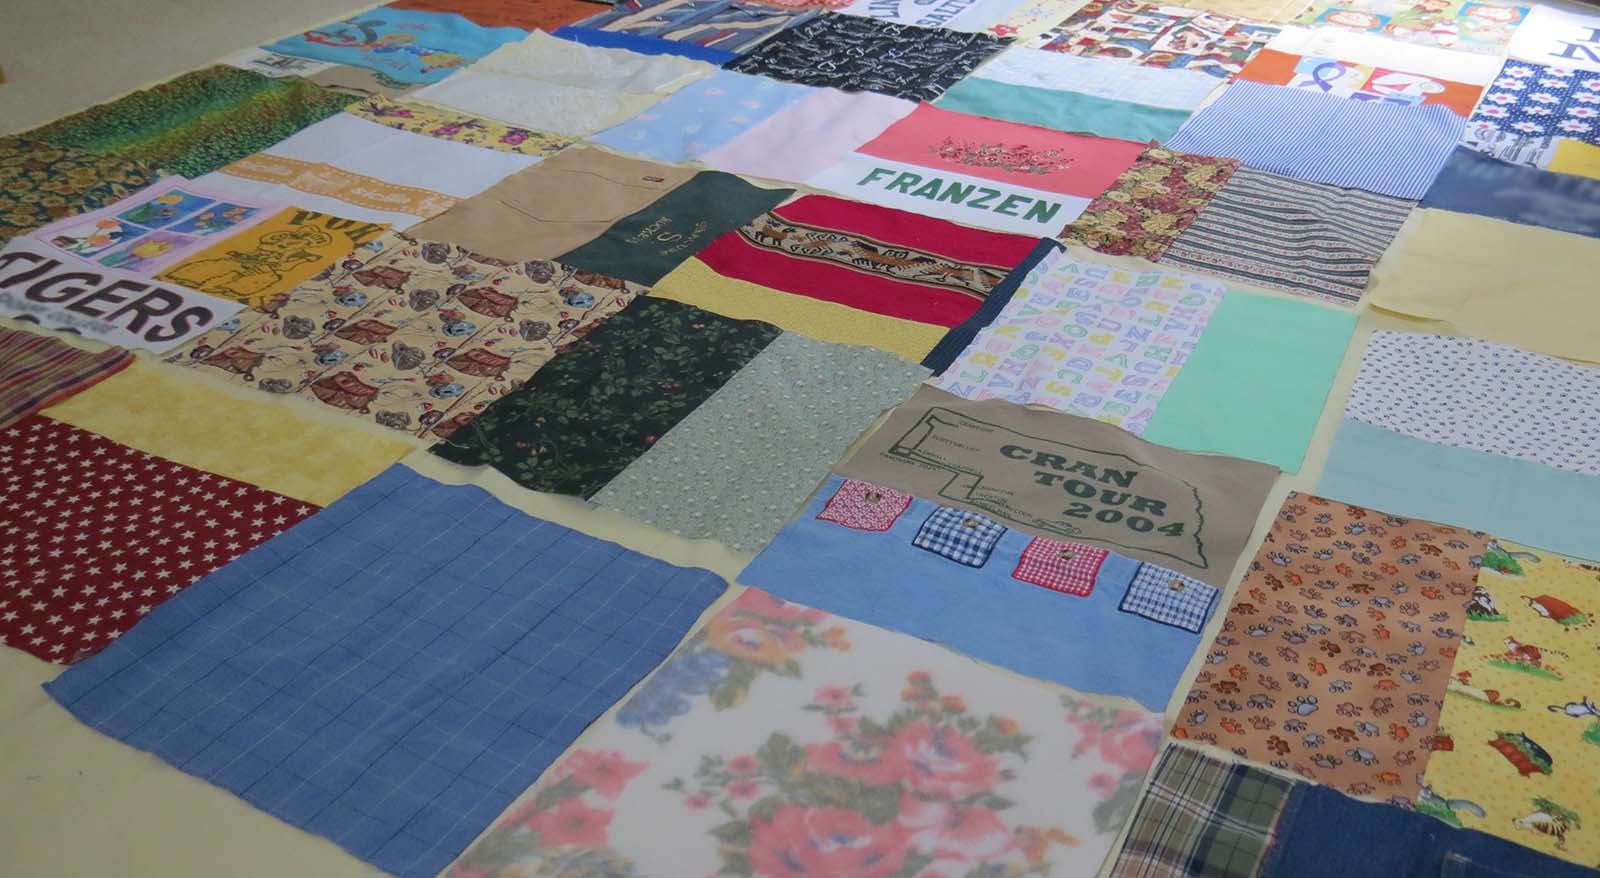
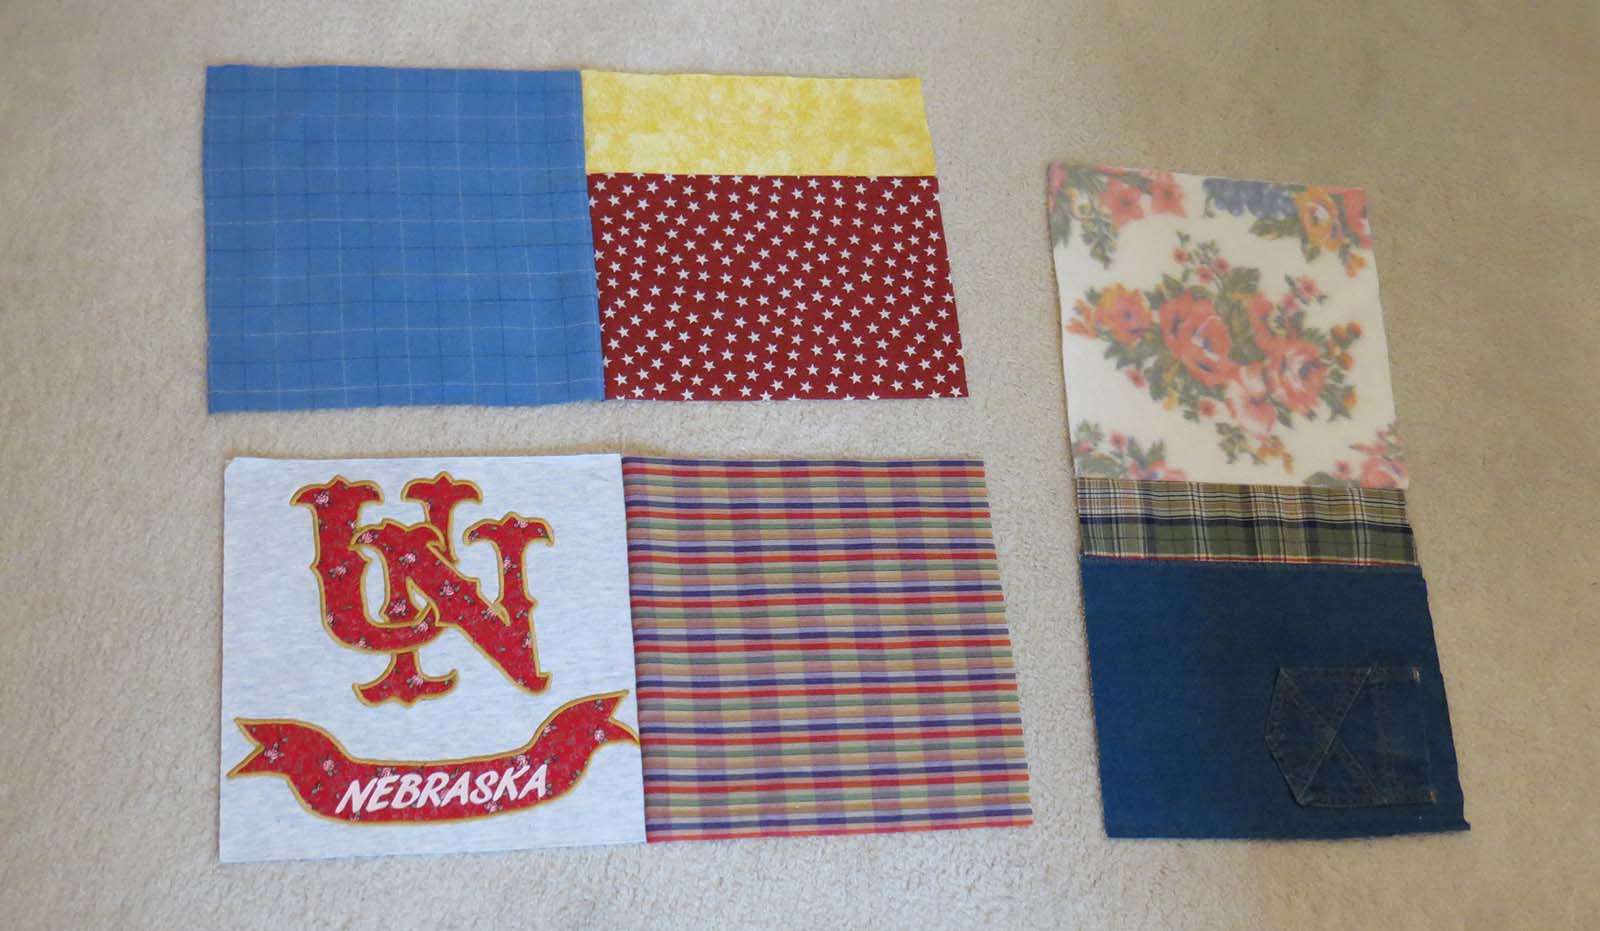
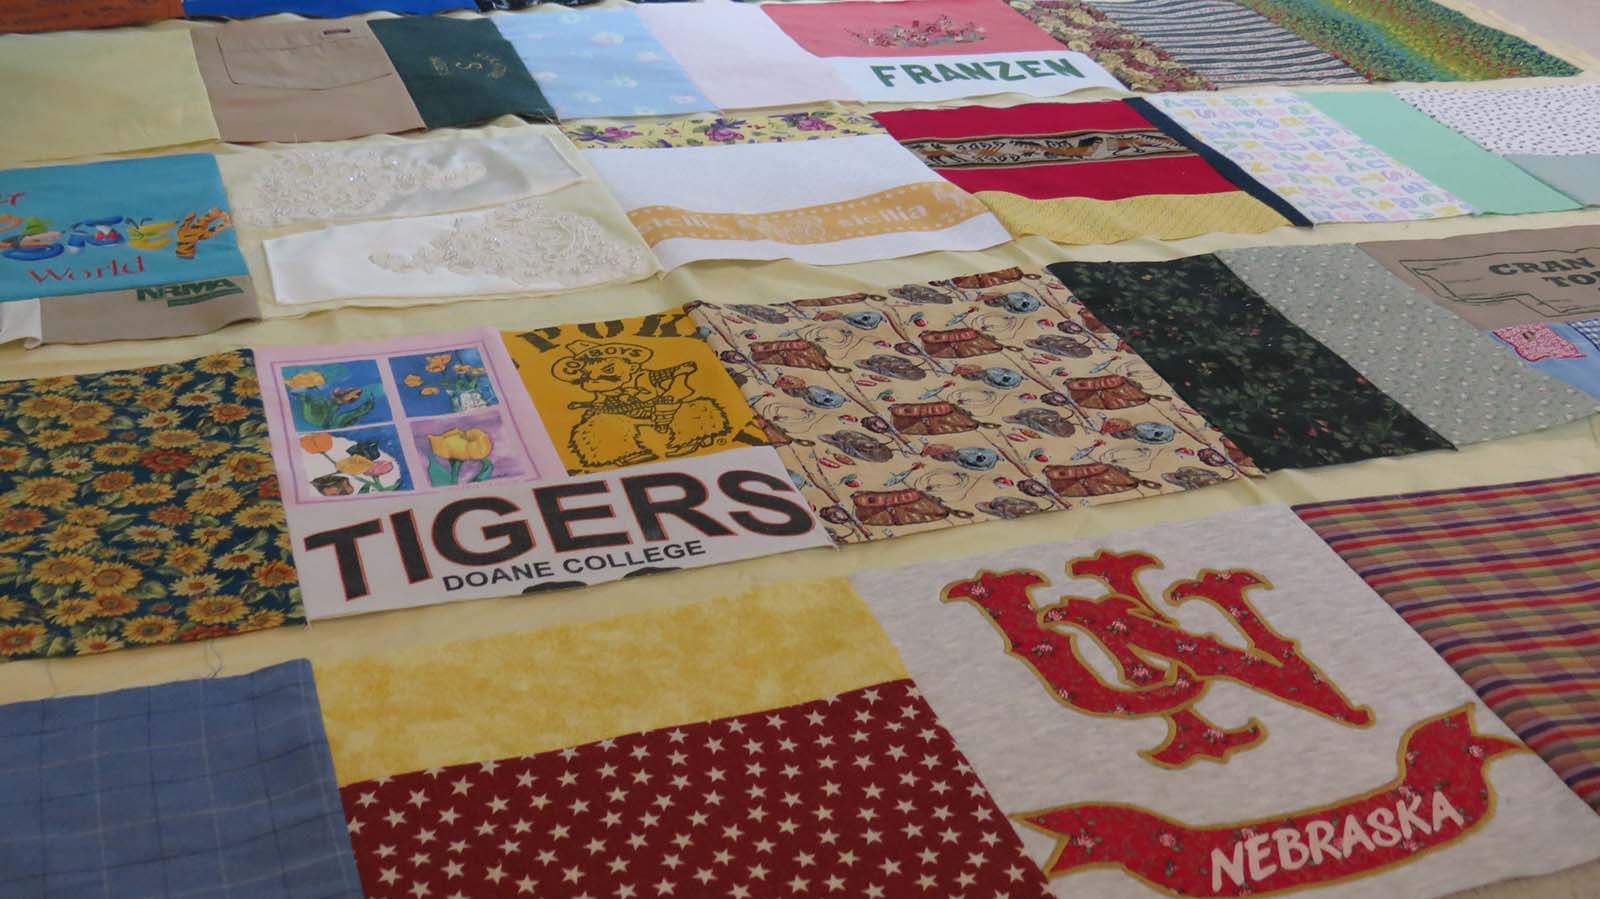
The length and width are pretty close to what my final quilt will measure, so I just spread out the sheet and began laying out the blocks on top. (This idea also works well if you are sharing the space and need to pack up your supplies. Rather than picking up every block individually and starting over, you can just roll up everything in the sheet and move it out of the way till you are ready to work on it again.)
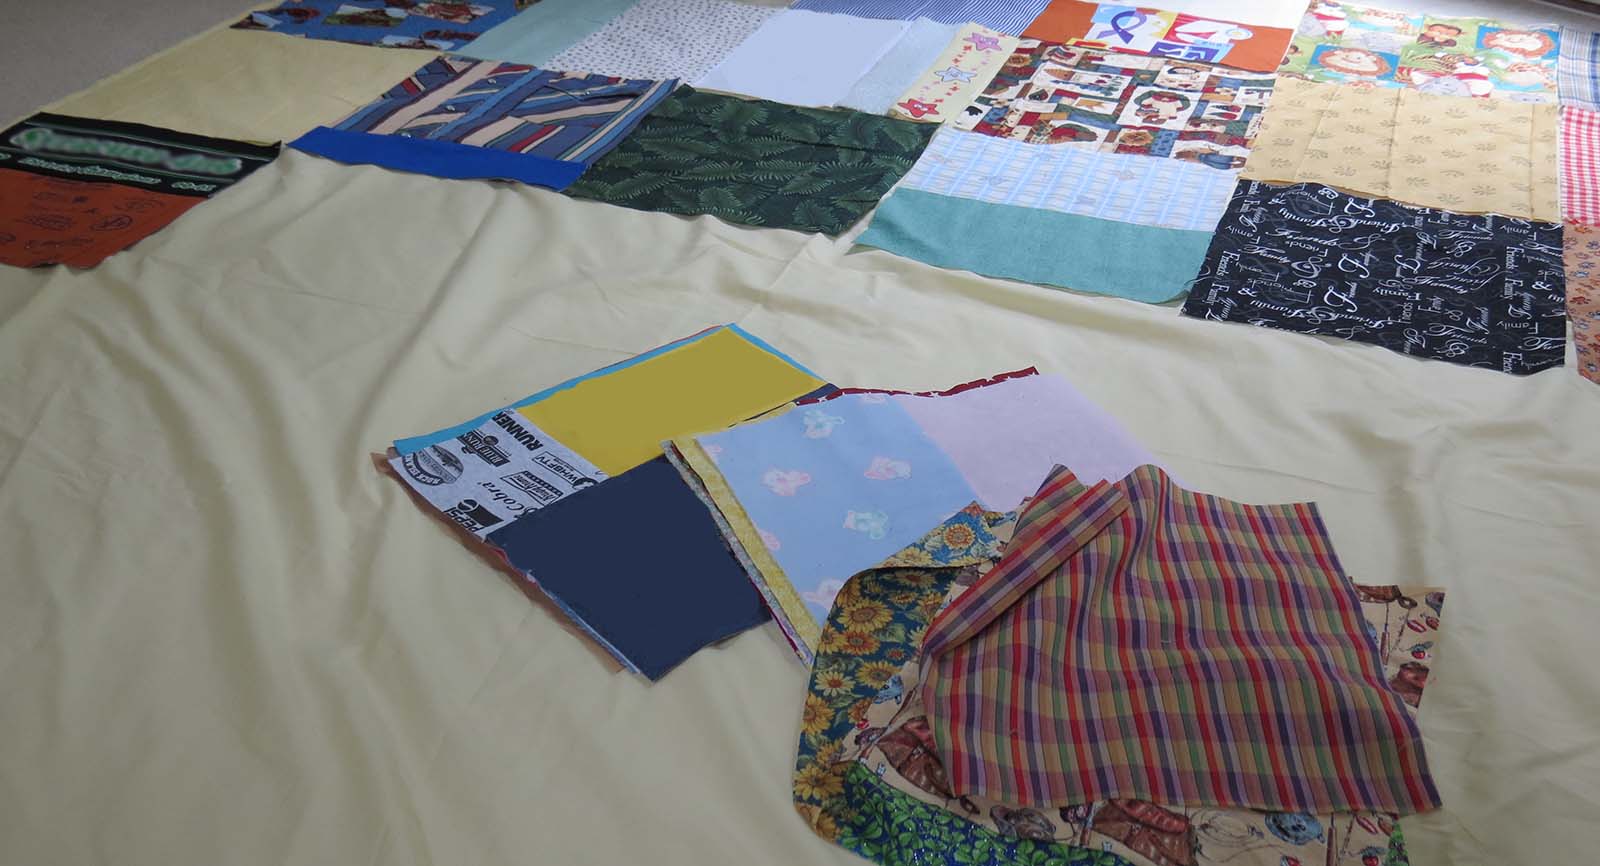
Don’t be afraid to walk away from it or take a quick picture with your phone. Viewing the blocks from a different angle can help you see troubled spots. It can take a few tries and lots of rearranging till you get everything where you want it, but it will save you the time and hassle of ripping seams later.
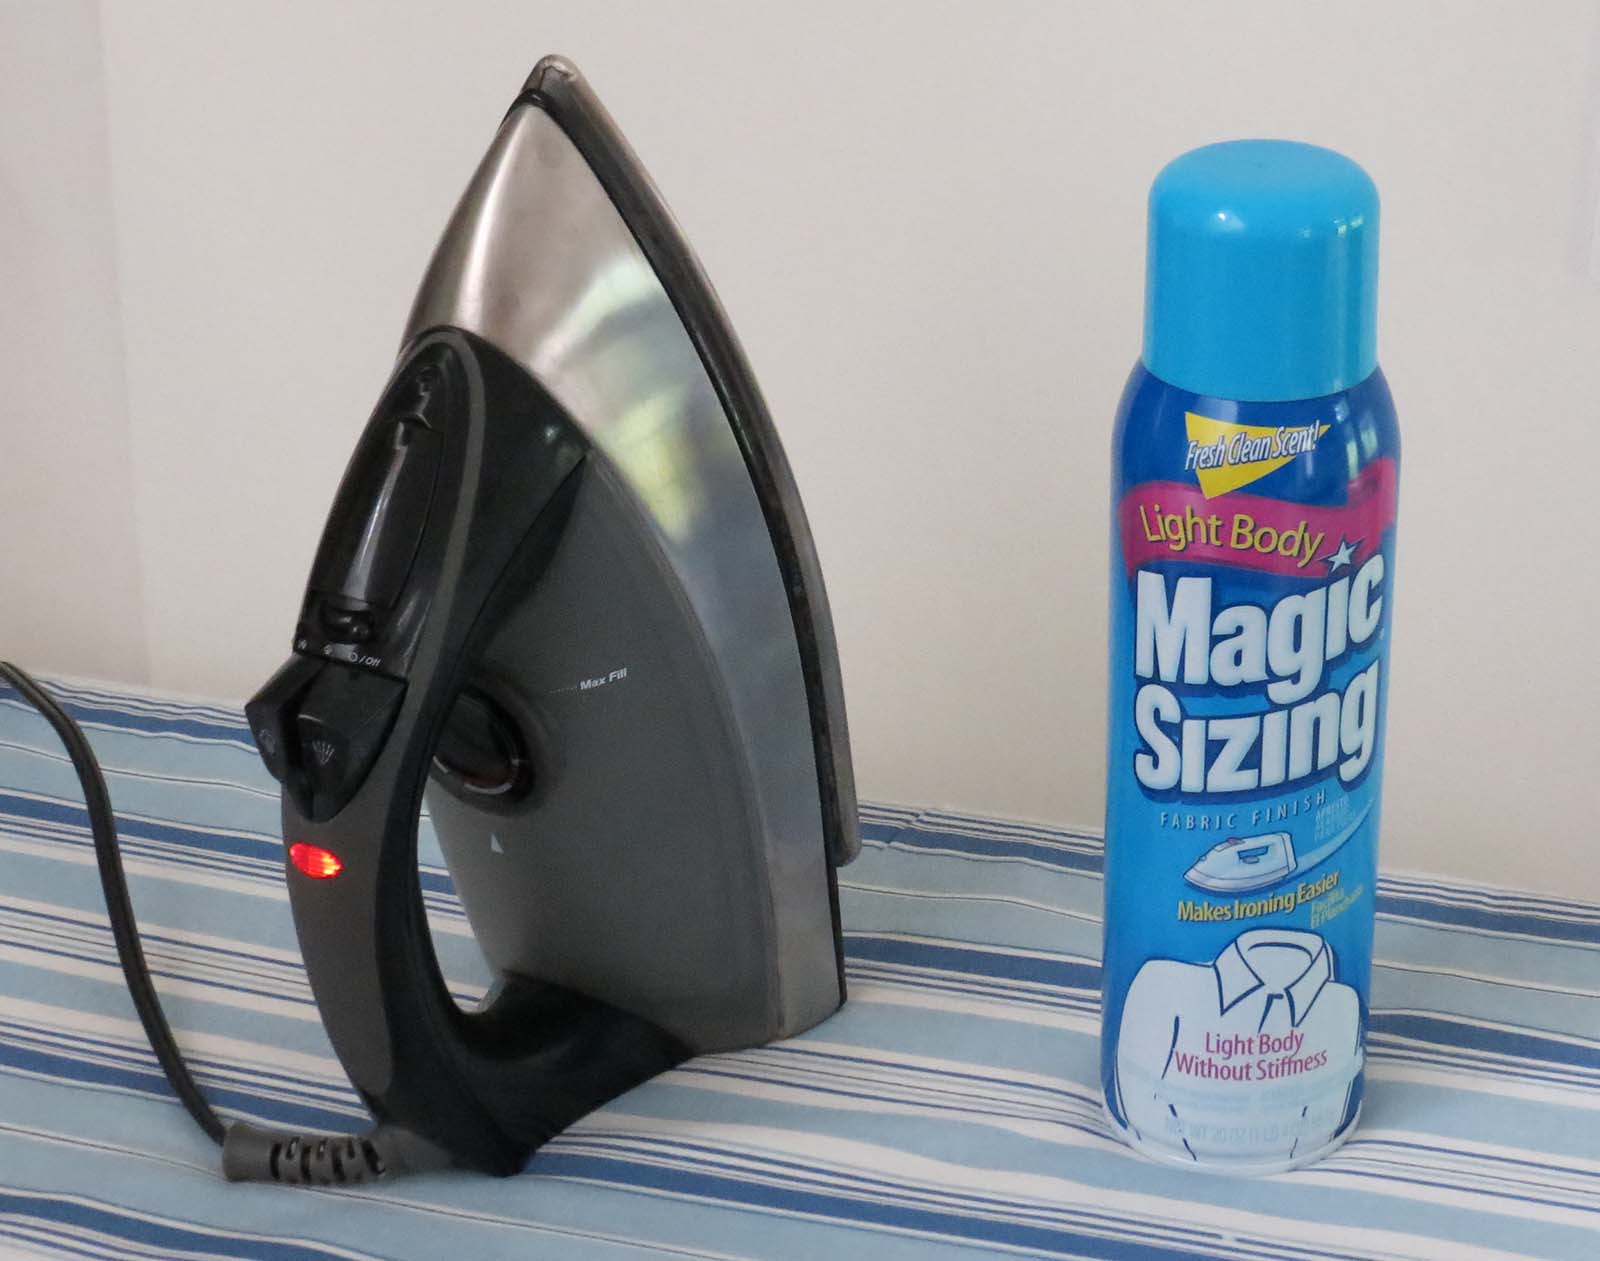
Like all great works of art though, there comes a time when you just have to stop fussing with it and get on with the work. Starting at one end I gathered the blocks going all the way across a horizontal row. If they need a quick ironing, seams pressed open, or just a little more body to ensure easy sewing, at this point I often enlist the help of Magic Sizing spray-on fabric finish. Recommended by my teacher when taking beginning quilting classes, this has been my go-to ironing assistant. (Both this and the iron cleaner can be found in stores near the detergent or online for purchase.)
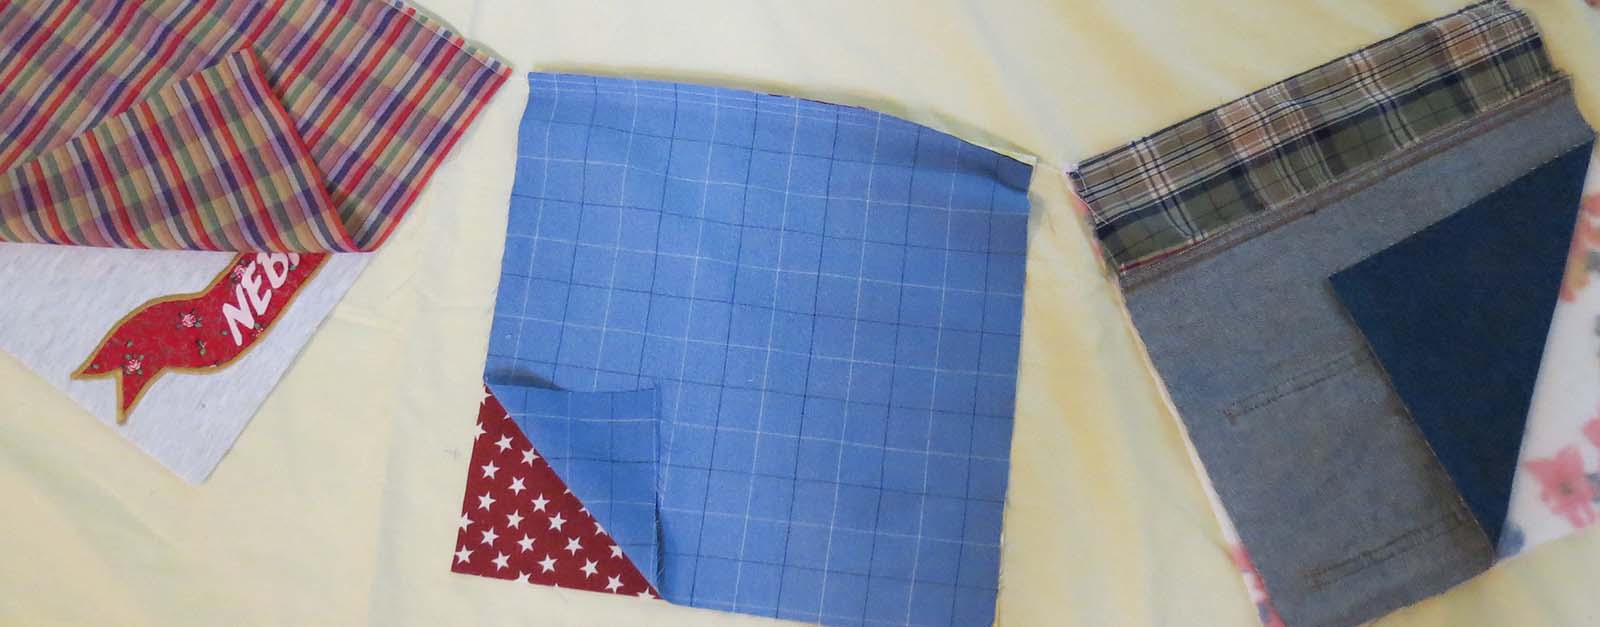
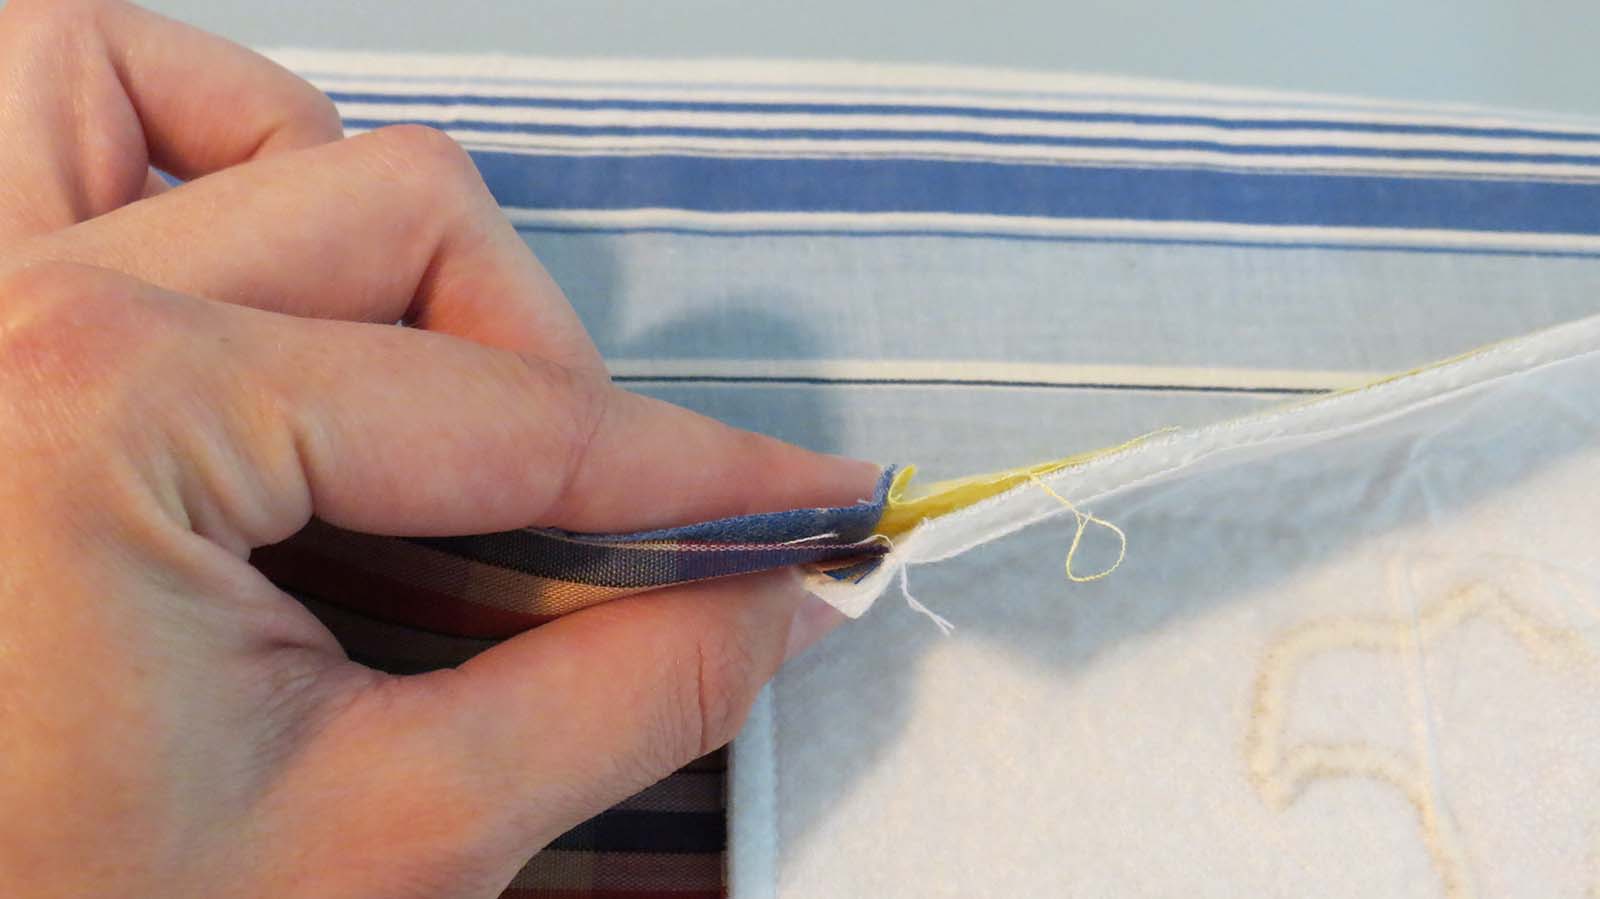
Next, pair up the blocks and the align the edges for sewing. You can pin them if you like; however, I found with most of my fabrics this step was unnecessary and I could simply keep them lined up by hand while going through the machine.

With 3 sets of 2 blocks each aligned, I ran them through the machine using a straight stitch and standard 1/4″ seam for quilting.


I used a chain method where you do not cut the thread after every set of blocks, but ran them through one after the other.
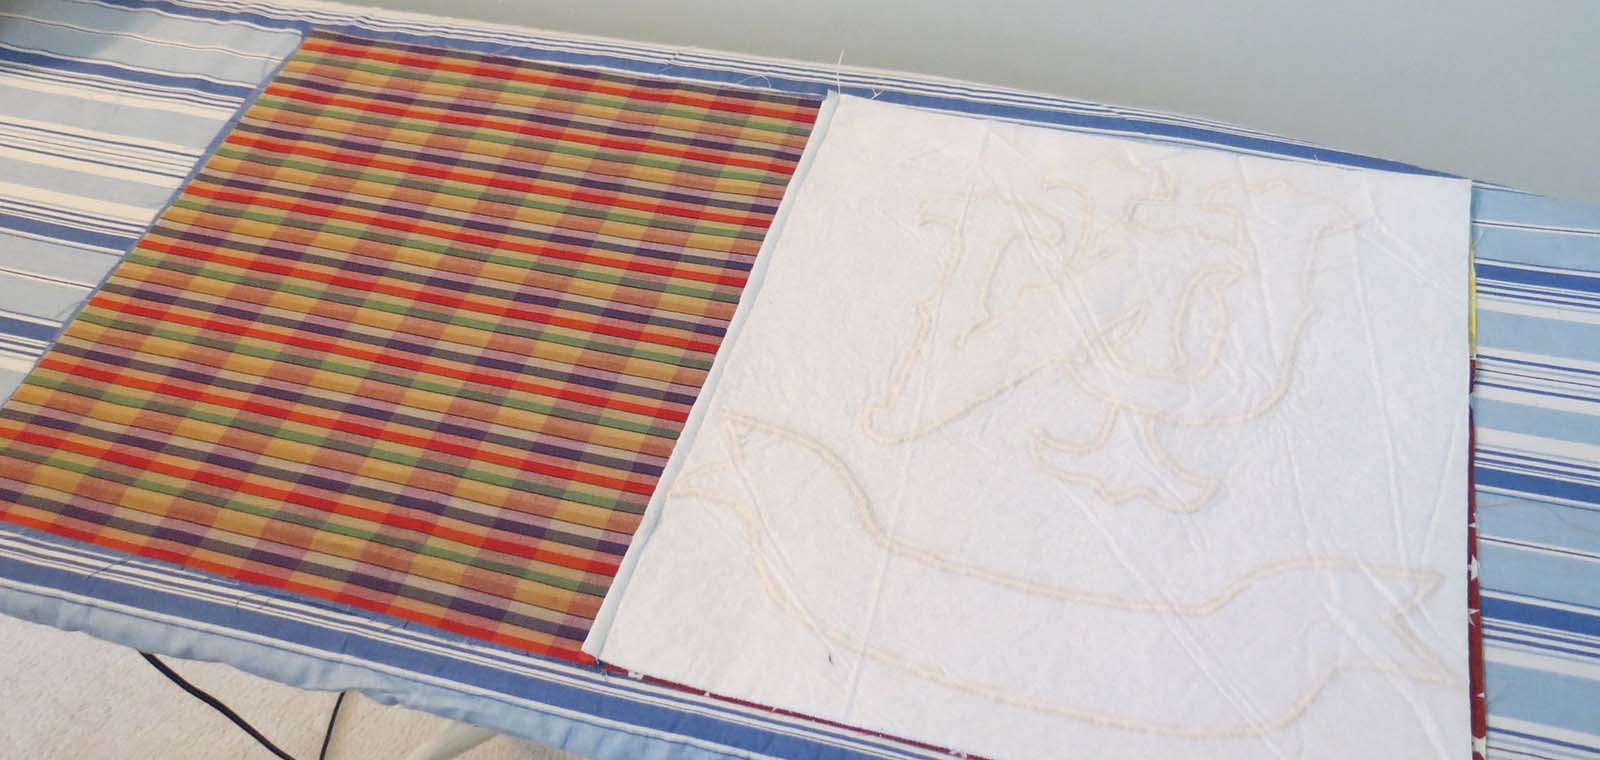
Cutting the thread holding the sets together, I laid out each pair and pressed open the seams.
Continuing on with the sewing, I matched up 2 sets of blocks, right sides together. To help make sure things are staying square it is a good idea to not only line up the edges but also the seams. As before, straight stitch along the edge and then press open if needed.
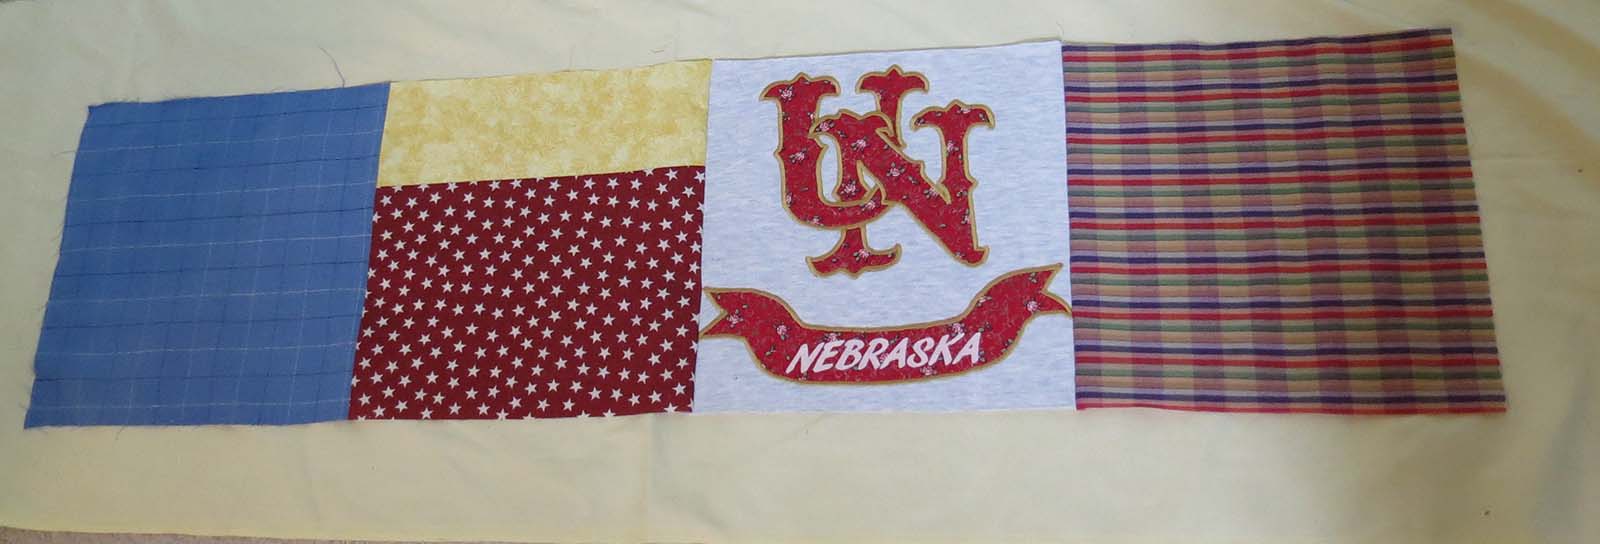
Line up and sew the 3rd set of 2 blocks on the end to complete this row.
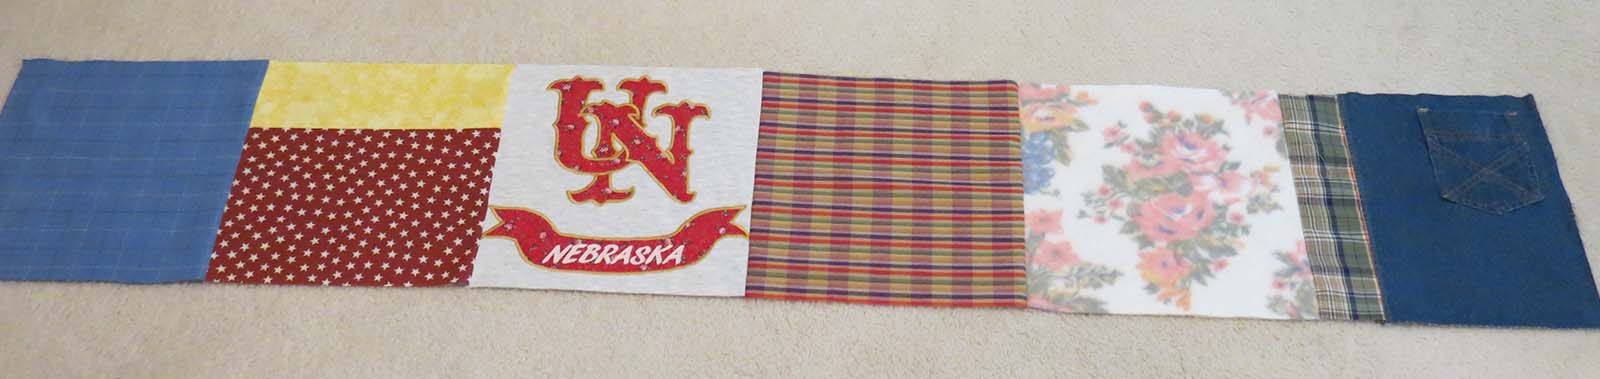
Now it’s simply a matter of doing these same steps for all of the horizontal rows. For my quilt, I now have 7 long strips, made up of 6 blocks each which measure 12.5 inches tall.
Getting to the final steps in the process, next time I’ll be sewing the rows together to form one solid top and preparing my backing material.
It’s always fun and exciting to watch a quilt take shape. If you have any questions, concerns, or great ideas for helping out feel free to email me or put a comment below. Best of luck with your projects, I can’t wait to see how they turn out!
You Might Also Like:
- Repurposing Old Bed Sheets into a New Comforter
- Top 5 for Sewing and Quilting
- Baby Quilt, a Blanket of Blessings; Part I
- Baby Quilt, a Blanket of Blessings; Part III
- Baby Quilt, a Blanket of Blessings, Part IV, the Conclusion

1 comments
Sarah! The quilt is looking great! I read part 1 and loved it. Part 2 is just as well written. I love all the helpful tips and clicking on the pics to enlarge them was good move. Keep up the good work.