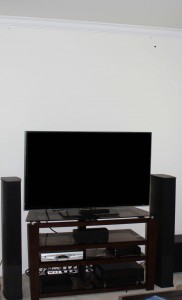
I love creative projects! They are one of my many passions. I don’t like to think of things as “problems” per se, but rather as “opportunities” for enhancement. Moving to a new place, or just getting that itch to redecorate your old space, can offer a goldmine of possibilities. One opportunity we were faced with shortly after settling into our new townhouse was a blank wall behind our entertainment system.
All of the carpets, moldings, window treatments, cabinets, everything in our new place is white (hopefully we can keep it that way and get the full security deposit back). Since we are renting, painting is not an option for us at this time. Additionally, that wall is one we share with our neighbors. After some brainstorming and browsing on the internet, we came across a brilliant solution, Do-It-Yourself Sound Panels. The idea fit our needs perfectly. Not only would the panels liven up the room, but it would make our new neighbors happy not to be on the receiving end of a loud sound system during a late-night action movie.
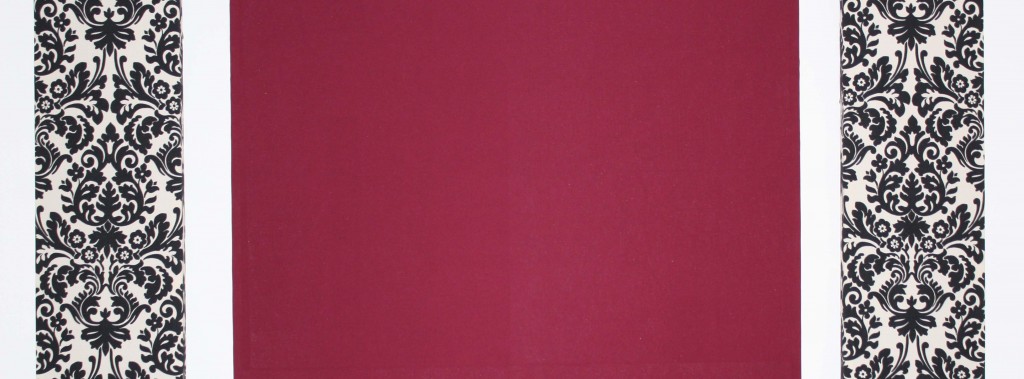
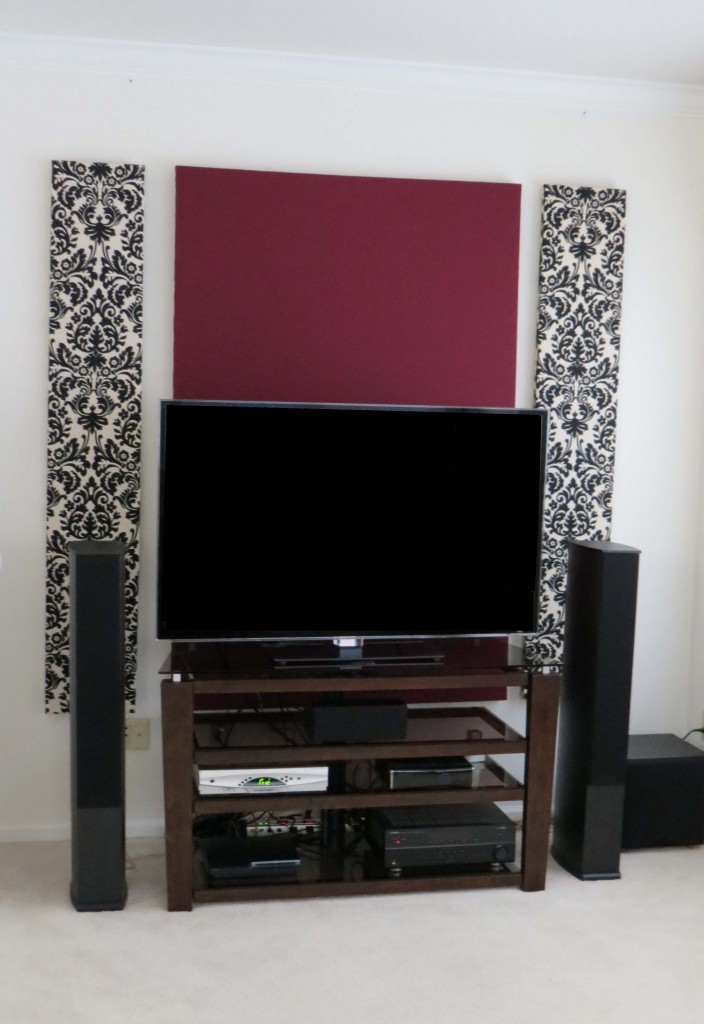
The great thing about DIY projects is you can customize them any way you wish. Since our living room has higher ceilings we wanted to emphasize that feature; always make the most of what you have. We chose to orient our panels vertically to draw the eye upward and maximize available space. A common rule from art and design class is to group items in odd numbers, it is said to help create visual interest. So, for our area we constructed 3 vertical panels, a large middle section (4’ x 6’) flanked by 2 smaller sections (both 1’ x 6’).
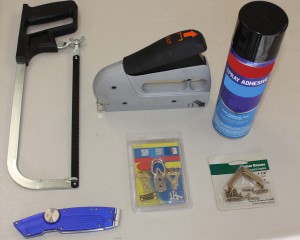
Once we had a general layout agreed upon, we went to the local home improvement store and fabric shop to gather our supplies. For this project we needed:
- small hacksaw or handsaw (cut wood and insulation to size)
- staple gun and staples (attach fabric to wood frame)
- drill or screwdriver (secure corner braces and mounting hooks)
- box cutter (score insulation)
- spray adhesive (attach fabric to insulation)
- picture mounting kit (1 per panel)
- corner braces with screws (1 set per panel)
- wood for frame (we used ¾”x 1½” boards to keep the weight at a minimum; at 6’ long we needed a total of 5 to make all cuts)
- insulation paneling (available in 2’ x 8’ sections, the employees at the store were kind enough to break it down to 2’ x 2’ squares to make it easier for us to transport)
- fabric(s) of choice for covering
(To see larger copies of the photos on this site for better viewing, click on the image to select it, then click a second time for enlargement. Hitting the back arrow twice will bring you back to this post.)
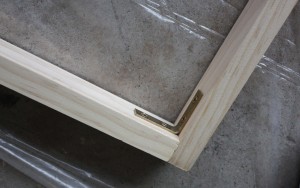
To begin the construction process we built the frames, securing all corners with the braces.
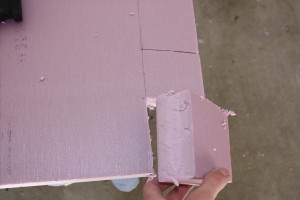
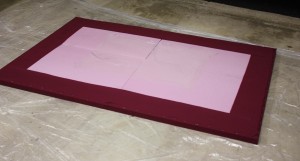
Next, we cut the insulation to size and inserted it into the frame. We began by scoring the insulation with the box cutter; then we could break off small chunks, or large pieces can be detached by breaking the score line over the edge of a table or across your knee. We found this much easier than trying to saw through entire sections. We did a trial run before we laid out the fabric to keep the material as clean as possible. Once everything was set, we picked up the frame and insulation, laid the fabric face down, and re-positioned the frame back on top.
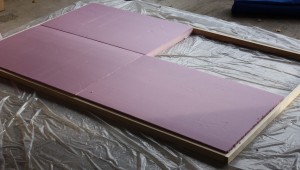 Then, we brought the sides of the fabric up around the edges and secured them to the wood frame using a staple gun. The extra material was glued to the insulation with spray adhesive to help hold it all together. We kept the main panel a solid color to minimize distraction since it would be positioned directly behind our TV. It also provided a nice balance for our bold complimentary side panels.
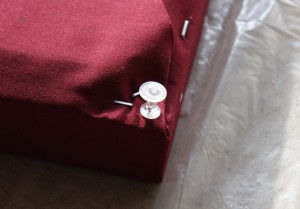
Finally, we attached the picture mounting kit and improvised bumpers to protect the wall. Since the mounting hooks and insulation stuck out further than the frame, we inserted a pushpin to each corner and added a protective cushion on the end, felt bumpers could also be used. The main idea is just to add extra protection for your wall and help the panels hang level.
And voilà! There you have it. These 3 large panels only took us one day. This is can be done over the weekend or just in an afternoon for smaller panels. The design also works great for kids’ rooms and nurseries. It’s easy to find fun fabrics to brighten up the walls, and noise reduction for sleeping babies is always an added bonus.
I hope this has inspired you to try your own projects. I’d love to see and hear about your version of the sound panels or if you have any great suggestions to make them even better. If you come across any questions just let me know. I have several other pictures I took during the process if you need extra details. Enjoy and happy creating!
Via: Unplggd
Source: Acoustic FREQ
You Might Also Like:
- Magnificent Magnet Board
- Repurposing Old Bed Sheets into a New Comforter
- Woven Basket from Electrical Cords


1 comments
Genius!!!