Merry Christmas! I absolutely love this season. It’s such a wonderful time of celebration for the birth of our Savior. I love the music, excitement, family, friends, great food; I even love the snow.
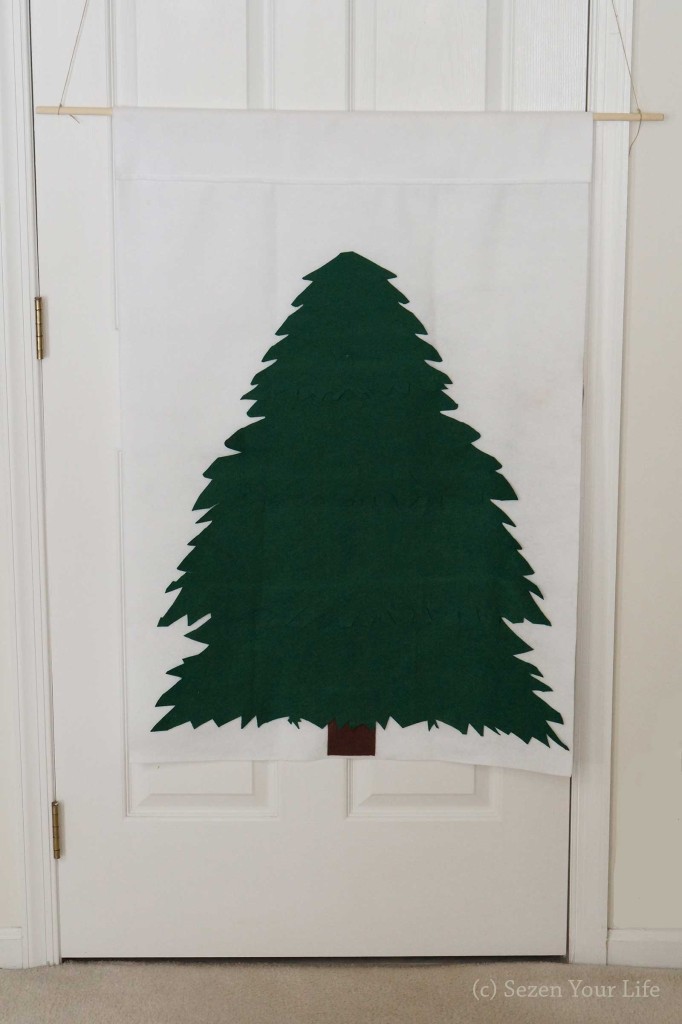
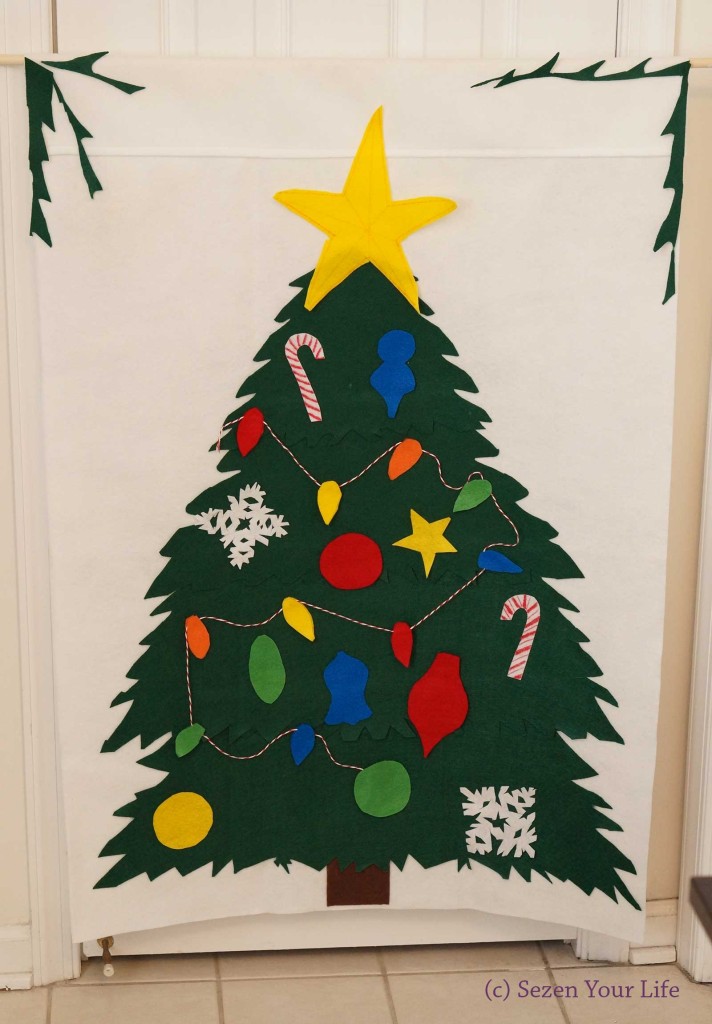
Every year after Thanksgiving I look forward to decorating the house. This year’s a little different, however. With a toddler running around, our traditional tree had to wait. We improvised by decorating the banister and have a few other things here and there, but it’s very minimal compared to years past. So to help liven up the living room, I used an idea I found on Pinterest, a felt Christmas Tree for children. This is all over the internet, but the earliest version I found came from Empty Bobbin Sewing Studio, so I’m giving the credit to her. Here’s my take on the kid-proof tree.
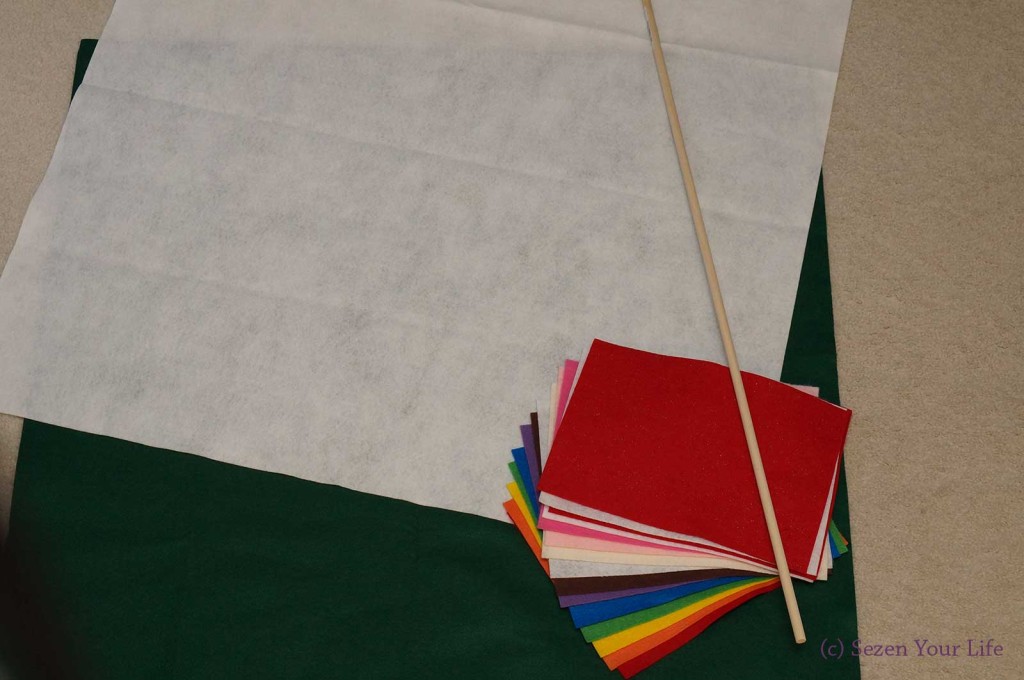
I went to the local craft store and picked up 1 large (3’x3′) piece of dark green felt and 1 piece of white. (This location did not sell it from the bolt, or I would have purchased it that way to avoid wrinkles and to get a slightly larger size. You can buy felt by the yard in stores or online, I was just under a time crunch.) I also bought several individual pieces of various colors for the decorations and a dowel for hanging. Many of the other felt trees I’ve seen online are simply tacked or stuck directly to the wall. Mama don’t play that game. I’m very particular about what I attach to the wall, especially if it’s something that’s only going to be up for a month.
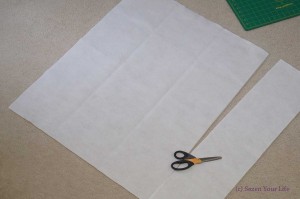
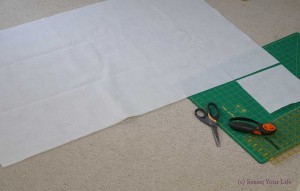
I started out reshaping the 3’x3′ piece of white felt which was to be the background. I trimmed off one of the sides to attach to the top. This piece will become the pocket for the dowel.
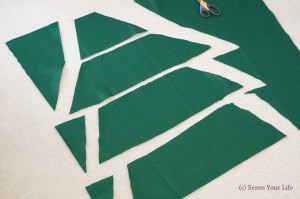
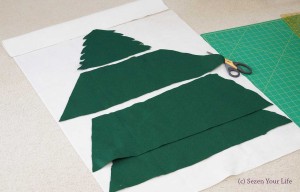
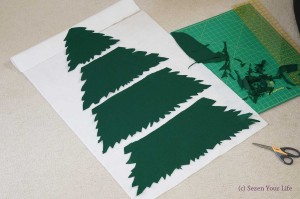
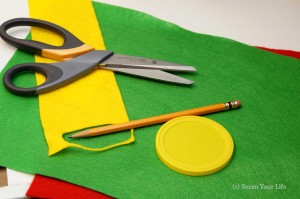
Next, I began to cut out the shape of the tree. I started with rough trapezoids just to see how it would work. I like using several tiers rather than one big triangle. The layers give it more depth and dress it up a little.
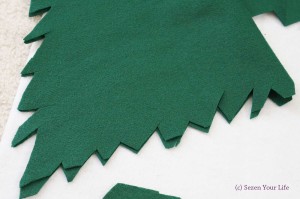
I gave the shapes some definition so they weren’t just straight edges.
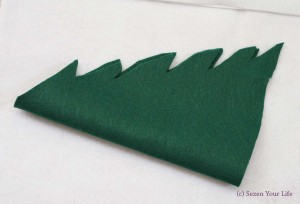
It helps to fold the pieces in half when cutting so they turn out symmetrical.
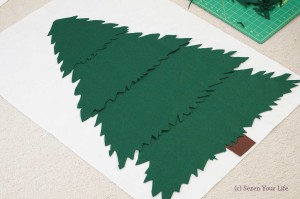
After all of the sections were cut: I laid them out for placement; cut a small brown rectangle for a trunk; and using a craft glue attached them to the white background.
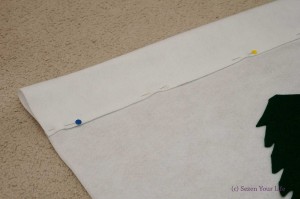
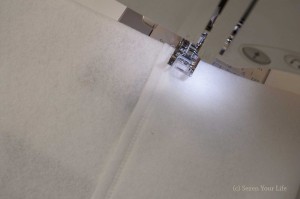
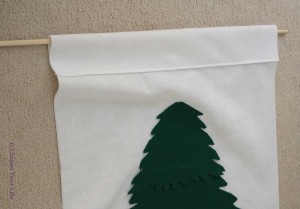
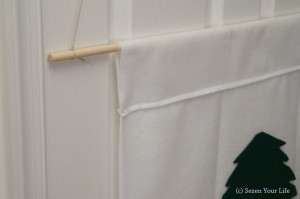
In order to hang the tree, I folded over the extra piece of white material I trimmed off at the beginning. I pinned it to the top of the background and attached it with a zigzag stitch. I didn’t use glue for this part because I knew sewing would have a better chance of holding up when (not “if”) L pulls on the tree.
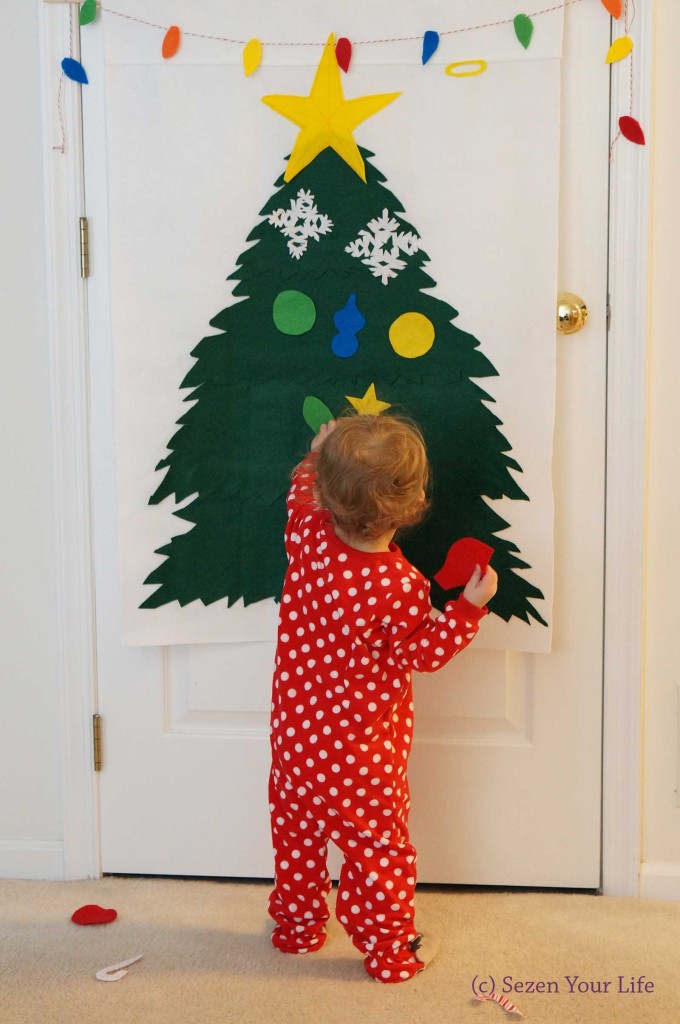
I simply slipped in the dowel. (I would have painted it first if I would have had more time.) Then I tied a long string to each end, nothing fancy, and hung it from 2 over-the-door wreath hangers. Using 2 helped it to stay straight, you could also just tape down the string on the back side of the door. No holes in the wall required.
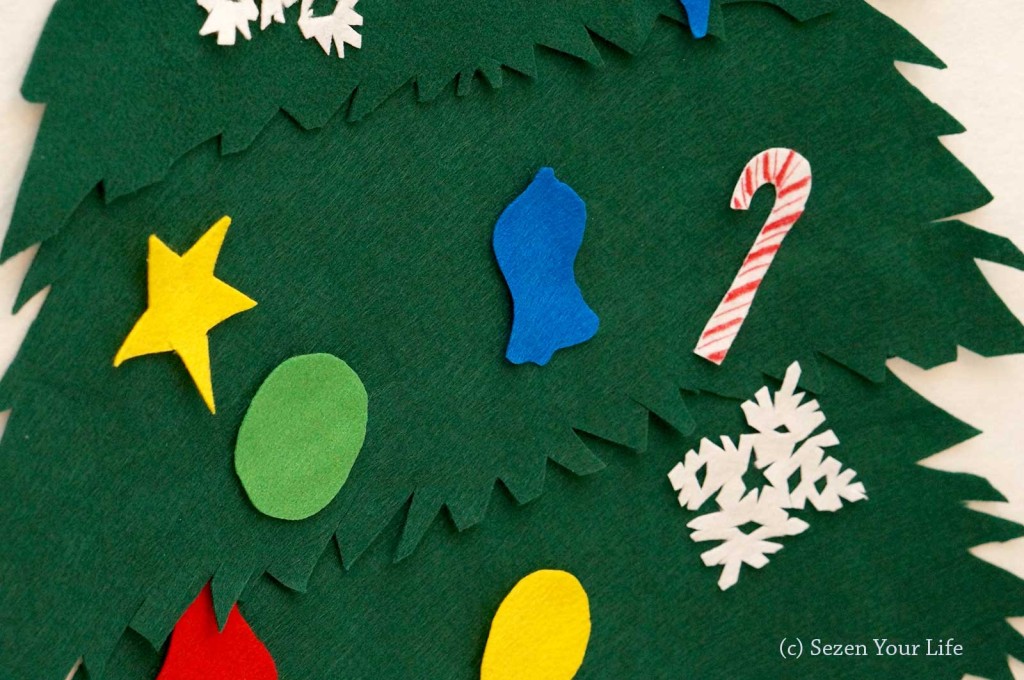
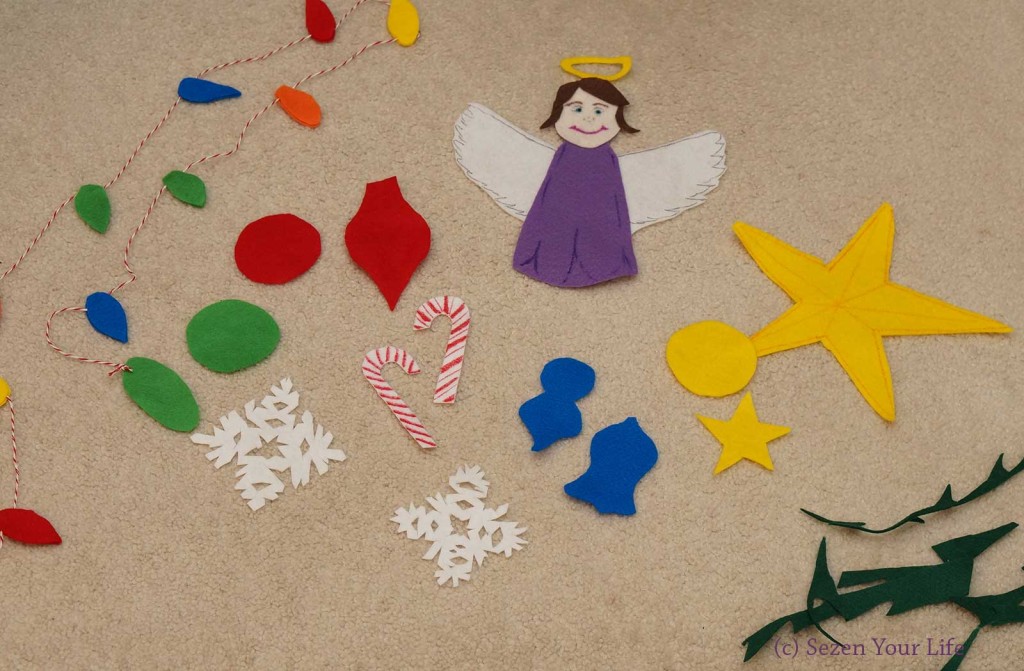
Now it was time to decorate. Using my fabric shears I cut out basic shapes and used permanent markers to embellish a few. Again, if I had more time I would have been much more detailed and sewn on other pieces of felt to the shapes for decoration. Maybe next year… (but I have also noticed you cannot put too many bits on one piece or the weight causes it to fall off the tree. My angel doesn’t want to stay very well.)
There you have it. The supplies were under $20 and the total time was about 3 hours.
And of course for safety, supervise children when they are playing with the tree. Small parts can be a choking hazard and the string of lights poses a strangulation risk.
You Might Also Like:

