When we lived in Iowa, my husband and I were looking for an easy way to display photographs, notes, and ideas. We wanted an option that could be quickly updated with new items and also not cause any damage to the photos and illustrations. Ruling out a bulletin board or traditional framing, we decided to create a magnet board. It has been several months since we made this piece, so I do not have detailed images of every step, but it is pretty straight forward.
First of all, I would recommend obtaining a piece of metal to serve as the main part of the board. We did not have metal cutting tools and did not want to spend the extra time and money to have something custom fit. So, we simply went to the home improvement store and found a pre-cut piece of metal sheeting in a flat 3’x2’ rectangle. If you already have a frame you are going to re-purpose that is not a standard size, check with the employees, they may offer to trim a larger piece to fit your specifications.
Certain types of metals have stronger magnetic properties than others; it’s a good idea to test your piece before you leave the store. Generally, these locations will carry industrial magnets. Take a moment to go a few aisles over and double check that the strength of the magnetic bond is going to work for your project. This is also a good time to purchase some basic magnets to decorate and use later on the finished product.
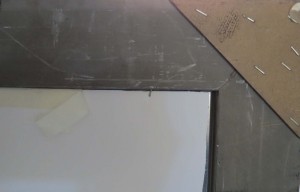
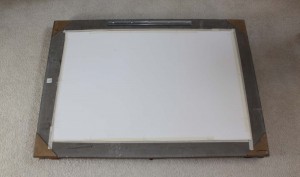
Next, we visited the hobby store where found a frame to fit the metal sheet, and we also bought a piece of foam core board. Since our frame was just the basic structure with nothing to hold in the items, we inserted the metal panel, as you normally would if you had a piece of glass. Then we put the foam core board behind it to keep the metal taut. To secure the pieces, we used small nails around the perimeter of the frame. We covered all edges with masking tape to prevent the nails from scratching the wall; this also provided an added measure to help keep everything snug.
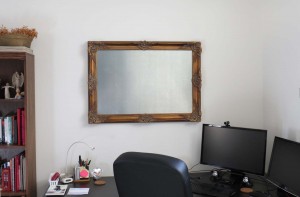
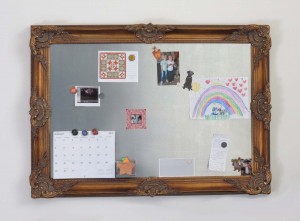
The frame we chose is very ornate; we liked the juxtaposition of the embellished gold against the industrial feel of the untreated metal. If you prefer a more finished look, the metal can be dressed up with a quick coat of spray paint, or it can even be covered with material or peel-and-stick shelf liner before it is inserted. You may also be able to find chalkboard paint that will adhere to the surface and still allow the magnets to attach, giving this piece yet another clever feature. As with all great DIY projects, this can easily be customized to your taste, color palette, and size of the space. Our magnet board has become one of our favorite evolving works of art. It made the move with us to the East Coast and is now hung up in my new office.
Looking for some amazing magnets to adorn your new board, check out this post.
You Might Also Like:
- Woven Basket from Electrical Cords
- Repurposing Old Bed Sheets into a New Comforter
- Decorative Noise Reduction Panels You Can Make at Home
- More Than Just a Mere Magnet


